


2
B
A
Y
Y
X
X
(2) 3" Nails
24"
(61 cm)
24"
(61 cm)
24"
(61 cm)
24"
(61 cm)
92-5/8"
(4) 3" Nails
at Joint
96"
(244 cm)
Center of
Stud
Center of
Stud
C
C
C
D
C C
D
D
D
F
F
F
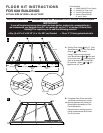
FLOOR KIT INSTRUCTIONS
FOR 8X8 BUILDINGS
ACTUAL SIZE 96” WIDE x 92-5/8” DEEP
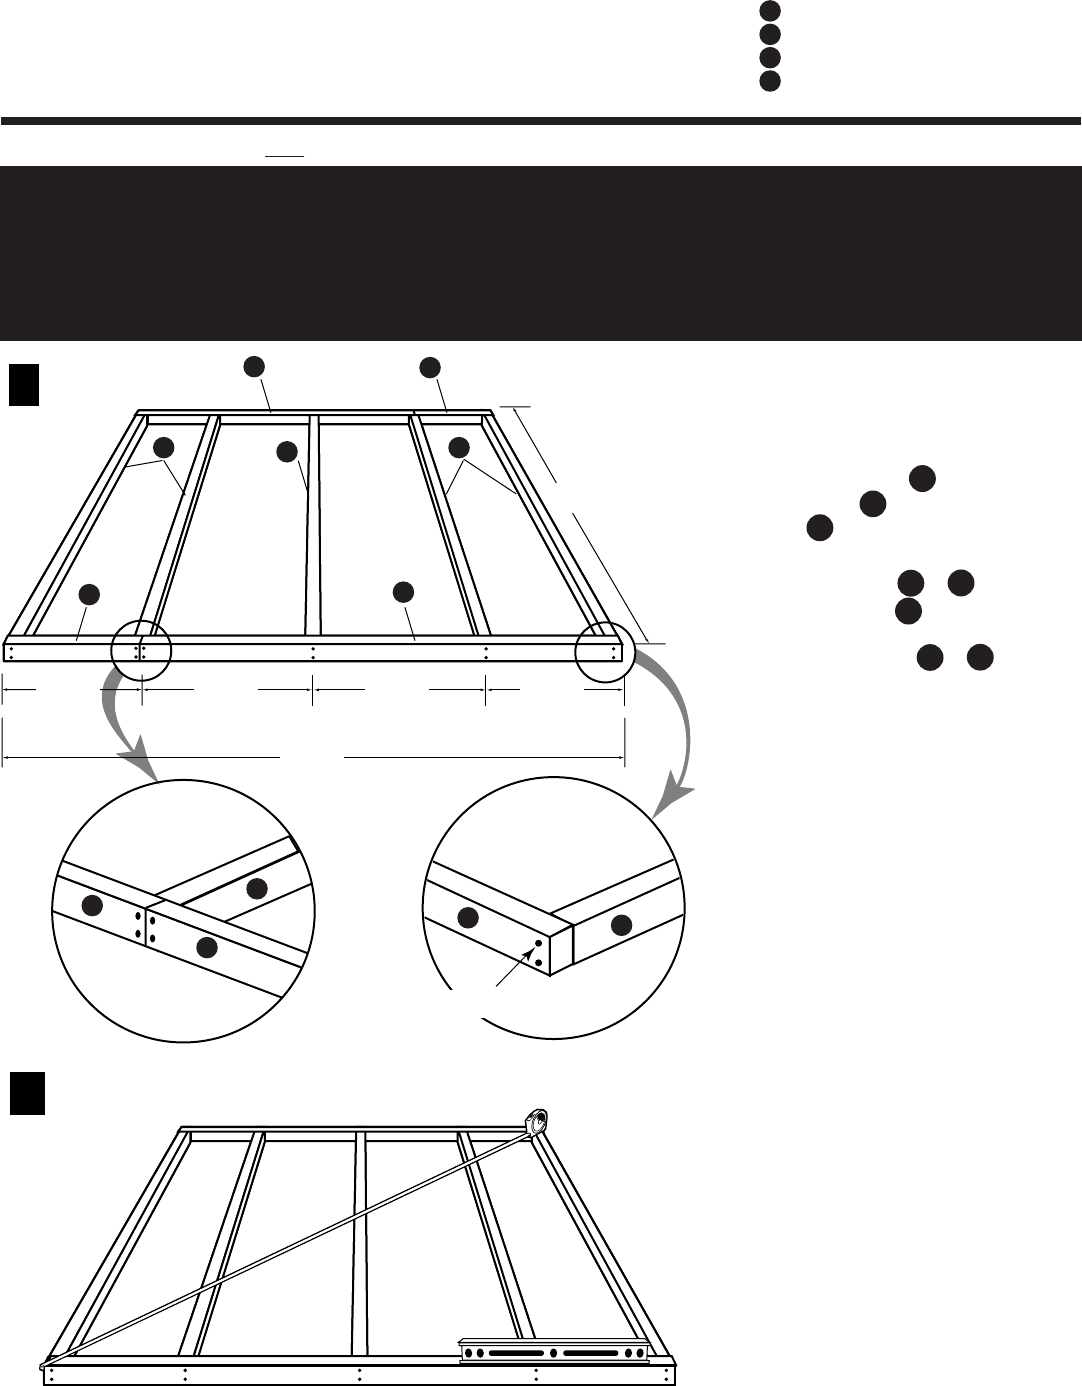
A: Position Floor Joists 89-1/2”, Floor
Bond Boards 72”, and Floor Bond
Boards 24” as shown.
Using 3” nails, nail twice through
each Bond Board & into each
end of each Joist , keeping pieces
flush at top and ends, and maintain
24” spacing. Where & join
together use 4-3” nails.
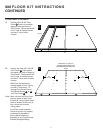
B: Completed Floor Frame should be
positioned at building site, leveled,
using shims between floor frame and
ground before proceeding to Floor
Panel Attachment.
Square frame by making corner-to-
corner measurements (X to X and
Y to Y) the same.
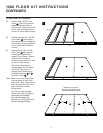
2 - 48x92-5/8x5/8" Floor Panels
5 - 2x4x89-1/2" Floor Joist
2 - 2x4x72" Bond Boards
2 - 2x4x24" Bond Boards
- 2" and 3" Nails
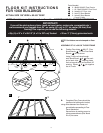
A
C
D
F
Parts Needed:
C
D
F
D
F
C
D
F
NOTE: Part letters are Not stamped on floor kits. ASSEMBLY OF 8’ x 92-5/8” FLOOR FRAME
IMPORTANT!
If you will be storing heavy items (such as lawn tractor, motorcycle, snowmobile etc.)
we recommend you upgrade from 24” on center (61 cm) to 12” on center (30.5cm) floor
framing. This requires you to add the following material:
• Qty. (4) of 2”x 4”x 89-1/2” (5 x 10 x 227 cm) Treated • 16 ea. 3” (7.6cm) galvanized nails