


6
Hunter Fan Company 42012-01 • 03/09/05
7
42012-01 • 03/09/05 Hunter Fan Company
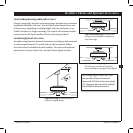
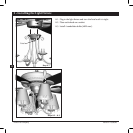
3 • Assembling and Hanging the Fan (Low Profile Only)
You can assemble your fan for standard or angle mounting as shown
in steps 3-1 – 3-6 on the previous page. For low prole mounting
(ceilings less than 8 feet high), see steps 3-7 – 3-11 on this page.
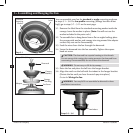
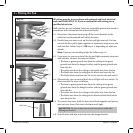
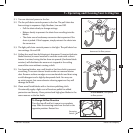
3-7. Locate the washer that comes preassembled in the canopy.
Remove the label and discard the washer and label. Locate the set
screw preassembled in the adapter. Remove and discard the set
screw. (Refer to images on previous page.)
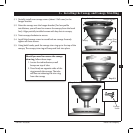
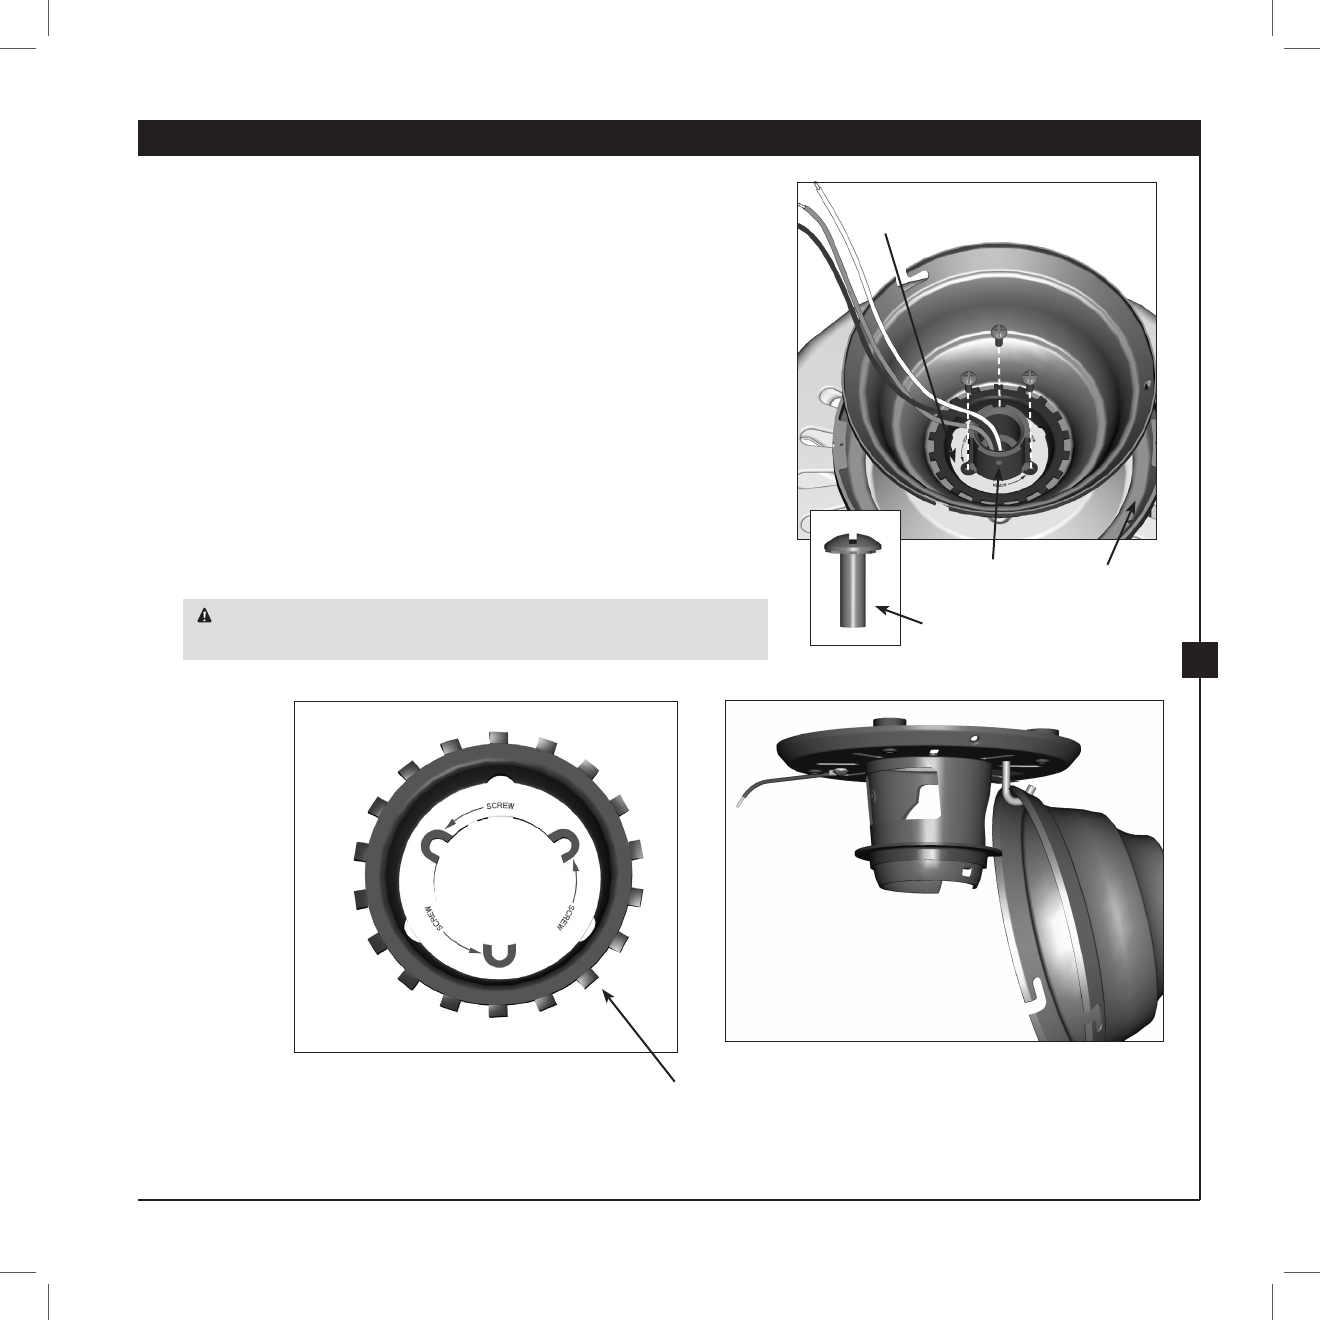
3-8. Place the low prole washer from the parts sack into the canopy.
3-9. Place the canopy trim ring and canopy with washer on top of the
fan assembly.
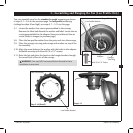
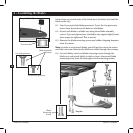
3-10. Align the screw holes in the washer with the holes in the adapter.
Assemble securely with three #8-32 x 1/2” screws.
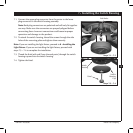
3-11. Raise the fan and place the hook on the hanger bracket through
the round hole in the rim of the canopy.
WARNING: Fan may fall if not assembled as directed in these
installation instructions.
Steps 3-8 – 3-10
#8-32 x 1/2” Screw
Low Prole Washer
Step 3-11
Step 3-10 (Detail)
Low Prole Washer
(Not Actual Size)
Canopy
Trim Ring
Adapter