


6
Hunter Fan Company 42012-01 • 03/09/05
7
42012-01 • 03/09/05 Hunter Fan Company
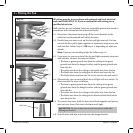
3 • Assembling and Hanging the Fan
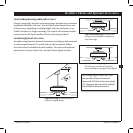
You can assemble your fan for standard or angle mounting as shown
in steps 3-1 – 3-6. For low prole mounting (ceilings less than 8 feet
high), go to steps 3-7 – 3-11 on the next page.
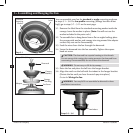
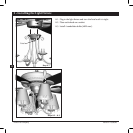
3-1. Remove the label from the standard mounting washer inside the
canopy. Leave the washer in place. (Note: You will not use the
washer included in the parts sack.)
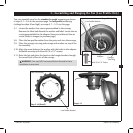
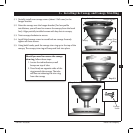
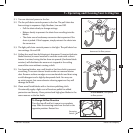
3-2. To assemble fan to hang down from a at or angled ceiling, place
the canopy with washer, and canopy trim ring around the adapter
so that they rest on the fan assembly.
3-3. Feed the wires from the fan through the downrod.
3-4. Screw the downrod into the fan assembly. Tighten the square
head set screw.
CAUTION: e downrod has a special coating on the threads.
Do not remove this coating; the coating prevents the downrod from
unscrewing. Once assembled, do not remove the downrod.
WARNING: Do not carry or lift fan by canopy.
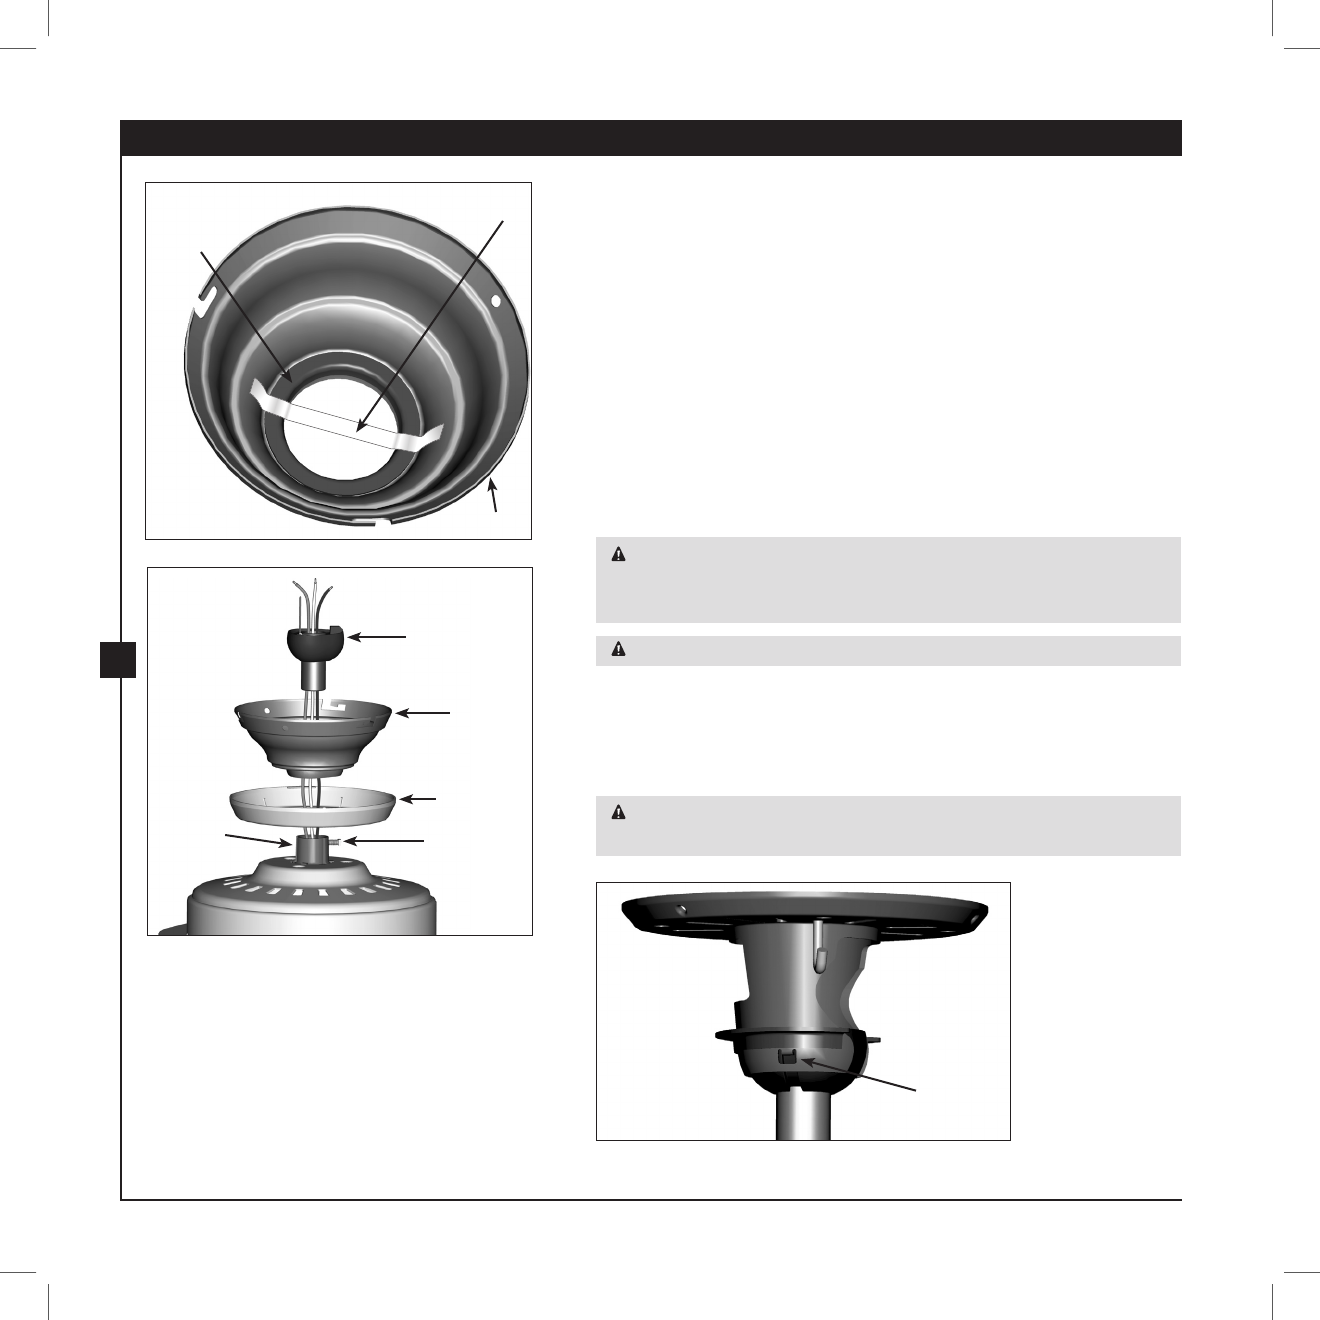
3-5. Raise the fan and place the ball into the hanger bracket.
3-6. Align the notch on the ball with the indent in the hanger bracket.
(Rotate the fan until you hear the notch pop into place.)
Go to 4 • Wiring the Fan.
WARNING: Fan may fall if not assembled as directed in these
installation instructions.
Steps 3-2 – 3-4
Downrod
Canopy
(with Washer)
Canopy
Trim Ring
Set Screw
Canopy
Standard
Mounting
Washer
Step 3-1
Adapter
Label
Steps 3-5 – 3-6
Indent