


9
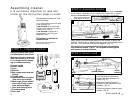
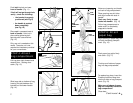
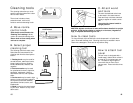
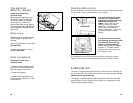
Pull switch lock above ON/OFF
switch straight out. (Fig. 19)
Dispose of switch lock.
Note: If switch lock has come
off during assembly make
sure switch is in the OFF
position (down) before plug-
ging cord into electrical outlet.
19
SWITCH
LOCK
ON/OFF
SWITCH
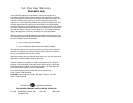
21
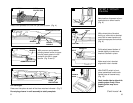
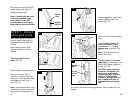
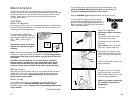
Note: Hose ends must be firmly
connected to cleaner base and
tool rack when cleaning floors.
Bring hose toward front of
cleaner and stretch hose over
hose rack. Push opposite hose
end firmly into rear “cup” in
rack. (Fig. 21)
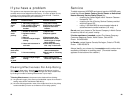
20
HOSE
DOOR
TURN HOSE
STEP 7: Attach
hose and tools
With cleaner handle in lowest
position, open hose door and
insert hose end with tabs into
cleaner.
Open hose door and insert
hose end with tabs into the
cleaner.
Turn hose end to lock in
place. (Fig. 20)
Raise handle to upright position.
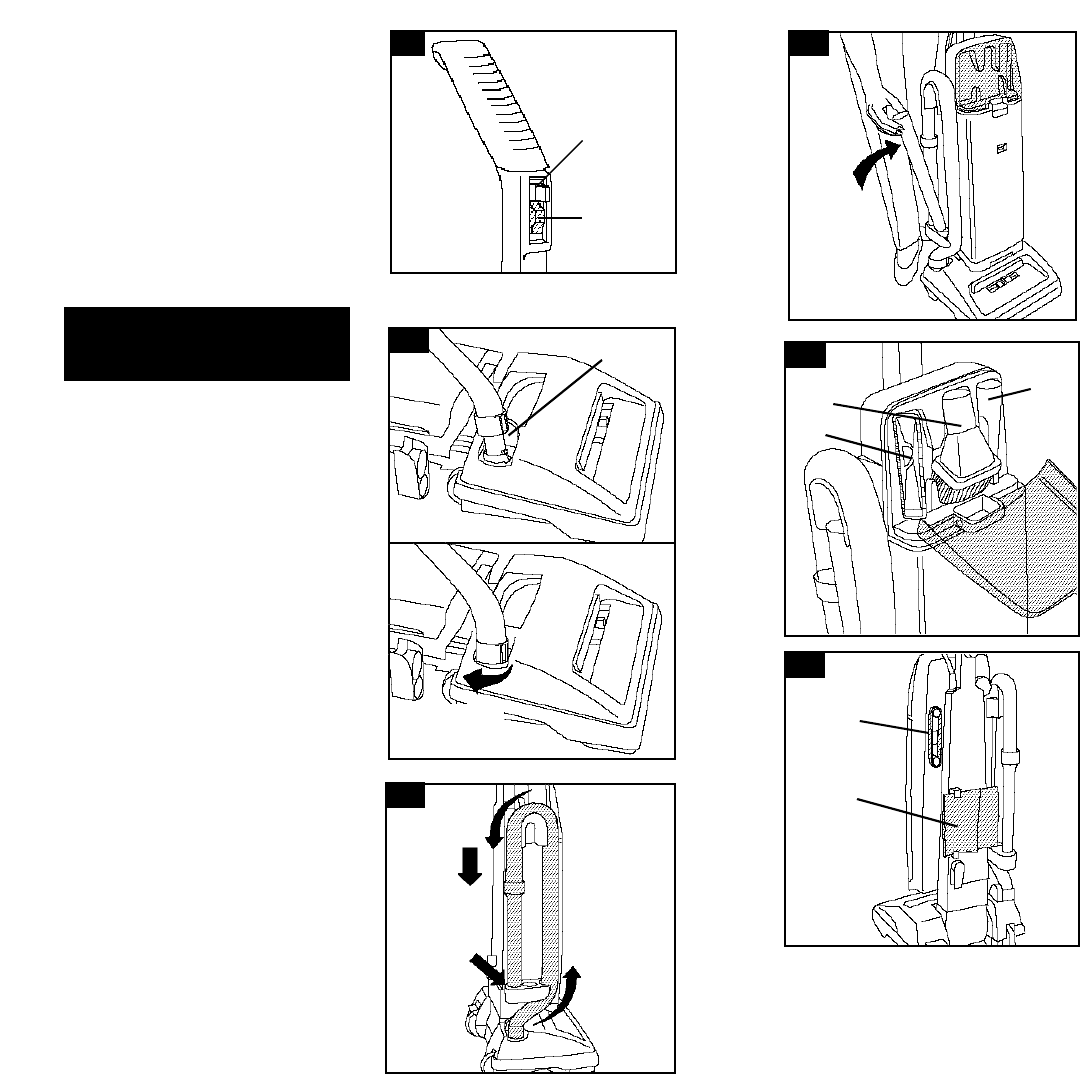
22
23
24
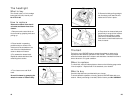
EXTRA
PAPER
BAG
EXTRA
BELT
A
B
C
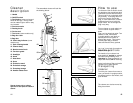
Position wand,with smaller end
down,in side of cleaner as
shown. (Fig. 22)
10
Position dusting brush (A),
furniture nozzle (B), and
crevice tool (C), into tool
storage area as shown. (Fig.
23)
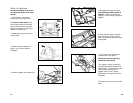
Open tool cover (some models
only).
Note: Some models do not
have a tool cover.
The extra belt and one extra
paper bag can be stored on the
back of the cleaner handle as
shown. (Fig. 24)
CAUTION: When cleaner is
turned on, the agitator will
continue to rotate when
cleaner handle is in upright
position. Avoid tipping
cleaner or setting it on furni-
ture, fringed area rugs, or
carpeted stairs during tool
use.
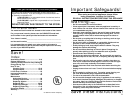
Fill out and return the product registration card included with your
cleaner.