


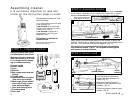
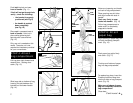
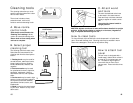
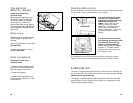
Rotate cord protector on cord until you see its arrow. (Fig. 4)
5
4
Do not plug cleaner in until assembly is totally complete.
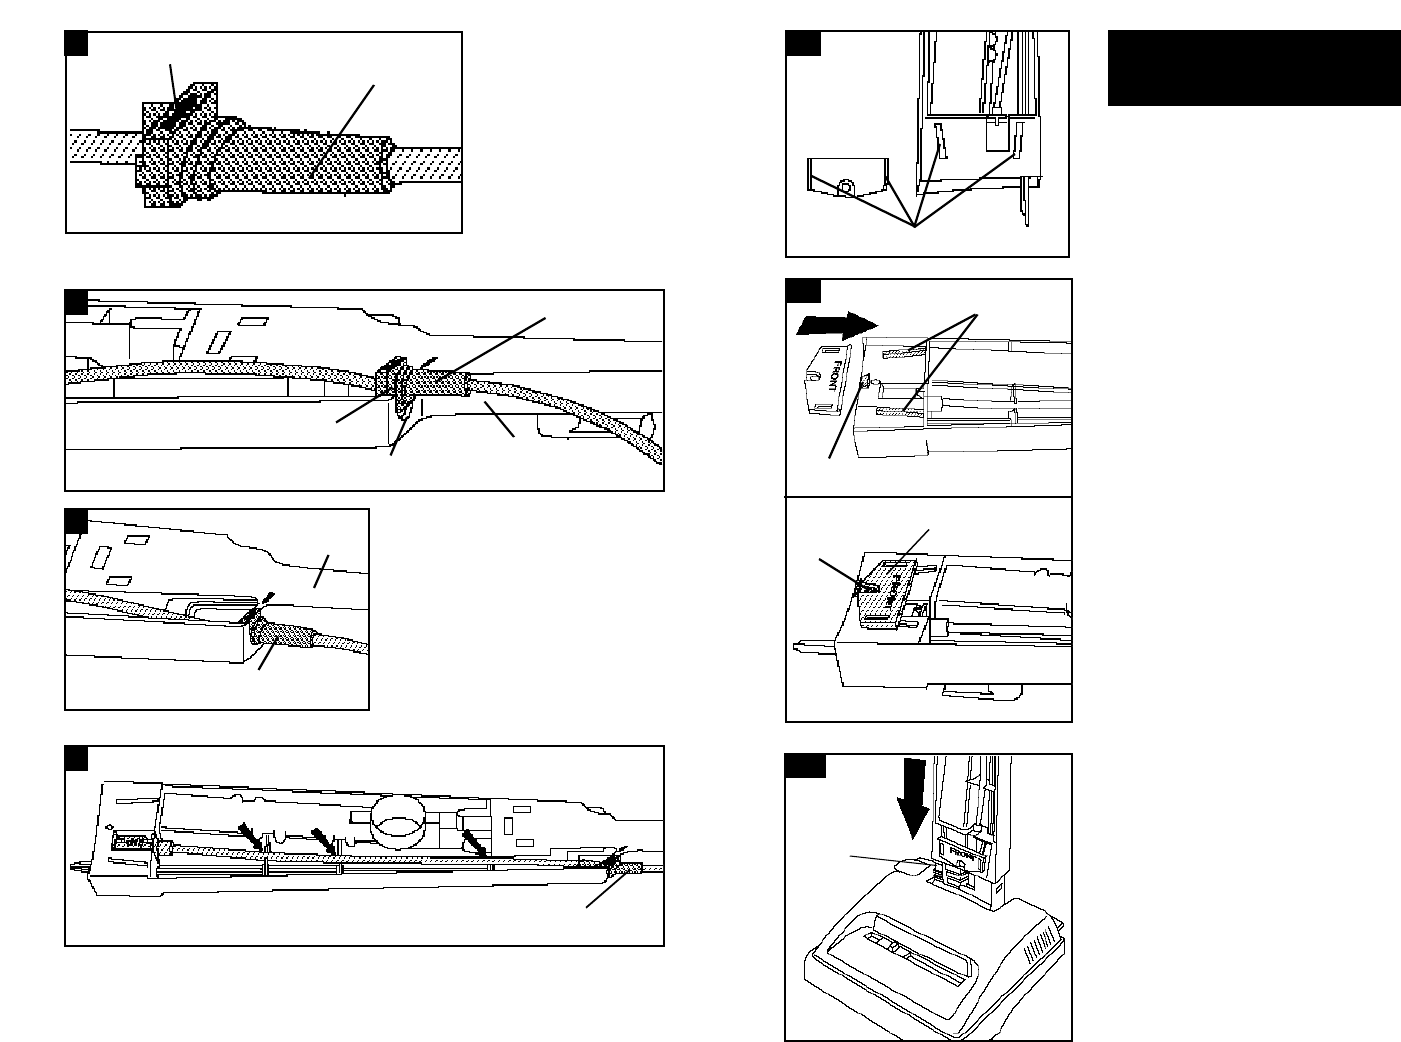
8
9
RAILS
RAILS
6
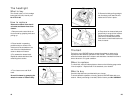
STEP 4: Attach
handle
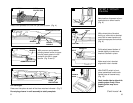
Note location of tapered rails on
bracket and on lower handle.
(Fig. 8)
With printed side of bracket
facing up, slide rails on bracket
onto rails on lower handle until
bracket snaps past the lock tab.
(Fig. 9)
CORD
PROTECTOR
ARROW
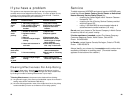
5
UPPER
HANDLE
GROOVE
SLOT
6
With arrow on cord protector
pointing toward arrow on upper
handle, press groove in cord
protector into slot in upper
handle. (Fig. 5 and 6)
UPPER
HANDLE
CORD PROTECTOR
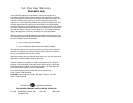
CORD PROTECTOR
7
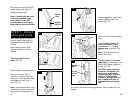
Pull cord tight.
Press cord into place at each of the three notches indicated. (Fig. 7)
CORD
PROTECTOR
LOCK TAB
BRACKET
HOLE
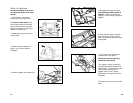
Pull bracket toward bottom of
handle slightly to make sure
bracket is locked in place.
Make sure hole in bracket
aligns with hole in handle.
Continued ➜
10
HANDLE
BASE
With ON/OFF switch to front,
place assembled handle onto
handle base of cleaner body.
(Fig. 10)
Rock handle side to side while
pushing down firmly. Extra
pushing effort may be re-
quired.