


20
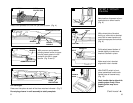
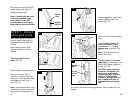
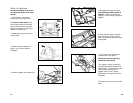
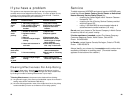
5. Remove bulb by pulling straight
out of socket; push new bulb into
socket until it locks in place.
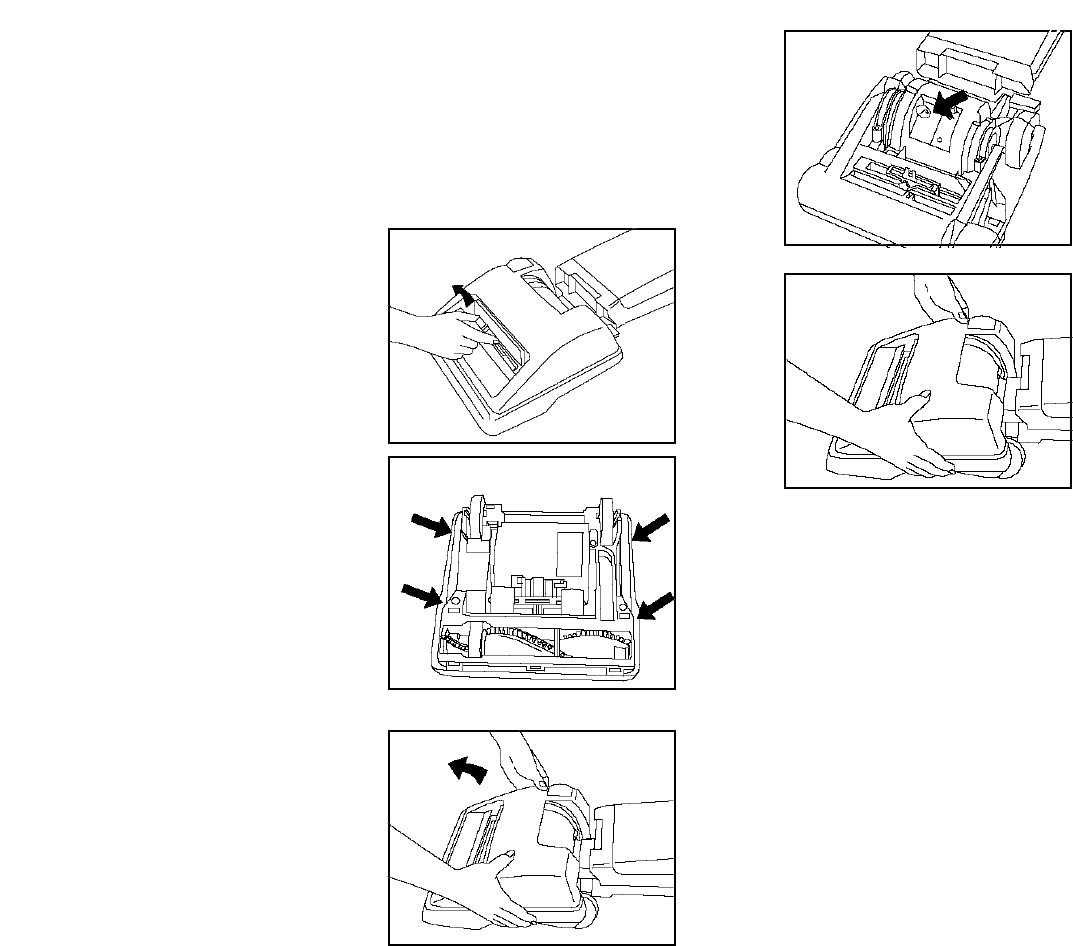
6. Place hood on cleaner body and
press firmly to snap all four latches.
Pull up on hood slightly to make
sure all four latches are secured.
Push nozzle control knob back onto
front of cleaner.
➘
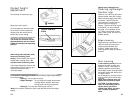
To check belt, remove bottom plate as shown on the following page under
“How to replace.” Replace belt if it is stretched, cut or broken.
One extra belt has been provided with your cleaner.
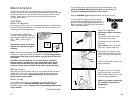
What to buy
To assure effective operation, use only genuine HOOVER belts with your
cleaner. When purchasing a new belt, ask for Hoover part No. 38528-027.
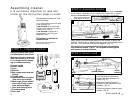
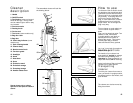
The belt
The belt on your HOOVER cleaner causes the agitator to rotate and is
important for the effective operation of the cleaner. The belt is located
under the bottom plate of the cleaner and should be checked from time to
time to be sure it is in good condition.
When to replace
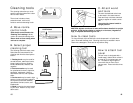
The headlight
What to buy
This cleaner uses a 12 volt, wedge
base type 912 bulb, Hoover part
No. 27313-105.
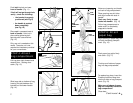
How to replace
Disconnect cleaner from electri-
cal outlet and detach hose from
cleaner.
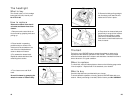
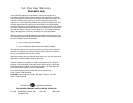
2. Place handle in operating
position and turn cleaner over.
Insert end of flat screwdriver into
one of the four slots beside an
arrow on bottom of cleaner.
3. Pry outward to release latch.
Repeat to release latches at the
remaining three arrows.
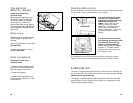
4. Turn cleaner over and lift off
hood.
1. Remove nozzle control knob on
front of hood by grasping knob and
pulling up.
Do not lift cleaner by grasping the
wheels in center of cleaner body.
19