308350 17
Service
CAUTION
To reduce the possibility of costly damage to the
rod (1) and cylinder (2), always use a plastic or
wooden block to help drive the rod out of the cylin-
der. Never hit the rod with a hammer.
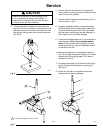
5. Turn the cylinder (2) upside down and strike the
top of the rod (1) on a plastic or wooden block until
the piston comes free. Pull the rod and piston from
the cylinder, being careful not to scratch the parts.
See Fig. 6.
04518
Fig. 6
1
2
6. Shine a light into the cylinder (2) to inspect the
inner surface for scoring or wear. Remove the two
seals (11) from the cylinder.
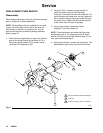
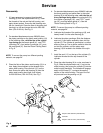
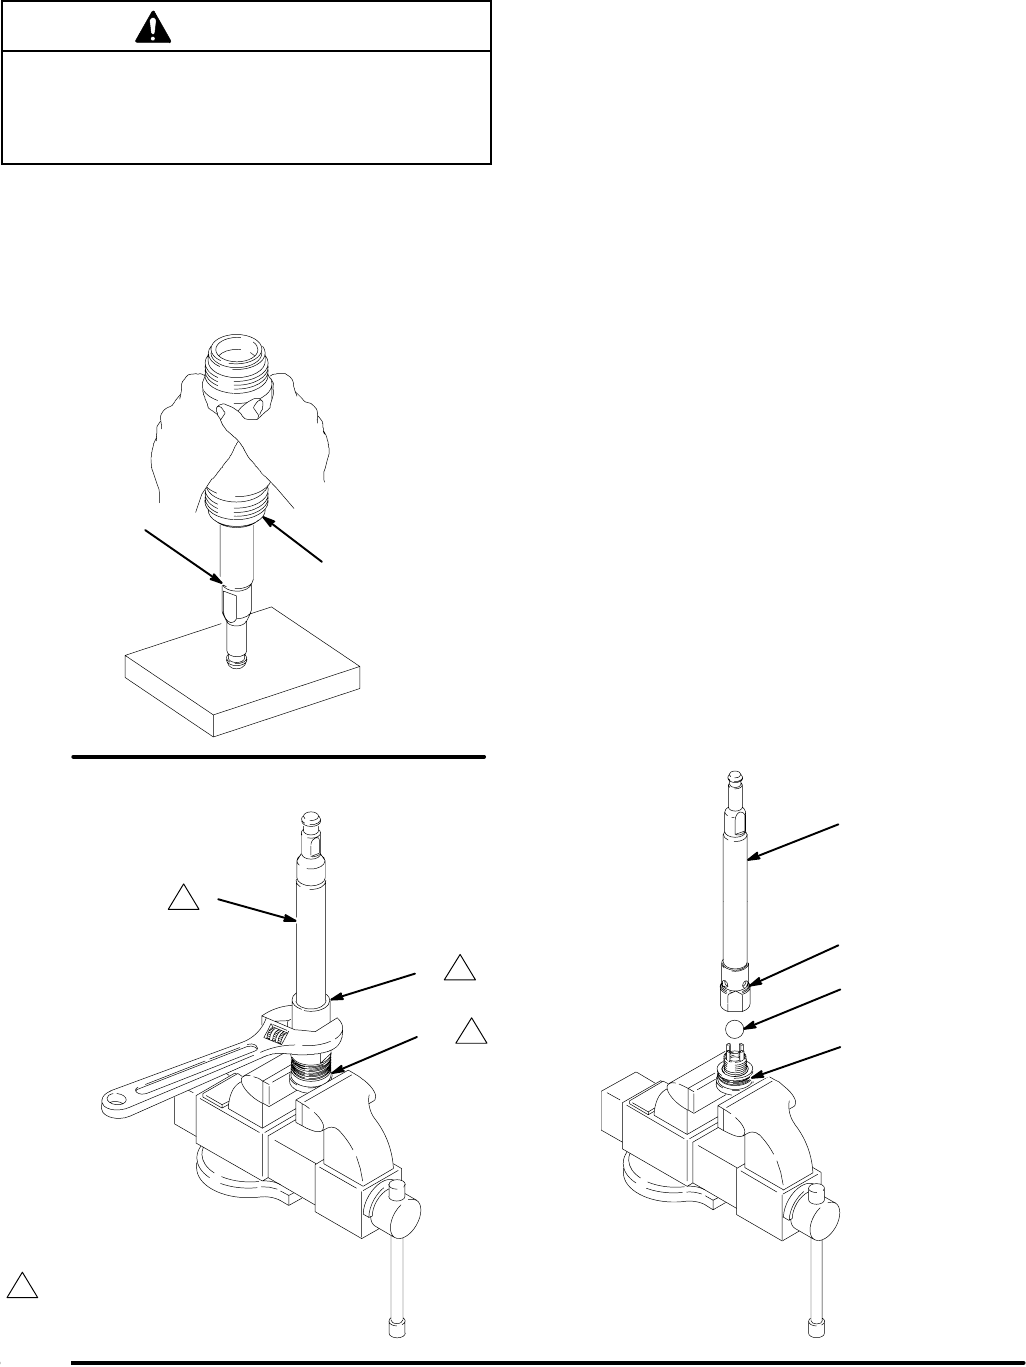
7. Place the flats of the piston seat housing (10) in a
vise, as shown in Fig. 7.
8. Using an adjustable wrench, unscrew the piston
ball housing (9) from the piston seat housing. Be
careful to catch the piston ball (12) as you sepa-
rate the piston seat housing and ball housing, so
that it does not fall and suffer damage.
9. Examine the displacement rod (1) for scratches or
other damage. Only if the rod needs replace-
ment, place the piston ball housing (9) in a vise
and unscrew the rod, using an adjustable wrench
on the flats of the rod.
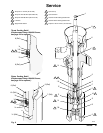
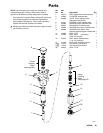
10. Remove the glands and v-packings (P) and the
ball (12) from the piston seat housing (10). Inspect
the ball seat (E) and ball guides (F) for wear or
damage. See Fig. 9.
11. Unscrew the packing nut (8) from the outlet hous-
ing (6). Remove the glands and v-packings (T).
See Fig. 9.
12. Clean all parts with a compatible solvent and
inspect them for wear or damage.
0449404495
Fi
g
. 7
1
9 1
1
9
1
12*
10
10 1
1
Torque to 258–285 NSm (190–210 ft–lb).


