


Heat Controller, Inc. Portable Dehumidier with R-410A BHD-G Service Manual
4
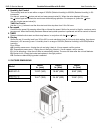
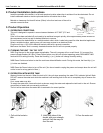
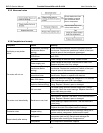
2. Product Installation Instructions
Install the portable dehumidier in a at and spacious location where the air outlets will not be obstructed. Do not
install underneath desks or inside cupboards as this will restrict the air ow.
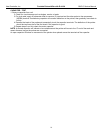
Maintain a clearance of at least 8 inches (20cm) in the front and rear of the unit to
maintain correct air-ow.
3. Product Operation
3.1 OPERATING CONDITIONS:
This unit is designed to operate in an environment between 41°F-90°F (5°C and
35°C).
If the unit has been switched off and needs to be switched on again quickly, allow approximately three minutes for
the compressor to start up and for dehumidifaction to resume.
Do not connect the dehumidier to a multiple socket outlet, which is also being used for other electrical appliances.
Select a suitable location, making sure you have easy access to an electrical outlet.
Plug the unit into a 115V~60Hz electrical socket-outlet with a ground connection.
Make sure the Water Tank is correctly inserted otherwise the unit will not operate properly.
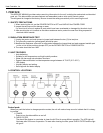
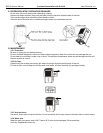
3.2 TURNING THE UNIT “ON” OR “OFF”
3.2.1 Plug the cord to the proper power recepticable. The unit’s program will run a self-check, if it is normal, the
power indicator ashes (at 0.5Hz). Press Power button now, the unit will start operating under DEHUMIDIFYING
mode with 60% setting humidity. Press the Humidity (+) or (-) button will change humidity setting.
3.2.2 Press Continuous button to start the continous dehumidication mode. During this mode, the Humidity (+) or
(-) button are disabled.
3.2.3 Press the Power button to turn off the unit.(You do not need to unplug the power cord except when the unit will
not be in use for a long period of time.)
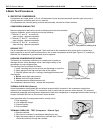
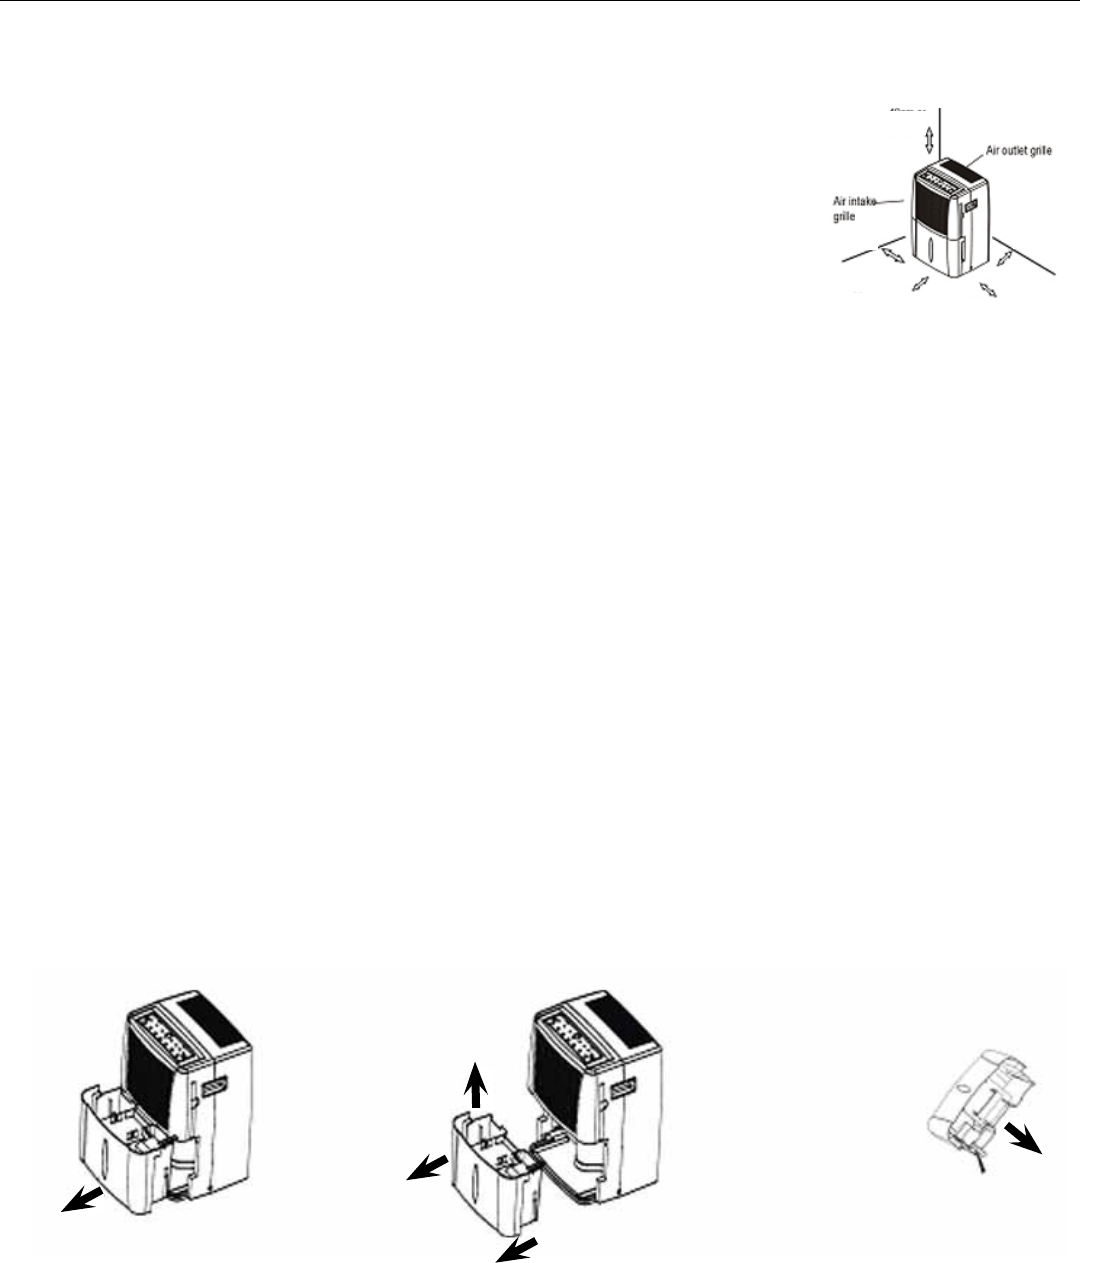
3.3 OPERATION WITH WATER TANK
Water will drain into the tank. When the tank is full, the unit stops operating, the water FULL indicator light will ash.
DO NOT remove the water tank while the machine is still working wait for the unit to completely stop to remove the
bucket.
If not, some water may drip.
To empty the water tank, remove the tank as shown, empty the water and replace the tank back in the unit. Ensure
components of water tank are correctly positioned.
The unit will re-start when the water tank is restored to its correct position.
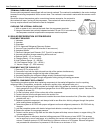
1. Pull out the bucket a
little.
2. Hold both sides of the
bucket with even strength,
and pull it all the way out
from the unit.
3. Pour the water out
8in (20cm) or more
8in (20cm) or more
8in (20cm) or more
8in (20cm) or
more
16in (40cm)
or more