


27
Operation
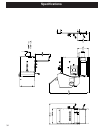
NOTE: Stirring the starting gel into the pellets usu-
ally allows the fire to become established quicker.
CAUTION: A vapor flash could occur if too much
time is allowed to pass before lighting the starting gel.
CAUTION: Care must be taken not to get starting
gel on your hands or clothing. Serious burns could occur
during the lighting process.
CAUTION: Never try to apply more starting gel to
an already burning fire, or a fire with smoldering pellets.
"NEVER USE GASOLINE, GASOLINE-TYPE
LANTERN FUEL, KEROSENE, CHARCOAL
LIGHTER FLUID, OR SIMILAR LIQUIDS TO
START OR "FRESHEN UP " A FIRE IN THIS FUR-
NACE. KEEP ALL SUCH LIQUIDS WELL AWAY
FROM THE FURNACE WHILE IN USE".
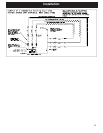
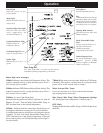
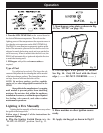
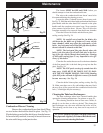
Fig. 15
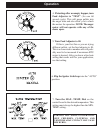
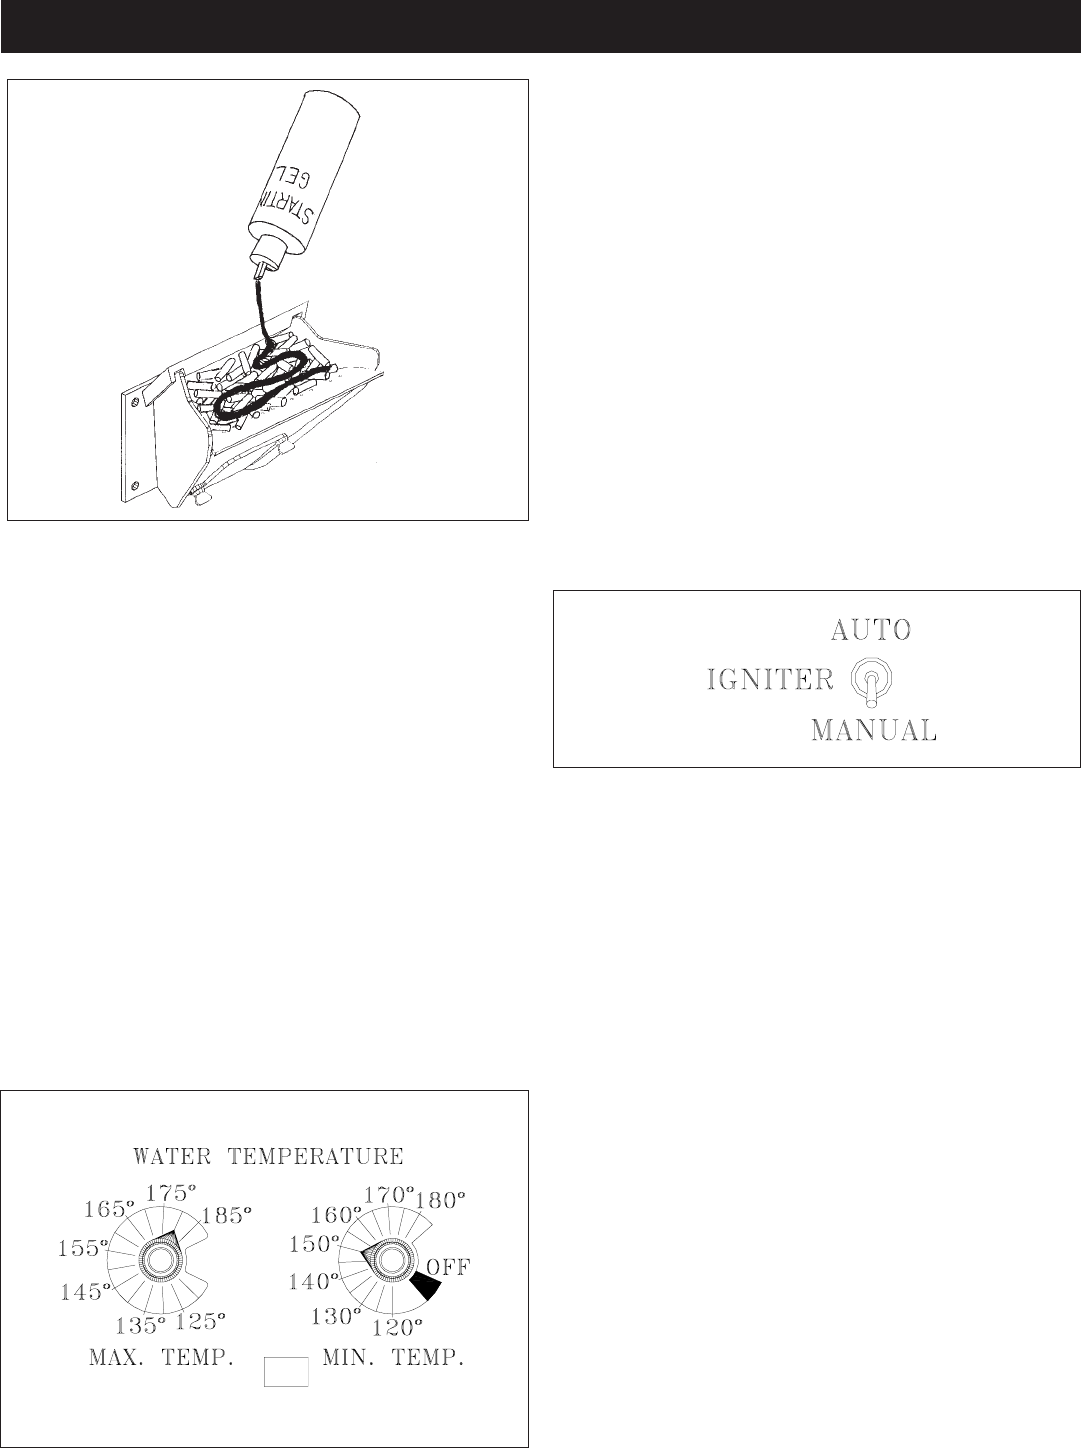
11. Turn Mode Selector to desired MIN
TEMP setting.
This will start the combustion blower and allow the
ESP to control the fire in relation to the MAX TEMP Dial
setting. (The MAX TEMP dial setting must always be set
above the MIN TEMP setting) Once the fire is well estab-
lished the MAX TEMP dial can remain on any temperature
setting desired.
NOTE: When the Switch is set to Manual igniter
position the boiler will function as in auto igniter except
the fire will not be allowed to go out. It will only be
allowed to go to a minimum burn rate between the times
the aquastat is calling for heat. This rate is about 1.1
pound of fuel per hour.
12. Light The Starting Gel With A Match.
13. Close The Doors
The fire will light and the PB105 will adjust the fire to
proper level according to the MAX TEMP dial setting.
Solid-fuel burning appliances need to be cleaned fre-
quently because soot, creosote, and ash may accumulate. If
you suspect a chimney/vent pipe fire do the following:
1. Call the fire department.
2. Remove fuel from the burn pot using the burnpot scrap-
ing tool to scrape the pellets into the ash pan.
3. Remove the ash pan from the unit and take outside. Do
not place ash pan on a combustible material.
4. Turn off circuit breaker at unit.
5. Do not use the unit until a qualified person has inspected
your appliance and venting.
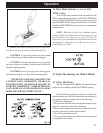
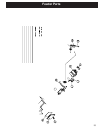
Fig. 16