5PC 45 Corn/Pellet Stove
Door Assembly/Installation Tips
Assembling the door
•
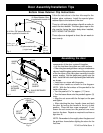
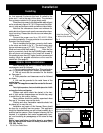
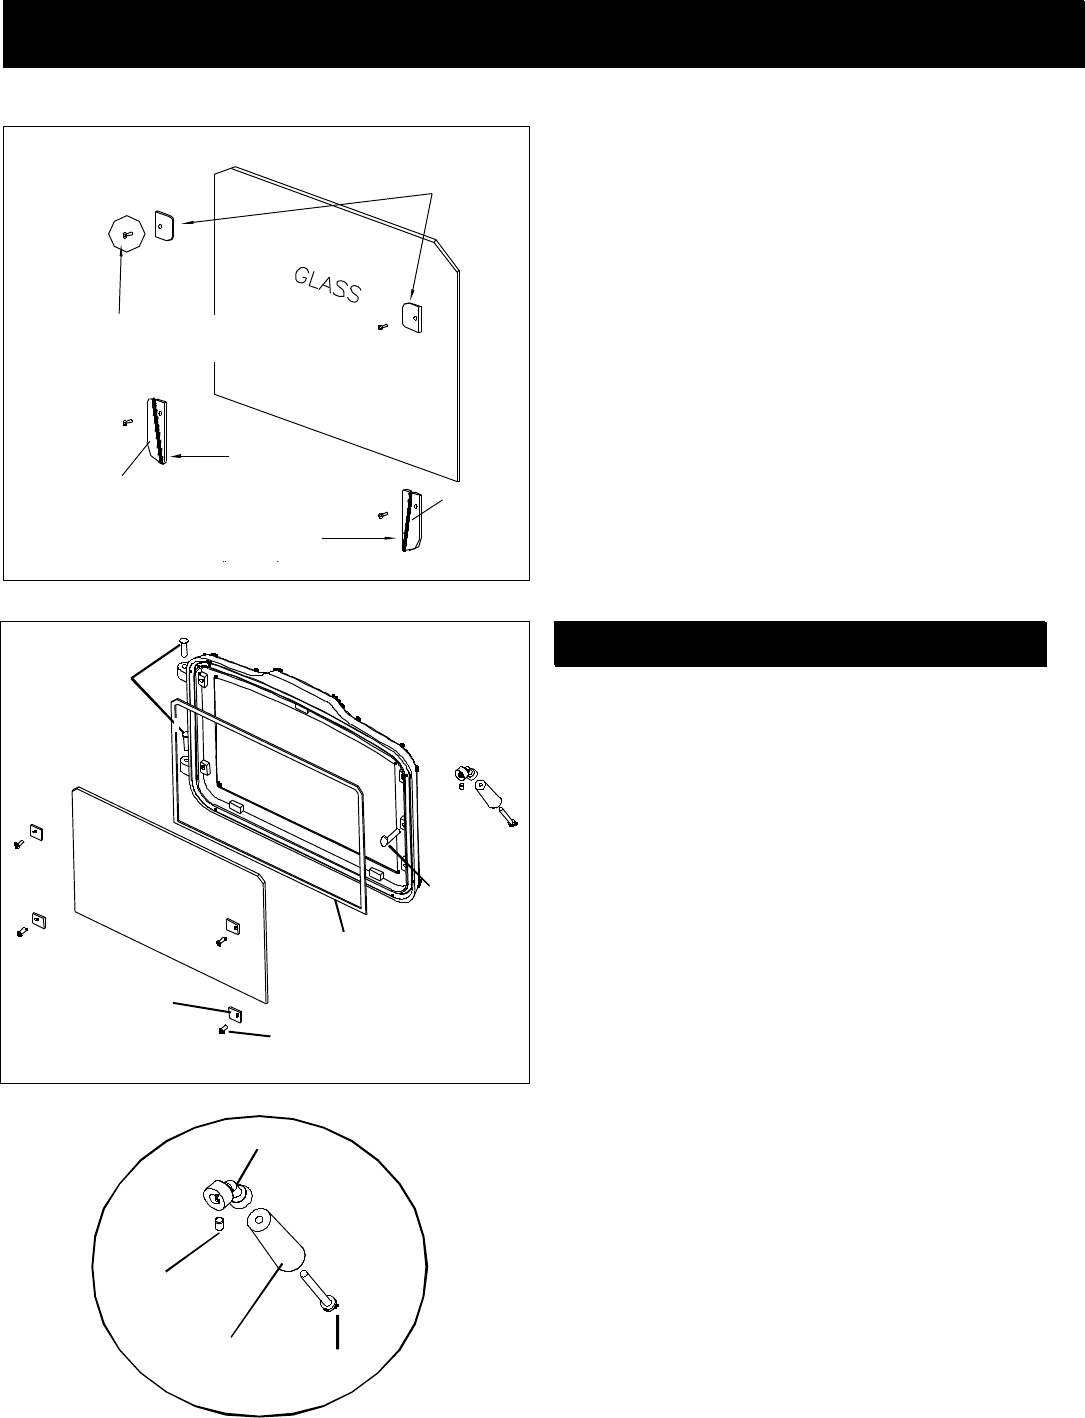
Referring to the diagram, note how the various
components of the door system fit together.
•
Lay the load door face down on a soft surface.
•
Clean the glass and gold door using a nonabrasive
cleaner. Install the glass gasket around the outer edge
of the front face of the door glass carefully to insure
proper sealing. Set the glass pane gently onto the
door. Install the hold-down clips and tighten with bolts
as shown.
•
Install door on stove with hinge pins.
•
Install door handle as shown on the diagram.
NOTE: With the flat surface of the paw bolt to the
inside of the door.
•
Turn the paw bolt "in" for approx. (17) turns.
•
Turn the brass elbow onto the paw bolt approx. (5)
turns.
•
Align the set screw with the flat spot on the paw
and tighten.
•
After attaching the door handle, close and latch
the door by turning the handle to the six o'clock
position. Does the door rope compress? If not,
loosen the set screw, turn the paw bolt one more
turn into the door. Repeat as required to achieve a
tight door fit.
NOTE: Remember to thoroughly clean the glass and
the gold door frame before lighting the stove for the
first time.
Bottom Glass Retainer Clip Instructions
(4) 10-24 x 3/8" button head allen
screws supplied in the door kit
(1) left hand
(2) glass retainer clips
(1) right hand
Follow the instructions in the door kit except for the
bottom glass retainers. Install the special glass
retainer clips to the bottom of the door.
There is a left and right retainer clip with a radius to
match the door bottom. The fiber glass rope on the
clip must be facing the stove body when installed,
NOT FACING THE GLASS!!
These clips are designed to direct the air wash air
more evenly.
4 GLASS
RETAINER
CLIPS 4 GLASS RETAINER
BOLTS
GLASS
GLASS
GASKET
DOOR
HINGE
PINS
PAW
BOLT
Fig. 3
(2) Glass Retainer Clips
supplied with the door kit
Fig. 4
Fig. 5
BRASS
HANDLE
HANDLE
BOLT
WOOD
HANDLE
SET
SCREW
Gasket
goes
toward
the stove
Gasket goes
toward the stove


