


19
Model VSU Make-Up Air
®®®®®
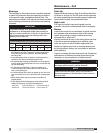
Bearings
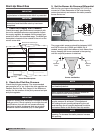
The bearings for Greenheck fans are carefully selected
to match the maximum load and operating conditions
of the specific class, arrangement and fan size. The
instructions provided in this manual and those provided
by the bearing manufacturer will minimize any bearing
problems.
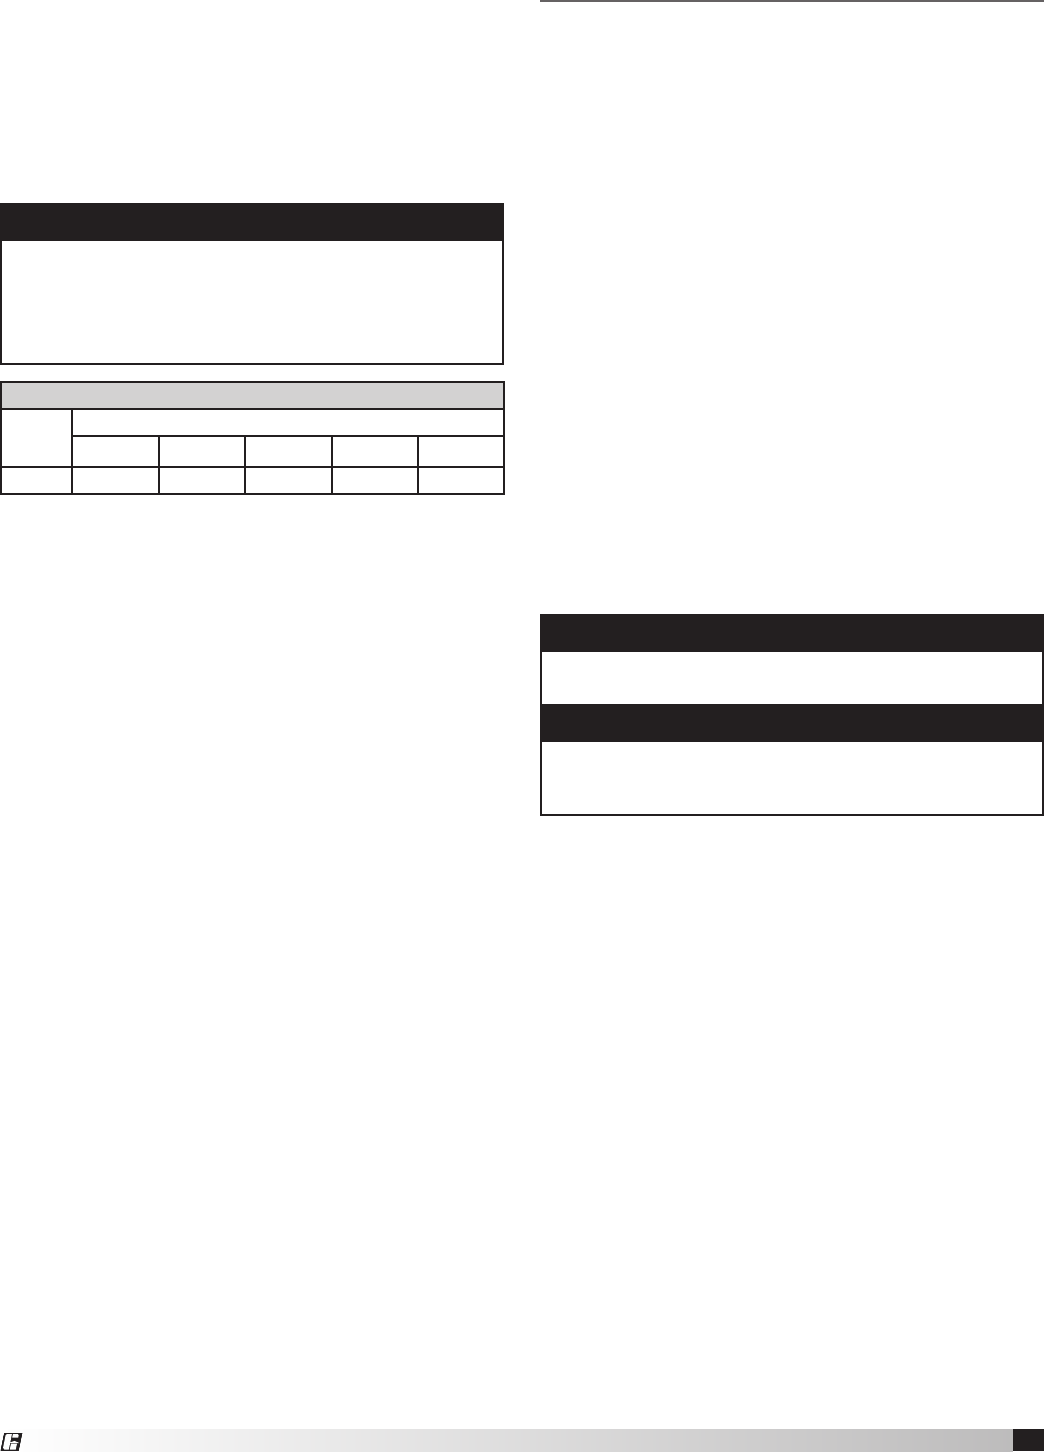
IMPORTANT
Lubricate bearings prior to periods of extended
shutdowns or storage and rotate shaft monthly to
aid in corrosion prevention. If the fan is stored more
than three months, purge the bearings with new
grease prior to start-up.
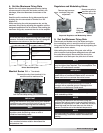
Recommended Bearing Lubrication Schedule (in Months*)
Fan
RPM
Bearing Bore Size (inches)
1
⁄2 - 1 1
1
⁄8 - 1
1
⁄2 1
5
⁄8 - 1
7
⁄8 1
15
⁄16 - 2
3
⁄16 2
7
⁄16 - 3
750 6 5 4 3 3
*Suggested initial greasing interval is based on 12 hour per
day operation and 150°F maximum housing temperature.
For continuous (24 hour) operation, decrease greasing
interval by 50%
• If extended grease lines are present, relubricate while in
operation, only without endangering personnel.
• For ball bearings (operating) relubricate until clean grease
is seen purging at the seals. Be sure not to unseat the seal
by over lubricating.
• For ball bearings (idle) add 1-2 shots of grease up to
2 inch bore size, and 4-5 shots above 2 inch bore sizes
with a hand grease gun.
• For roller bearings add 4 shots of grease up to 2 inch bore
size, and 8 shots for 2-5 inch bore size with a hand grease
gun.
• Adjust relubrication frequency based on condition of
purged grease.
• A high quality lithium based grease conforming to NLGI
Grade 2 consistency, such as those listed here:
Mobil 532
Mobilux #2
Texaco Multifak #2
Texaco Premium #2
B Shell Alavania #2
Exxon Unirex #2
Maintenance - Fall
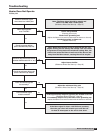
Start-Up
Repeat the Blower Start-Up Step #5 and Direct Gas Start-
Up Steps #1 through #4. This will ensure that the gas and
air are set properly before the heating season begins and
should lead to trouble free operation all winter.
High Limit
The high limit switch may have tripped over the
summer; it should be checked and reset if necessary.
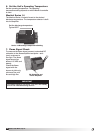
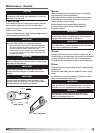
Burner
Inspect the burner for accumulation of scales on both
the upstream and downstream sides of the mixing
plates. Any scaling or foreign material should be
removed with a wire brush.
Visually check that all holes in the mixing plates are clear.
If any burner ports are plugged (even partially), clear
them with a piece of wire or another appropriate tool.
Replace or tighten any loose or missing fasteners on
the mixing plates. Always use zinc plated or stainless
steel fasteners.
Inspect and clean the flame and spark rod. Occasional
replacement of the flame rod and spark rod may be
necessary to ensure optimum unit performance.
WARNING
Do not enlarge burner ports when clearing a
blockage, performance could be affected.
NOTE
Flame rods can last many years, but because of
thermal expansion of the porcelain, flame rods can
fail over time.