Repair
18 311826C
Reconnect the Lower
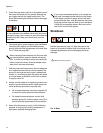
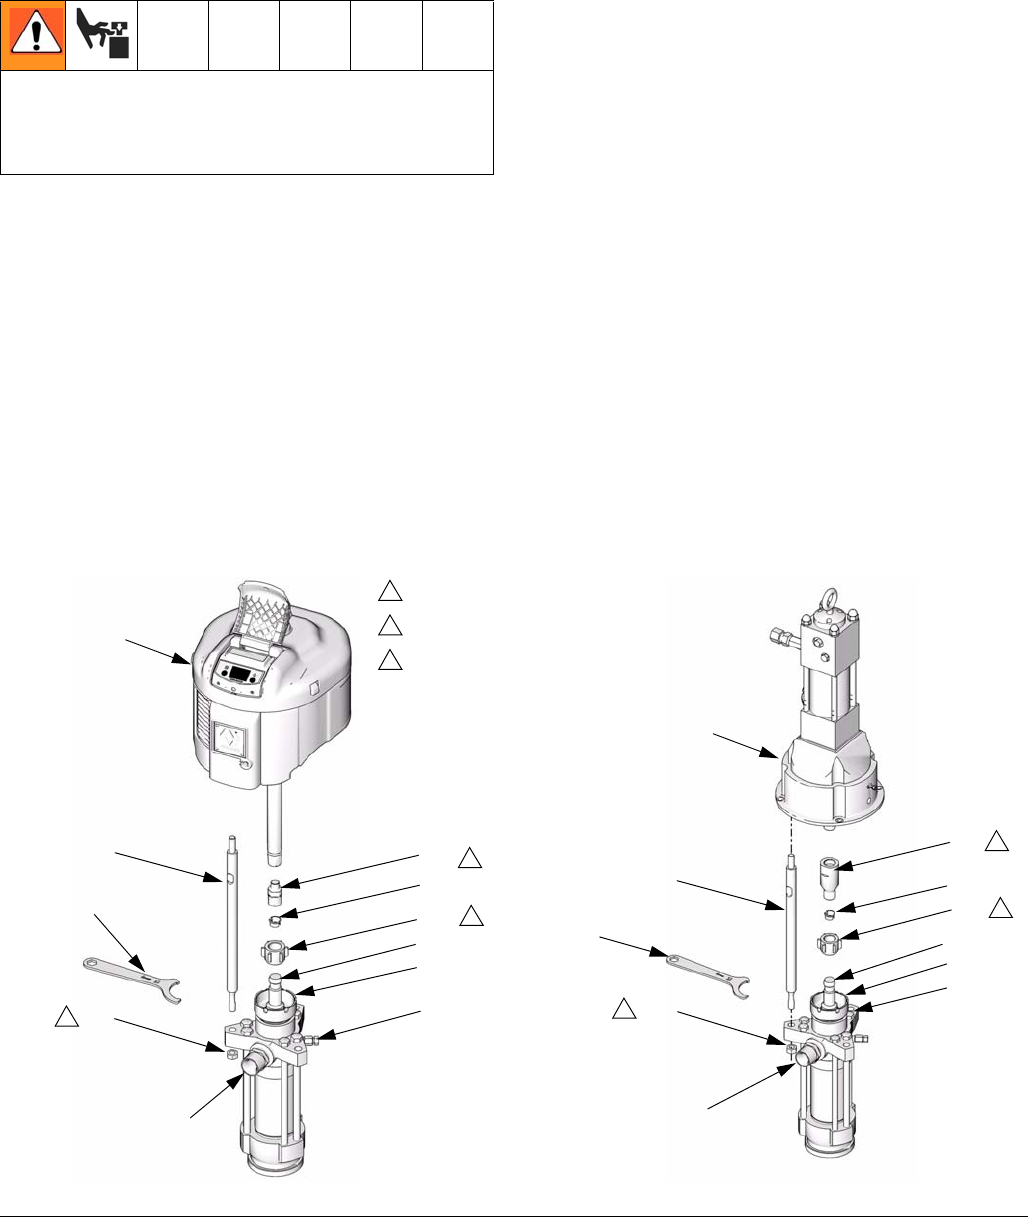
1. Screw the connecting rod adapter (105) to the air
motor shaft. Torque as noted in F
IG. 4.
2. Screw the tie rods (106) into the air motor (101).
Using a wrench on the tie rod flats, torque as noted.
3. Make sure the coupling nut (103) and coupling col-
lars (104) are in place on the displacement rod
(DR).
4. Use at least two people to hold the lower while
another reconnects it to the motor (see the CAU-
TION, page 17). Orient the pump's fluid outlet to the
air or hydraulic inlet as noted under Disconnect the
Lower. Place the lower (102) on the tie rods (106).
5. Screw the nuts (107) onto the tie rods (106) and
torque as noted in F
IG. 4.
6. Screw the coupling nut (103) onto the connecting
rod adapter (105) loosely. Hold the connecting rod
adapter flats with a wrench to keep it from turning.
Use an adjustable wrench to tighten the coupling
nut. Torque as noted in F
IG. 4.
7. Torque the packing nut (PN) to 135-169 N•m
(100-125 ft-lb).
8. Reconnect all hoses. Reconnect the ground wire if it
was disconnected. Fill the wet-cup (PN) 1/3 full of
Graco Throat Seal Liquid or compatible solvent.
9. Turn on the air or hydraulic power supply. On
hydraulic pumps, open the hydraulic return line
valve first, then the supply line valve. Run the pump
slowly to ensure that it operates properly.
Always use connecting rod adapter 184595 and tie
rods 184596 on hydraulic-powered pumps. Other con-
necting rod adapters and tie rods do not allow sufficient
clearance between the drip pan and coupling nut.
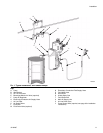
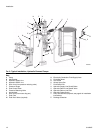
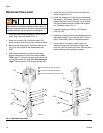
FIG. 4. Reconnect the Lower
1
TI8363a
TI8365a
101
102
103
104
105
106
107
108
101
106
102
107
108
103
105
104
AD
PN
DR
AD
DR
PN
2
3
3
3
3
Torque to 68-81 N•m (50-60 ft-lb).
Torque to 81-89 N•m (60-66 ft-lb).
Torque to 196-210 N•m (145-155 ft-lb).
1
2
3


