Operation
14 311826C
5. Cycle the pump slowly until all air is pushed out and
the pump and hoses are fully primed. Release the
gun trigger and lock the trigger safety latch. The
pump should stall against pressure when the trigger
is released.
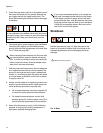
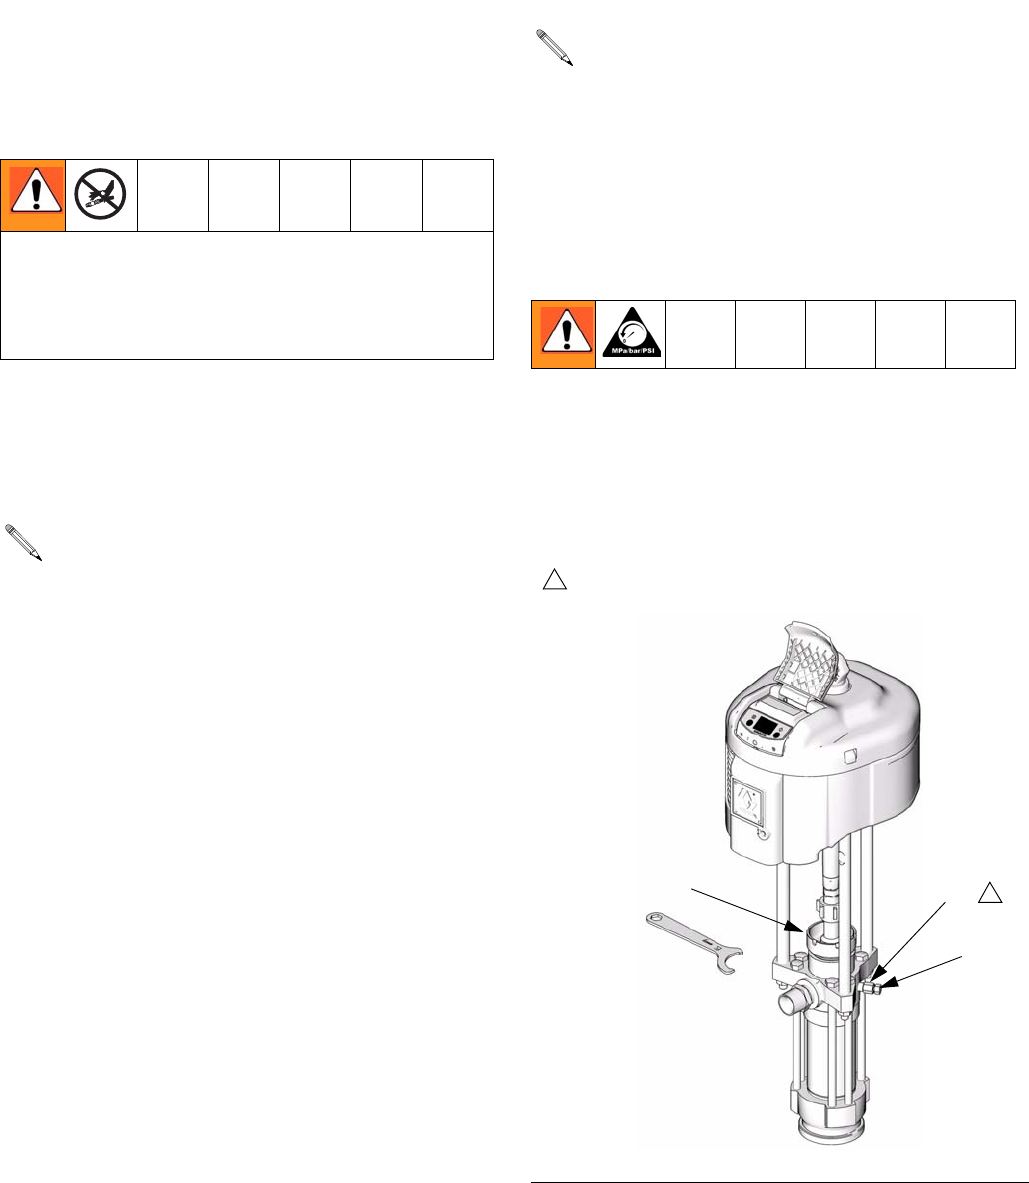
6. If the pump fails to prime properly, open the bleeder
valve plug (AB) slightly. Use the bleed hole as a
priming valve until the fluid appears at the hole. See
F
IG. 3. Close the plug (AB).
7. With the pump and lines primed, and with adequate
air or hydraulic pressure and volume supplied, the
pump will start and stop as the gun is opened and
closed. In a circulating system, the pump will speed
up or slow down on demand, until the air or hydrau-
lic supply is shut off.
8. Always use the lowest air or hydraulic pressure nec-
essary to get the desired results. Higher pressures
cause premature tip/nozzle and pump wear.
a. For air-powered pumps, use the air regulator (F)
to control the pump speed and fluid pressure.
b. For hydraulic-powered pumps, use the fluid
pressure gauge (F) and flow control valve (G) to
control the pump speed and the fluid pressure.
9. Never allow the pump to run dry of the fluid being
pumped. A dry pump will quickly accelerate to a
high speed, possibly damaging itself.
Shutdown
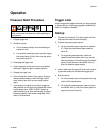
Relieve the pressure, page 13. Stop the pump at the
bottom of its stroke to prevent fluid from drying on the
exposed displacement rod and damaging the throat
packings.
Do not use your hand or fingers to cover the bleed hole
on the underside of the bleeder valve body (AA) when
priming the pump. Use a wrench to open and close the
bleeder plug (AB). Keep your hands away from the
bleed hole.
When changing fluid containers with the hose and
gun already primed, open the bleeder valve plug
(AB), to assist in priming the pump and venting air
before it enters the hose. Close the bleeder valve
when all air has been eliminated.
If your pump accelerates quickly, or is running too
fast, stop it immediately and check the fluid supply.
If the supply container is empty and air has been
pumped into the lines, refill the container and prime
the pump and the lines with fluid, or flush and leave
it filled with a compatible solvent. Be sure to elimi-
nate all air from the fluid system.
FIG. 3. Bleeder Valve and Wet-Cup
TI8364a
AB
AA
AC
Bleed hole must face down.
1
1


