WARNING
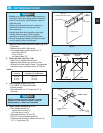
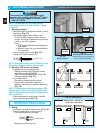
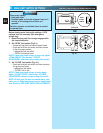
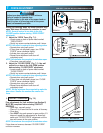
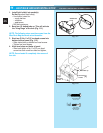
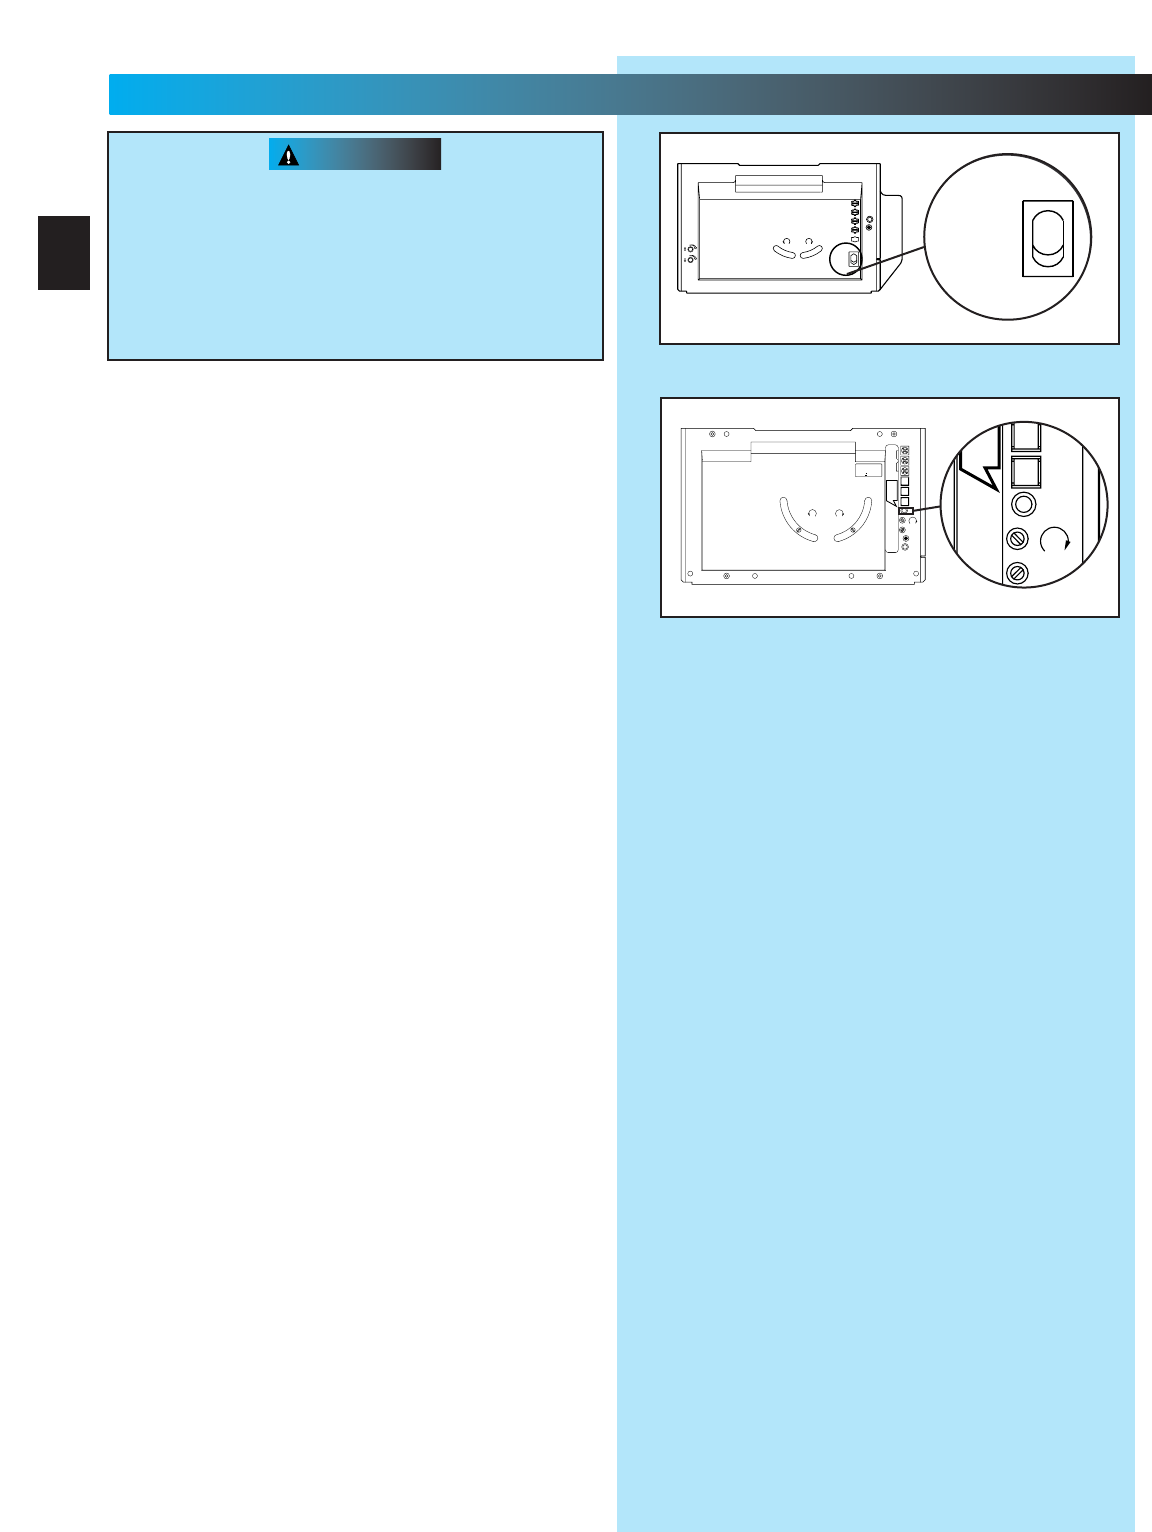
Fig. 6-1
MORE MORE
LIMIT ADJUSTMENT
CLOSE
OPEN
PUSH
LIMITS
TO SET
4
3
2
1
CLASS 2
NEC
OPEN
CLOSE
TO SET
LIMITS
PUSH
OR
NEC
CLASS 2
1
2
3
4
5
6
MORE
FORCE
PUSH
BUTTON
SAFETY
BEAM
LIMIT
SET
OPEN
FORCE
CLOSE
FORCE
RADIO
SIGNAL
LEARN
CODE
COM
DO NOT
PUSH
LIMIT SET
UNLESS
DOOR IS
ATTACHED
NOTE:
USE ONLY WITH
SERIES II CONTROLS
CLOSE
MORE
OPEN
MORE
CLOSE OPEN
LIMIT ADJUSTMENT
U.S. Patent No. 5,243,784
5,221,869
5
6
MORE
FORCE
LIMIT
SET
OPEN
FORCE
CLOSE
FORCE
PUSH
LIMIT SET
UNLESS
DOOR IS
ATTACHED
PRO MAX
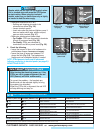
Before starting main limit switch settings, LOCK
carriage onto rail assembly (See emergency
release tag).
1. Raise the door until the carriage engages with
the inner-slide/bullet.
2. Set “OPEN” limit switch (Fig 6-1).
• Locate limit set switch on back of power head.
• Push and hold limit set switch until door moves
to the fully open position.
– release the limit set switch.
–“OPEN” limit switch is set.
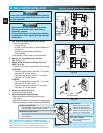
NOTE: If door stops and refuses to move up, adjust
“OPEN FORCE” (See Section 7-FORCE
ADJUSTMENT) and then repeat setting limit switch.
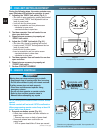
3. Set “CLOSE” limit switch (Fig. 6-1).
• Push and hold limit set switch until door contacts
the ground and stops.
– release limit set switch.
–“CLOSE” limit is set.
NOTE: If door stops and refuses to move down,
adjust “CLOSE FORCE” (See Section 7-FORCE
ADJUSTMENT) and then repeat setting limit switch.
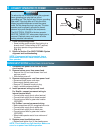
NOTE: Do Not push the limit set switch again, your
limits are set. Slight adjustment may be needed later
(See Section 8-FINE LIMIT SWITCH ADJUSTMENTS).
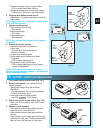
Door opens rapidly.
• Keep path clear.
• Position ladder to the side of power head so it
is clear of all moving parts of door and
operator.
Set door operator so minimum force is needed
to operate door.
STEALTH
6
...
MAIN LIMIT SWITCH SETTINGS
FOR HELP-1.800.354.3643 OR GENIECOMPANY.COM
22


