9
For Help, call 1-800-35-GENIE or visit www.geniecompany.com
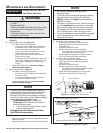
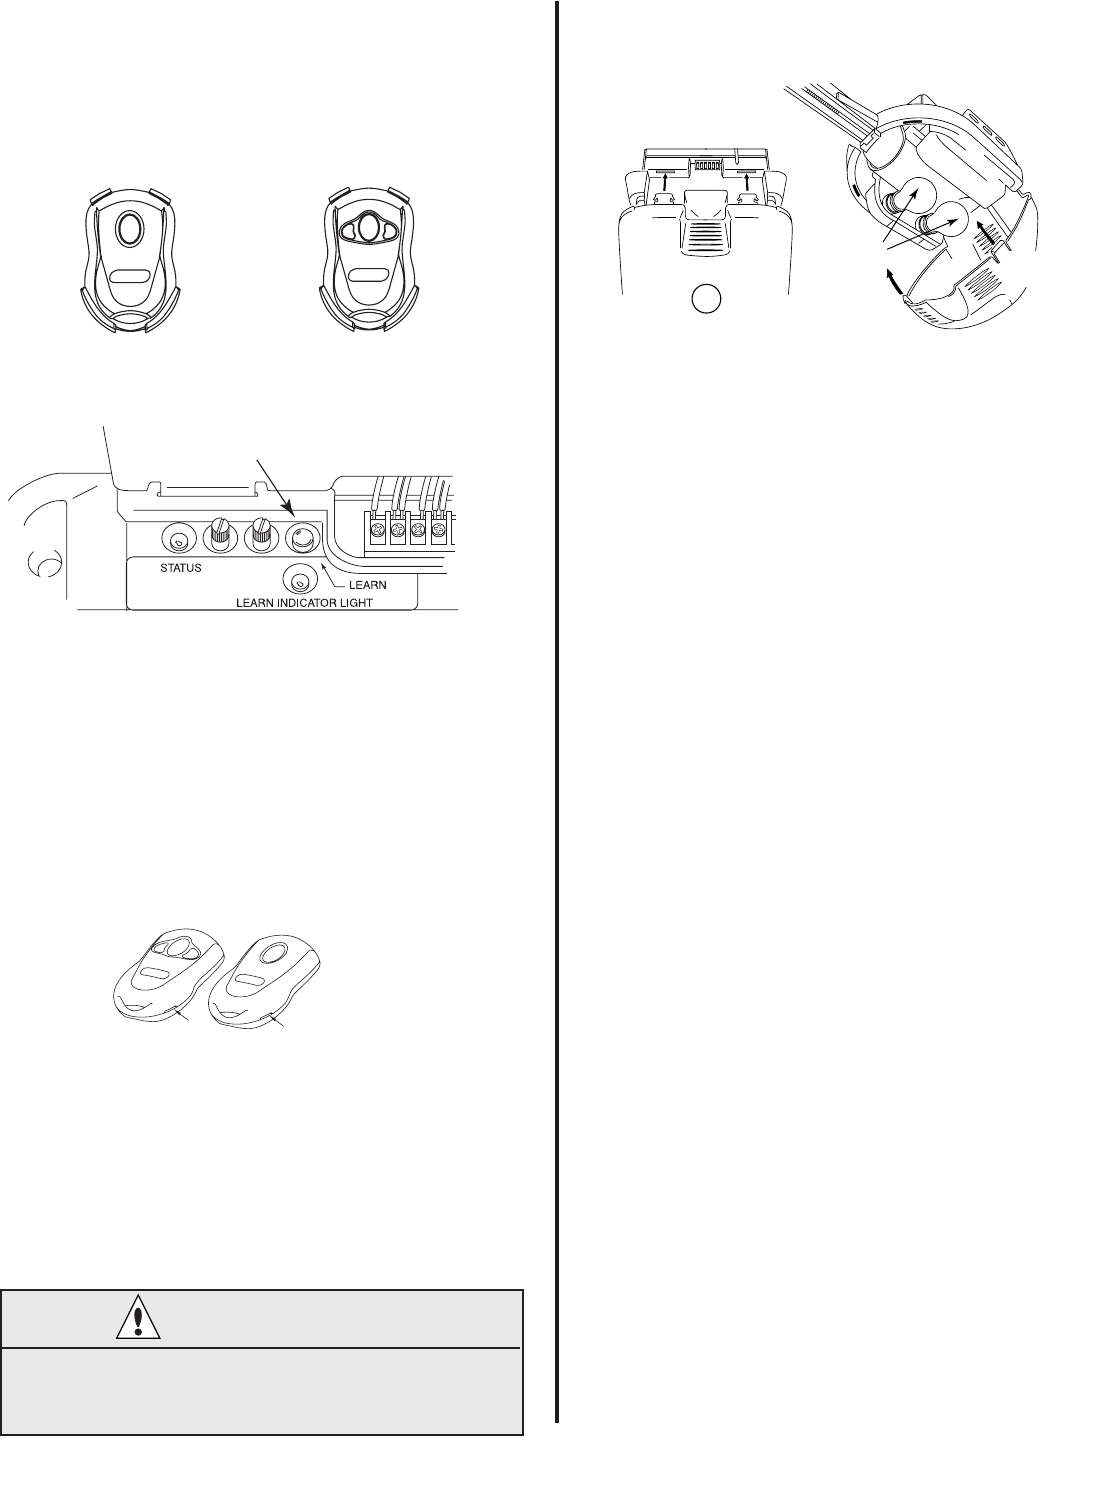
Learn Code Button
Figure MA-2 Learn Code Button and Indicator Light
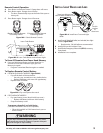
A Install two 60 Watt light bulbs (not included) into Light
Sockets (Figure MA-4):
• Rough service, 130 Volt bulbs are recommended.
B Install Lens into slots in Motor Cover.
C Install Genie Emergency Release Kit (GER-2) accessory,
if purchased.
D Installation is now complete.
Lens
1A
Snap Lens Hinges into
slots on back of Motor Cover
60 Watts
maximum
Push in
Latches
to
close Lens
Figure MA-4 Install Lens Cover and Light
Bulbs
To Erase All Remotes from Power Head Memory
A Press and hold Learn Button on Power Head for 10
seconds or until Learn Indicator Light goes out.
Memory is erased:
• Program Transmitter/Receiver again as needed.
To Replace Remote Control Battery
A FOR NON-FLASHLIGHT MODELS (Figure MA-3)
• Pop off the back of the transmitter.
–
Use coin, pen, screwdriver or any similar device.
–
Replace old Battery with new coin type battery.
• Replace back of remote.
B FOR FLASHLIGHT MODELS
• Pry open battery cover. (Notch built into cover.)
– Replace old Battery with new AAA battery.
• Snap shut battery cover.
Remote Control Operation
A Press Button on Remote Control. Garage door will move.
B Press Button again. Garage door will stop:
• The door automatically stops at the end of the open or
close cycle.
C Press Button again. Garage door will reverse.
1 Button Compact Remote
w/Docking Station
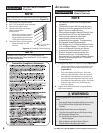
Figure MA-1 Genie Remote Controls
3 Button Compact Remote
w/Docking Station
To program a Homelink® or Car2U Device:
(This GDO is Homelink® and Car2U compatible)
• Follow the Homelink® or Car2U instructions in your car
owner’s manual.
iN S t a l l li G h t bu l b S a N D le N S
WARNING
Use the Wall Console included with Opener. Any other
wall console can cause the Opener to operate unexpect-
edly and the light to stop working.
Figure MA-3 Pry case open at the notch


