


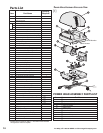

10
For Help, call 1-800-35-GENIE or visit www.geniecompany.com
A Monthly:
• Door springs and door hardware:
– Oil door roller, bearings, and hinges using silicone
lubricant or light oil.
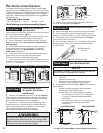
• Balance Door.
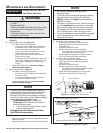
– Close door.
–
Release Magnetic Carriage Assembly from Rail Assembly
by pulling down on Emergency Release Knob.
– Raise door manually 3’- 4’ and verify that door stays at
that position. See Check Step 2 on page 4.
– Reattach Magnetic Carriage Assembly to Rail Assembly by
pulling the Emergency Release Knob toward Power Head.
– Close door.
• Contact Reverse Test.
– Perform Adjustment 2 on page 8.
NOTE
When the door is 3’ - 4’ above the ground, the door
should stay open. Slight movement is acceptable. If
the door moves too much, contact a Genie Factory
Authorized Dealer for service or call Customer Service at
1-800-35-GENIE.
WARNING
Do not operate door automatically or manually if springs
are broken. Contact a Genie Factory Authorized Dealer for
service or call Customer Service at 1-800-35-GENIE.
MAINTENANCE
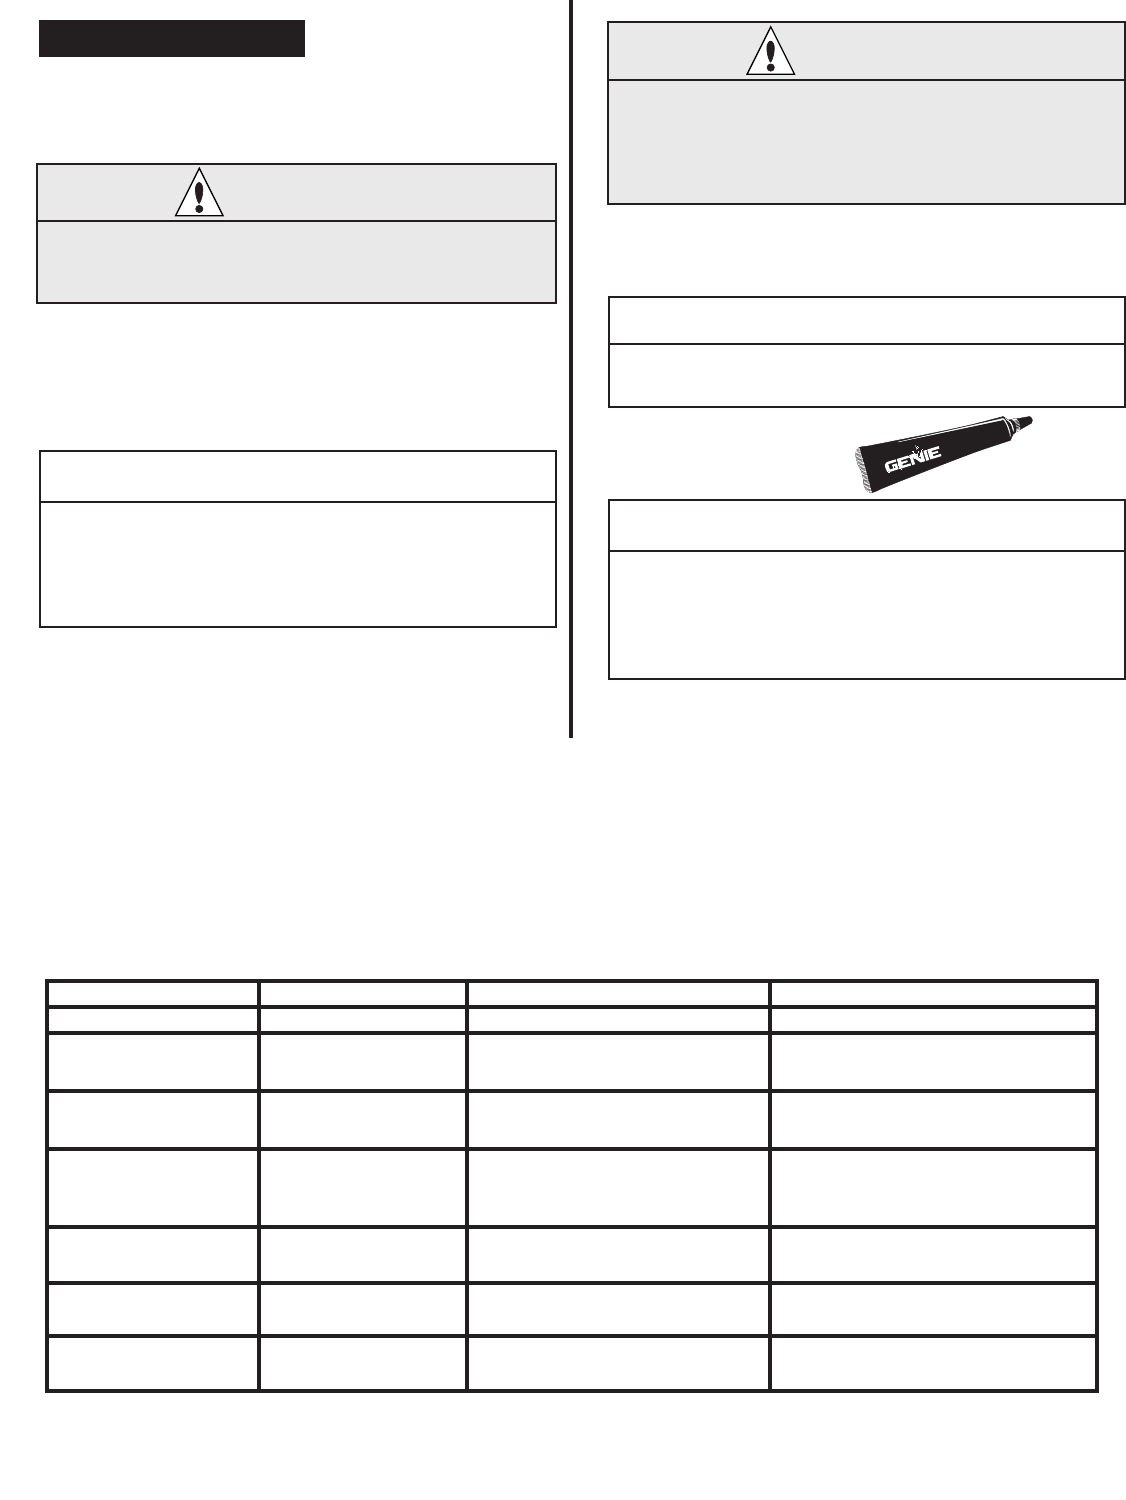
B Yearly:
• Wipe off old excess lubricant from Drive Screw.
• Lubricate Drive Screw with Genie Lubricant (GLU-3)
WARNING
If the door fails to reverse on contact with the board,
adjust the Close Force Control as specified in Set Limit
Switches and Force Controls on page 7. If the Opener still
fails, contact a Genie Factory Authorized Dealer for service
or call Customer Service at 1-800-35-GENIE.
NOTE
Use ONLY Genie Lubricant (GLU-3). Other lubricants
may damage the Opener.
FCC AND IC CERTIFIED
All devices comply with Part 15 of the FCC Rules.
Operation is subject to the following two conditions: (1)
this device may not cause harmful interference, and (2)
this device must accept any interference received, includ-
ing interference that may cause undesired operation.
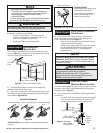
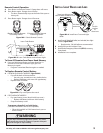
Screw Drive Garage
Part No. GLU-3
Door Opener Lubricant
GLU-3
Lubricant
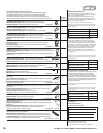
tR o u b l e S h o o t i N G Gu i D e
Safe-T-Beam® System Self-Diagnostic Troubleshooting
Source (Red LED) Sensor (Green LED) Possible Problem Solution
ON ON Normal operation None required
OFF OFF
• Power Head not powered • Check breakers, fuses, plugs
• Wiring from Power Head bad • Check wiring for obvious shorts
OFF ON
• Wiring to Source missing or bad • Check wiring
• Power has been interrupted • Remove power and reapply
2 BLINKS, Pause • Beam not aligned • Check Source, Sensor alignment
(Repeat) ON • Beam obstructed • Check for obstruction
• Sensor defective • Contact Customer Service
2 BLINKS, Pause • Wire to Sensor missing or bad • Check wiring
(Repeat)
OFF
• Sensor defective • Contact Customer Service
3 BLINKS, Pause • Sensor receiving interference • Determine source of interference
(Repeat)
ON
• Contact Customer Service
4 BLINKS, Pause • Source not sending pulses • Contact Customer Service
(Repeat)
ON
• Source defective • Contact Customer Service