7
For Help, call 1-800-35-GENIE or visit www.geniecompany.com
aD j u S t i N G limit Sw i t C h e S
a N D fo R C e Co N t R o l S
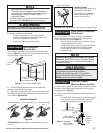
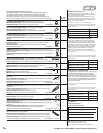
Adjustment 1:
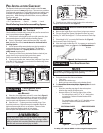
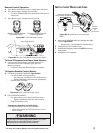
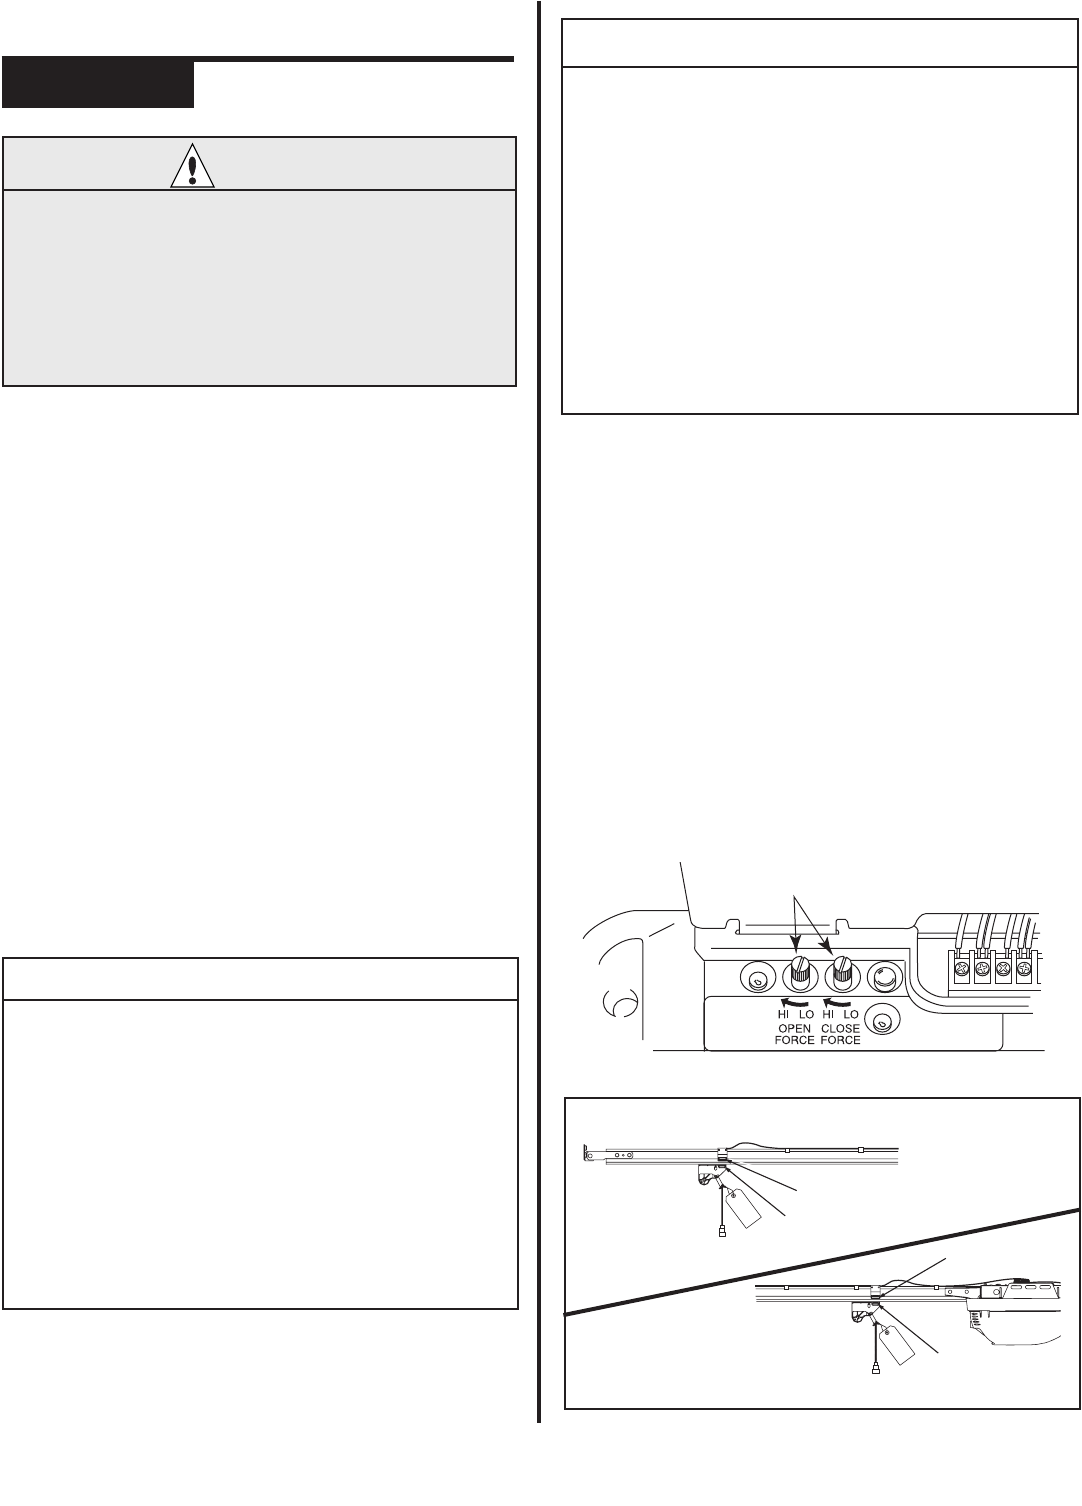
A Pre-set Force Controls to midpoint between Hi and LO
(Figure A-1).
B Adjust the Close Limit Switch: (Figure A-2).
• Press Wall Console to close garage door.
– If door does not close completely, measure distance
from bottom of door to floor. Move Limit Switch
same amount toward door and try again.
– If door reverses after contacting floor, move Limit
Switch toward Power Head and try again.
– If door reverses before contacting floor, increase
Close force and try again.
– If door fails to move, check Safe-T-Beam® System. See
Safe-T-Beam® Troubleshooting Guide on pg. 13, and
Opener System Self-diagnostic Troubleshooting
on pg. 11.
• Tighten Limit Switch Set Screw. Do not over-tighten
(strip) Limit Switch Set Screw.
C Adjust Open Limit Switch: (Figure A-2).
• Press Wall Console to open garage door.
– If door does not open completely, move Limit Switch
toward Power Head.
– If door opens completely, but motor continues to
run, move Limit Switch toward door.
• Tighten Limit Switch Set Screw. Do not over-tighten
(strip) Limit Switch Set Screw.
WARNING
• A moving garage door can cause serious injury
or death.
• Keep the path clear.
• Position the ladder to the side of the Power Head
so it is clear of all moving parts of the Opener
and the door.
• Set the door Opener to use the minimum force
needed to open the door.
NOTE
• Little effort is required to turn the Force
Adjusting Knobs.
• If the door stops moving while opening or closing,
adjust the Open Force or Close Force Controls
slightly clockwise (to slightly increase the force)
and retry the step.
• The Open Force and Close Force Controls are to be
set to the minimum force necessary to ensure the
door smoothly opens fully and closes completely.
• The garage door will move slowly the first time it
runs, until the Opener “learns” the type of door.
• Ensure the Magnetic Carriage Assembly is engaged
and is between the two Limit Switches before
operating the Opener.
NOTE
• To protect your new investment, your opener is
equipped with a Timer and Cycle Counter which
work together to prevent any chance of heat
damage to electrical circuits caused by too many
cycles in too short a time. If your Opener suddenly
stops responding to the Wall Console
- Do Not Unplug the Unit - simply wait
10 minutes for the Timer/Cycle Counter to
reset itself and try again.
a. Every 10 minutes you wait restores 5 cycles
up to the maximum of 25.
• Unplugging the unit will prevent the Timer/
Cycle Counter from resetting.
D Test Door Opener:
• Run door up and down a few times using Wall Console and
observe door travel.
• Repeat steps above as needed to set Limit Switch positions.
E Adjust Open Force to minimum needed:
• Place door in closed position using Wall Console.
• Gently adjust Open Force fully counterclockwise
(minimum force).
• Run Opener using Wall Console.
• Observe that door runs to Open Limit Switch.
– If not, adjust Open Force Control slightly clockwise,
close garage door, and open it again.
• Repeat steps above until garage door runs smoothly
from Close Limit Switch to Open Limit Switch.
F Adjust Close Force to minimum needed:
• Place door in open position using Wall Console.
• Gently adjust Close Force fully counterclockwise
(minimum force).
• Run Opener using Wall Console.
• Observe that door runs to Close Limit Switch.
– If not, adjust Close Force Control slightly clockwise,
open garage door, and close it again.
• Repeat steps above until garage door runs smoothly
from Open Limit Switch to Close Limit Switch.
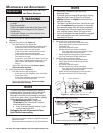
ma i N t e N a N C e a N D aD j u S t m e N t S
Close
Limit Switch (door fully closed)
Carriage
(disengaged)
Carriage Magnet
Switch
Switch
Magnet
Open Limit Switch (door fully open)
Carriage
(disengaged)
Figure A-2 Setting Limit Switches
Force Controls
Figure A-1 Making Force Adjustments


