


14 THE BASIC REVERSE OSMOSIS SYSTEM
Rev B
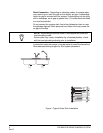
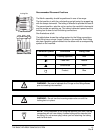
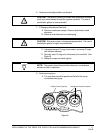
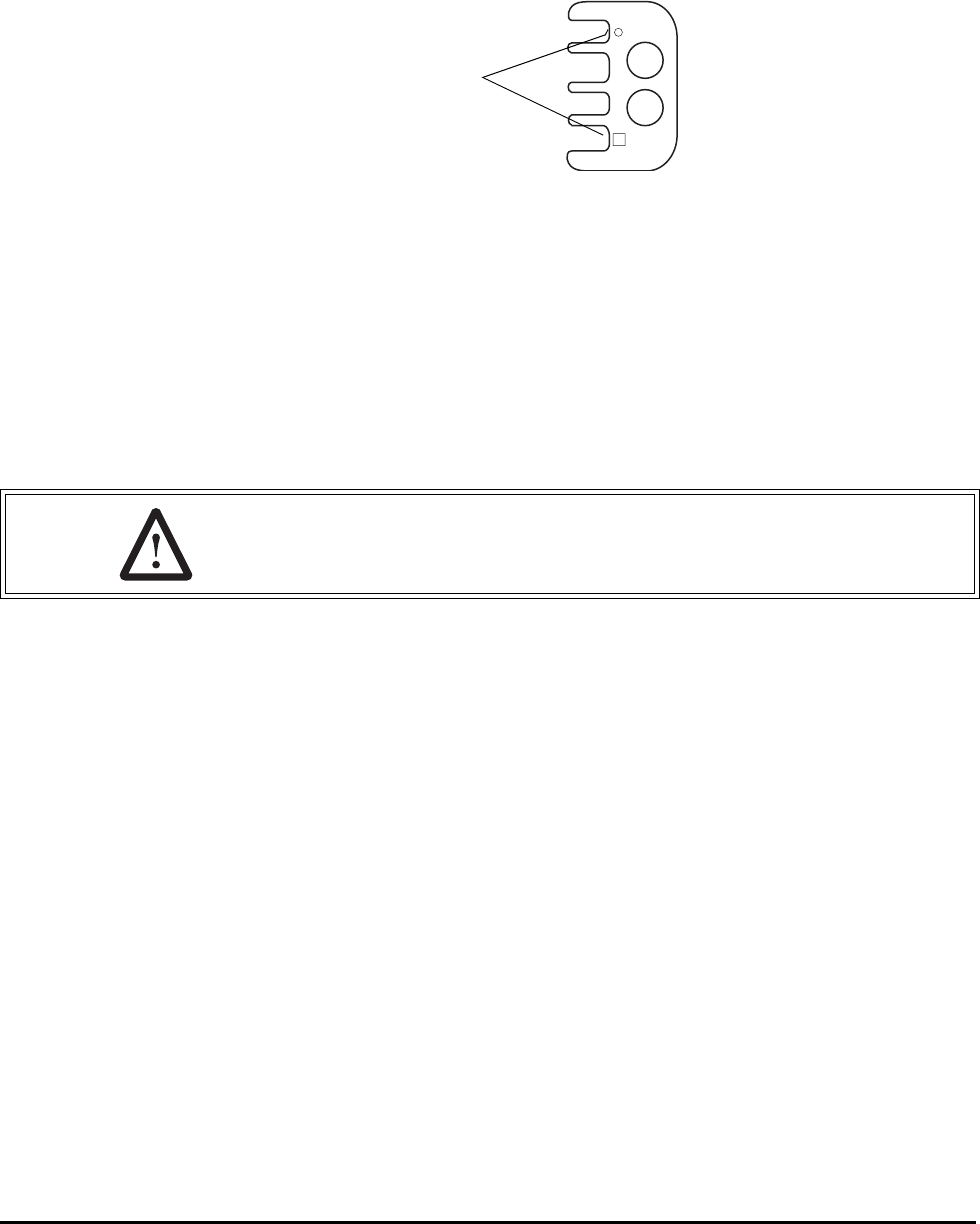
When all of the connections have been made, use the locking bar to
hold the fittings in position. Match the symbols on the locking bar to the
corresponding symbols on the manifold.
Figure 6 Locking Bar
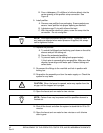
STEP 6 SYSTEM STARTUP
1. Inspect all connections.
2. If the flush tank is not installed, the 1/4-inch port on the manifold
must be plugged.
3. Position manifold horizontal with openings facing up.
4. Remove new membrane elements from packaging.
5. Lubricate element O-rings, brine seals, and sump O-rings with
silicone lubricant.
6. Securely insert O-ring end of membrane elements into manifold.
7. Remove carbon/sediment prefilter from packaging. Check that
gaskets are in place.
8. Place carbon filter in manifold.
9. Replace sumps and hand-tighten.
Pressure Test System
To check for leaks, the system must be filled with water and brought up
to operating pressure.
1. Open cold water feed valve slowly. Run at 1/2 open for a minute,
then open fully.
2. Open faucet until water runs.
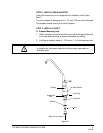
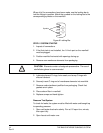
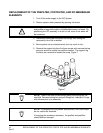
Symbols
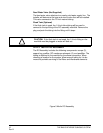
CAUTION: Elements contain a foodgrade preservative. The use of
sterile/latex gloves is recommended.