


14
920-007-12
These instructions are provided for installation of WallMaster air
conditioner chassis models into thru-the-wall sleeves. This chassis
has been UL approved with the sleeve listed on the serial nameplate
of this chassis. Important warranty information is provided on pages
17 and 18. Keep these instructions in a convenient location for any
warranty service that may be required.
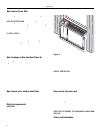
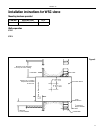
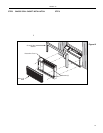
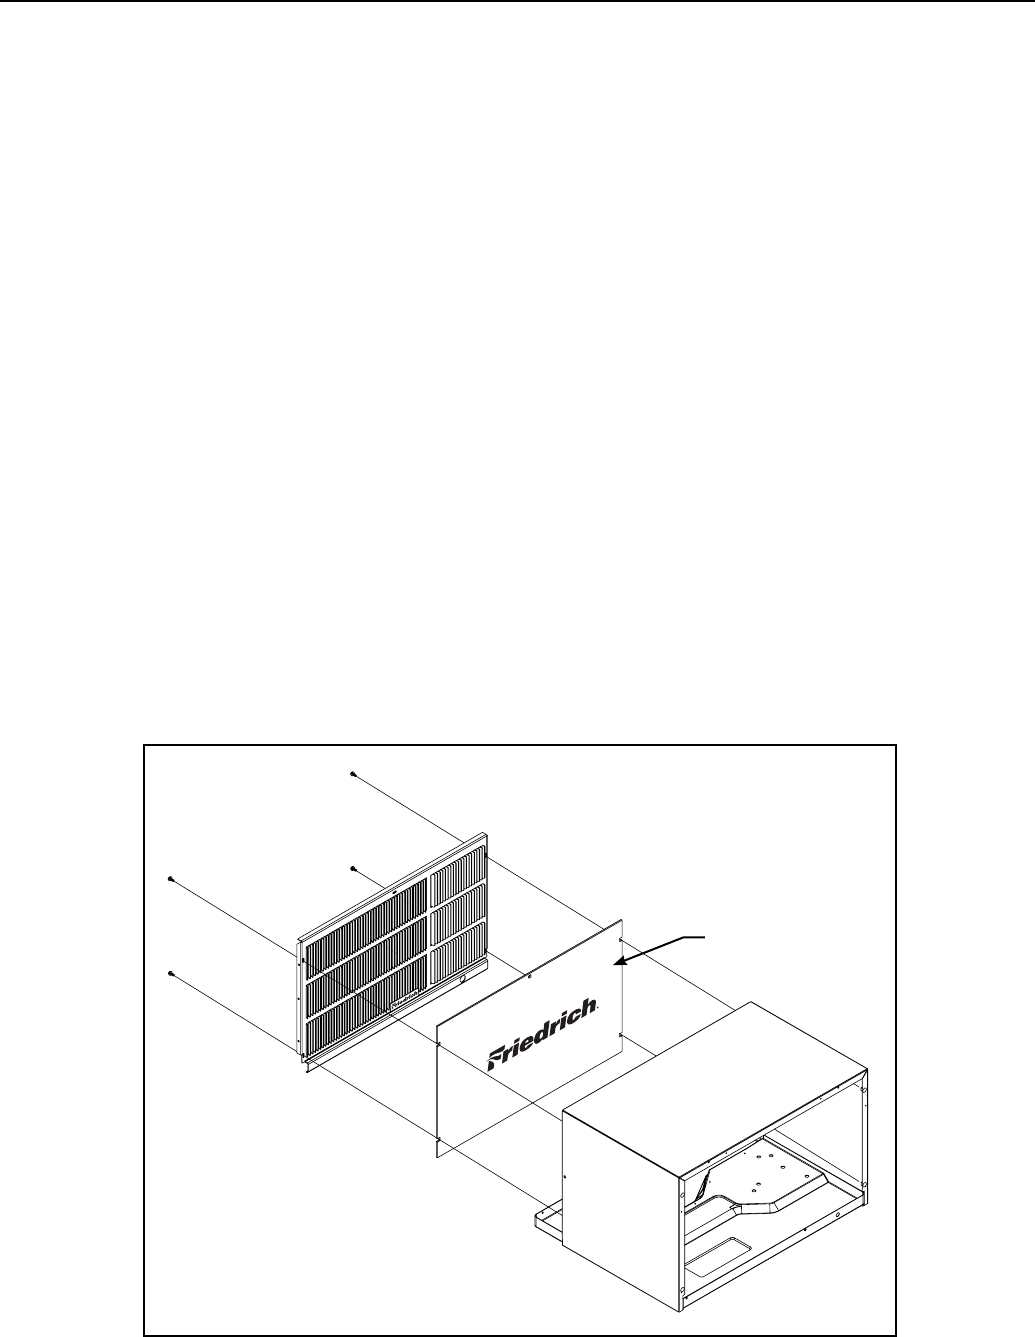
STEP 1 Check the sleeve to be certain it has been correctly installed
in the wall. Remove the corrugated front panel on the WSC
SLEEVE. Remove the rear WEATHER PANEL. Place lower
edge into sleeve tab (Friedrich logo facing out). Align slots
with screw holes. Secure grille with screws.
A. Check the anchor screws. There should be four
(4) in the WSC SLEEVE (two in each side).
B. Determine if the sleeve has a downward slope,
to the outside, of ½ bubble on a level. See
page 10 for further details.
C. Check to be sure the sleeve has been sealed
around all edges with an industrial type
caulk ing on both the outside and in side to
prevent rain entry.
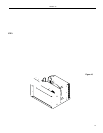
Figure 11
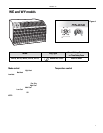
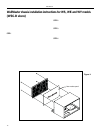
WallMaster chassis installation instructions for WS, WE and WY models
(WSC-B sleeve)
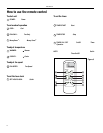
STEP 2 Check the electrical receptacle to see that it conforms to
the requirements for the chassis model to be in stalled.
See pages 2 and 5, for the re cep ta cle requirements.
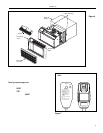
STEP 3 The decorative front is packaged in a separate box inside
the chassis shipping carton, be tween the chassis and
the carton. Remove this box and set the box aside until
later.
STEP 4 With the help of an assistant, remove the chassis from
the shipping carton. Be careful not to allow anything to
impact against the hairpins as this may result in dam age
to them. With the help of an assistant, lift the chassis by
the basepan and slide it into the sleeve until it contacts
the rear grille. With the chassis in proper position, the
front edge of the basepan must extend out 4 ¾ inches
from the front (side) edge of sleeve.
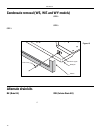
Rear weather panel