Excalibur
®
P90 Zero Clearance Direct Vent Gas Fireplace
26
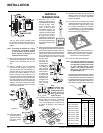
17) Reverse steps 4) to 2).
18) Attach clear label "This unit has been
converted to LPG" near or on top of the
serial # decal.
19) Replace yellow "Natural Gas" label with
red "LPG" label.
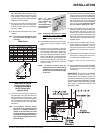
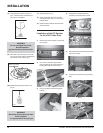
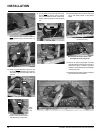
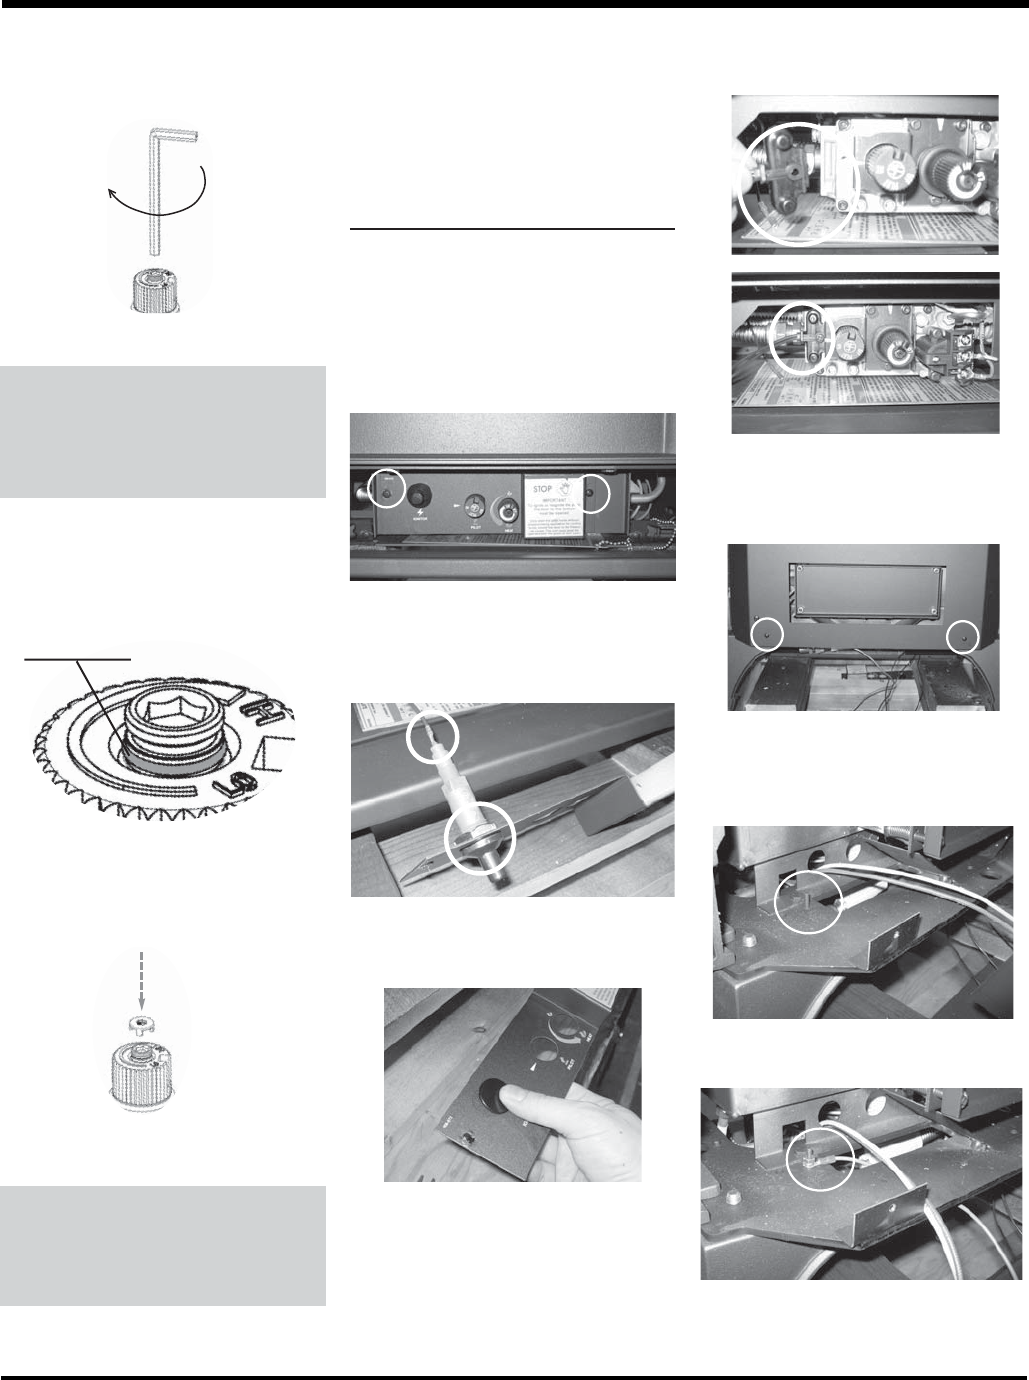
14) Using the Allen wrench as shown in
Fig.4, rotate the screw clockwise until
snug, do not overtighten.
Fig.4
WARNING!
Do not overtighten the screw.
Recommended to
grip the wrench by the short side.
15
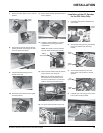
) Verify that if the conversion is from NG
to LPG, the screw must be reassembled
with the red o-ring visible (Fig. 5).
16) Reassemble the black protection cap
(Fig. 6).
WARNING!
Also check that the pilot and main
burner injectors
are appropriate for the gas type.
LPG Configuration
Red o-ring visible
Fig.5
Fig. 6
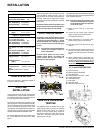
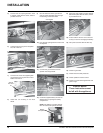
Installation of the DC Sparker
for the H35-1 Units Only:
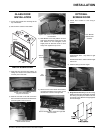
1) Remove the control panel by unscrewing
the 2 screws.
3) Plug up the Piezo hole with the plastic
bushing.
4) Attach the DC sparker generator
connector to the valve with a screw.
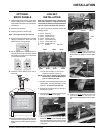
5) Remove the stove’s rear panel by unscrew-
ing the two screws.
6) Attach the ground wire to the grounding
stud.
2) First, remove the Piezo Ignition Wire
from the Piezo Ignitor. Then remove the
Piezo Ignitor from the control panel.
Before
After
INSTALLATION


