


FEATURES OF STEAM CLEANER
4
Your handheld steam cleaner is a very versatile tool. Used correctly it will help make
many household cleaning tasks faster and easier. Be sure to carefully read all the
information contained in this booklet before using this appliance.
High temperature steam can make it easier to remove stubborn household dirt from
hard surfaces such as ovens, stove tops, kitchen counters, sinks, tubs, bathroom tiles,
windows and mirrors without the need for harsh chemical cleaners. The appliance has
various attachments which enable it to be used for cleaning different types of surfaces
such as:
1. Upholstery, sealed grout, bathroom/kitchen tile, stovetops.
2. Easily cleans difficult to reach areas with the concentrator such as faucets, etc.
3. Ideal for windows, mirrors, glass doors, etc.
4. Fabrics, window coverings, pillows, bedding etc.
5. Hard surface areas such as counters, sinks, shower door tracks, etc.
NOTE:First usage may require 6-10 rapid pushes on steam push button before
steam exits. Keep pressing for a few seconds until steam has developed from
first rapid depressing of steam trigger, then you can continue intermittent
pressing of steam trigger as detailed above.
CAUTION: Press steam trigger intermittently no more than once every 1 or 2
seconds. Rapid pressing in succession will cause water leaking and spitting
which could then burn the user’s hand. Wait for steam pressure to reduce
before pressing steam trigger again. By pressing intermittently you will note a
rhythm for maintaining a continuous flow of steam without any water dripping or
leaking.
IMPORTANT: Do NOT add cleaning solutions, scented perfumes, oils or any other
chemicals to the water used in this appliance. Use regular water or
distilled water if the tap water in your area is very hard.
OPERATING INSTRUCTIONS
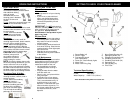
Components
Power “On” Light (red): This light will
illuminate when the unit is plugged into
the 120V wall outlet and will remain on
until the unit is unplugged.
CAUTION: Read the instructions for
“Filling the Water Tank” before opening
the Water Tank Cover. Always unplug
before filling.
OPERATING INSTRUCTIONS
Filling Your Steam Cleaner With
Water
5
IMPORTANT: Always insure that the
unit is “UNPLUGGED” from the wall
receptacle prior to initial filling or re-filling
the water tank. Use tap water or
distilled/purified water if the tap water
in your area is very hard.
WARNING: Never attempt to fill this
unit under a water tap, always use the
filling flask that is provided. Failure to
follow these steps will cause the water
tank to overfill and may pose an electrical
safety hazard.
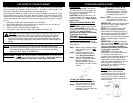
Step 1: Before filling the steam cleaner,
make sure that the unit is NOT
plugged in.
Step 2: Hold unit upside down and
remove the water tank filling
plug. (See caution above.)
Step 3: Using the filling flask add
8 US Fl. Oz. (240 ml) of water.
Do not overfill. (Fig. 1)
Replace the water tank filling
plug making sure that it is firmly
in place.
IMPORTANT: When the steam cleaner
has run out of water, steam output will
decrease and then cease.
NOTE: First usage may require 6-10
rapid pushes on steam push button
before steam exits. Keep pressing for a
few seconds until steam has developed
from first rapid depressing of steam
trigger, then you can continue intermittent
pressing of steam trigger as detailed
above.
IMPORTANT: Do NOT add cleaning
solutions, scented perfumes, oils or any
other chemicals to the water used in this
appliance. Use regular tap water or
distilled/purified water if the tap water
in your area is very hard.
CAUTION: Press steam trigger
intermittently no more than once every 1
or 2 seconds. Rapid pressing in
succession will cause water leaking and
spitting. Wait for steam pressure to
reduce before pressing steam trigger
again. By pressing intermittently you will
note a rhythm for maintaining a
continuous flow of steam without any
water dripping or leaking.
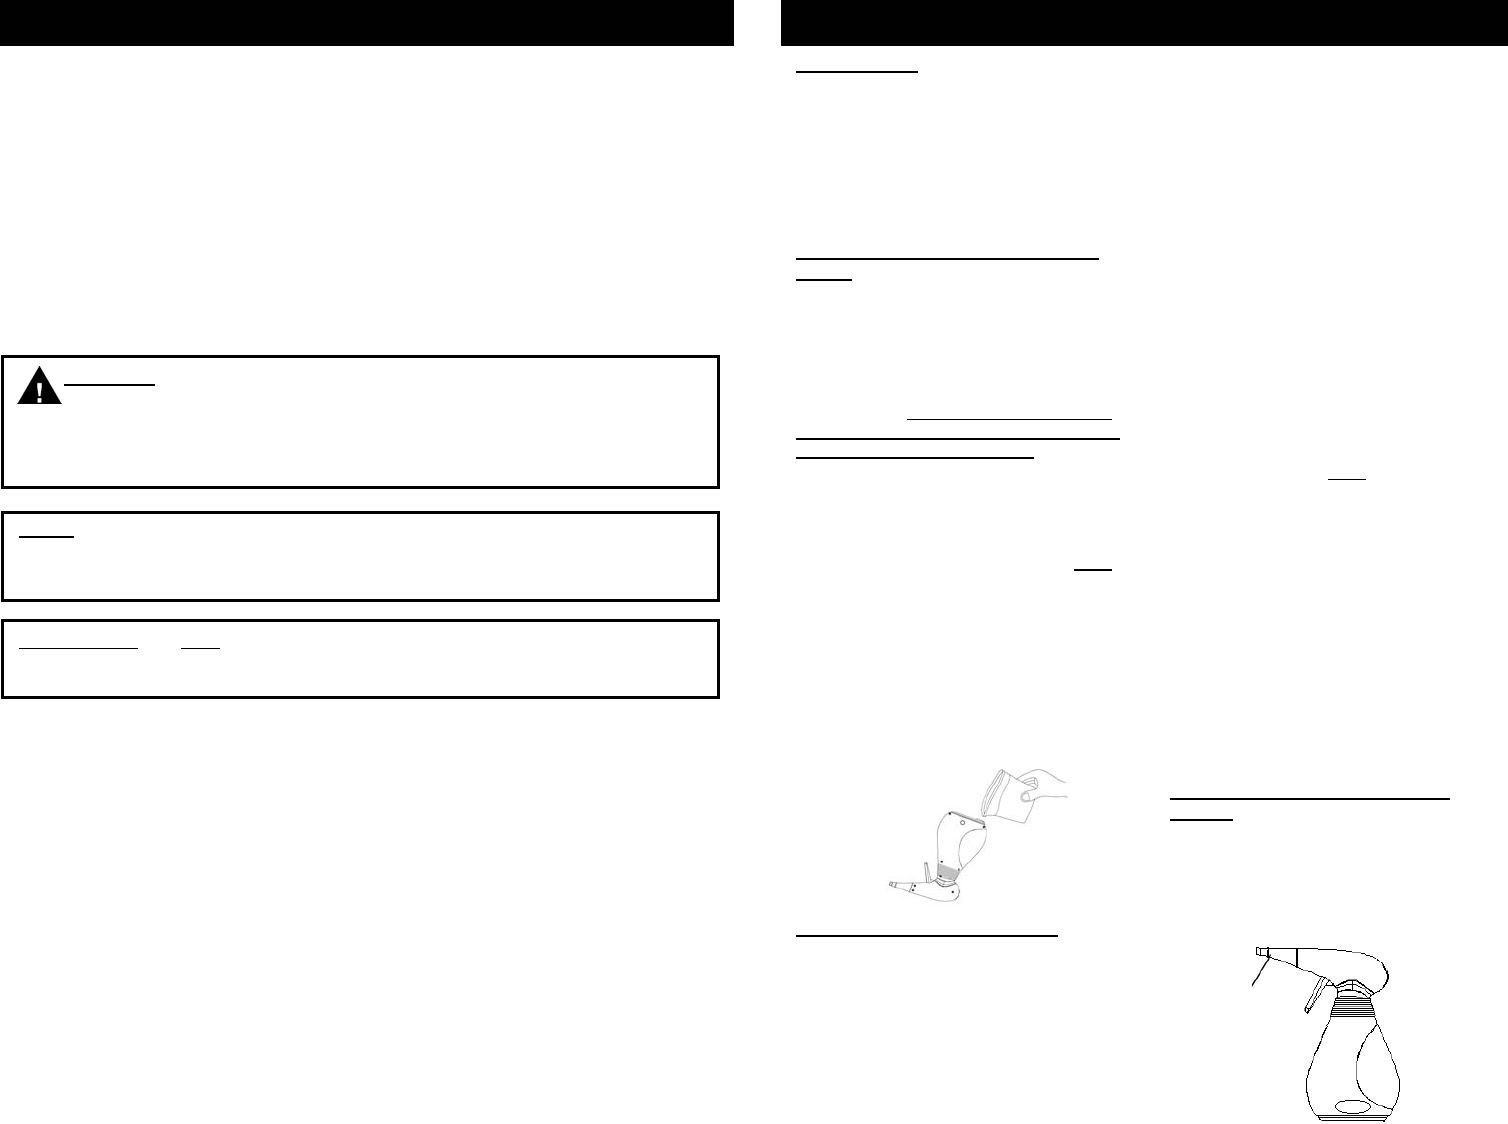
Using the Fixed Concentrator
Nozzle
Using the steam cleaner with the
concentrator nozzle is very useful for
cleaning surfaces that are difficult to
reach. (Fig. 2) It is ideal for radiators,
door and window jambs, shutters and
sanitary fixtures.
Fig. 1
Fig. 2
Concentrator
Nozzle
Step 1: Connect desired attachments
onto the concentrator nozzle
Step 2: Plug the unit into a standard
(120 volt, grounded) wall
receptacle. The red power light
will now illuminate.
To Use Your Steam Cleaner
Step 3: Allow approximately 30 - 60
seconds for unit to reach its
working temperature. The blue
steam ready light will illuminate
to indicate that the steam is
ready.
Step 4: Upon initial use, some water will
come out from the nozzle of
the attachment. This is normal.