


Filling Your Steam Generator With Water (continued)
Step 4: Allow approximately 10 minutes for vapor to reach its working temperature and
pressure. When these have been reached, the Yellow indicator (#3) will light.
The machine is ready to operate.
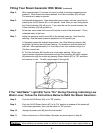
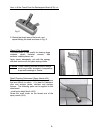
Step 5: Add desired attachments. After attachments are in place, activate vapor flow by
pressing the On/Off Switch (#7) on the handle. Note: After you start using steam,
the Yellow Indicator (#3) will go out. If you stop the use for several minutes, the
Yellow Indicator (#3) will go back on.
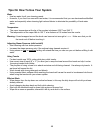
Step 6: At the start, some water will come out from the nozzle of the attachment. This is
unheated water in the hose.
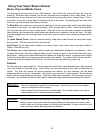
Step 7: Adjust the pressure control knob (#8) to the desired pressure. Heat does the
cleaning! Use the lowest pressure possible to do the specific job.
A. Depending upon the ambient temperature, this Red Warning indicator (#4)
might light up during the initial tank heating. Go ahead and vent the hose and
start use. After approximately 2 to 3 minutes of use, this indicator will go out.
Continue normal use.
B. The Red Indicator (#4) functions as a low water warning. When your
vapor pressure significantly decreases and the Red Indicator (#4) lights, release
all pressure through the nozzle by pressing Steam Switch (#7) to “On” and allow
the machine to cool. To refill, repeat steps #1 through #6.
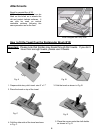
If the “Add Water” Light (#4) Turns “On” During Cleaning, Indicating Low
Water Lever, Follow the Instructions Below to Refill the Steam Generator.
Step 8. Push the On/Off Switch (#2) to its “Off” position.
Step 9. Push the On/Off Steam Switch (#7) to its “On” position to release all the steam left
in the steam generator, then turn the switch to “Off” position.
Step 10. Unplug the power cord (#5) from the wall socket.
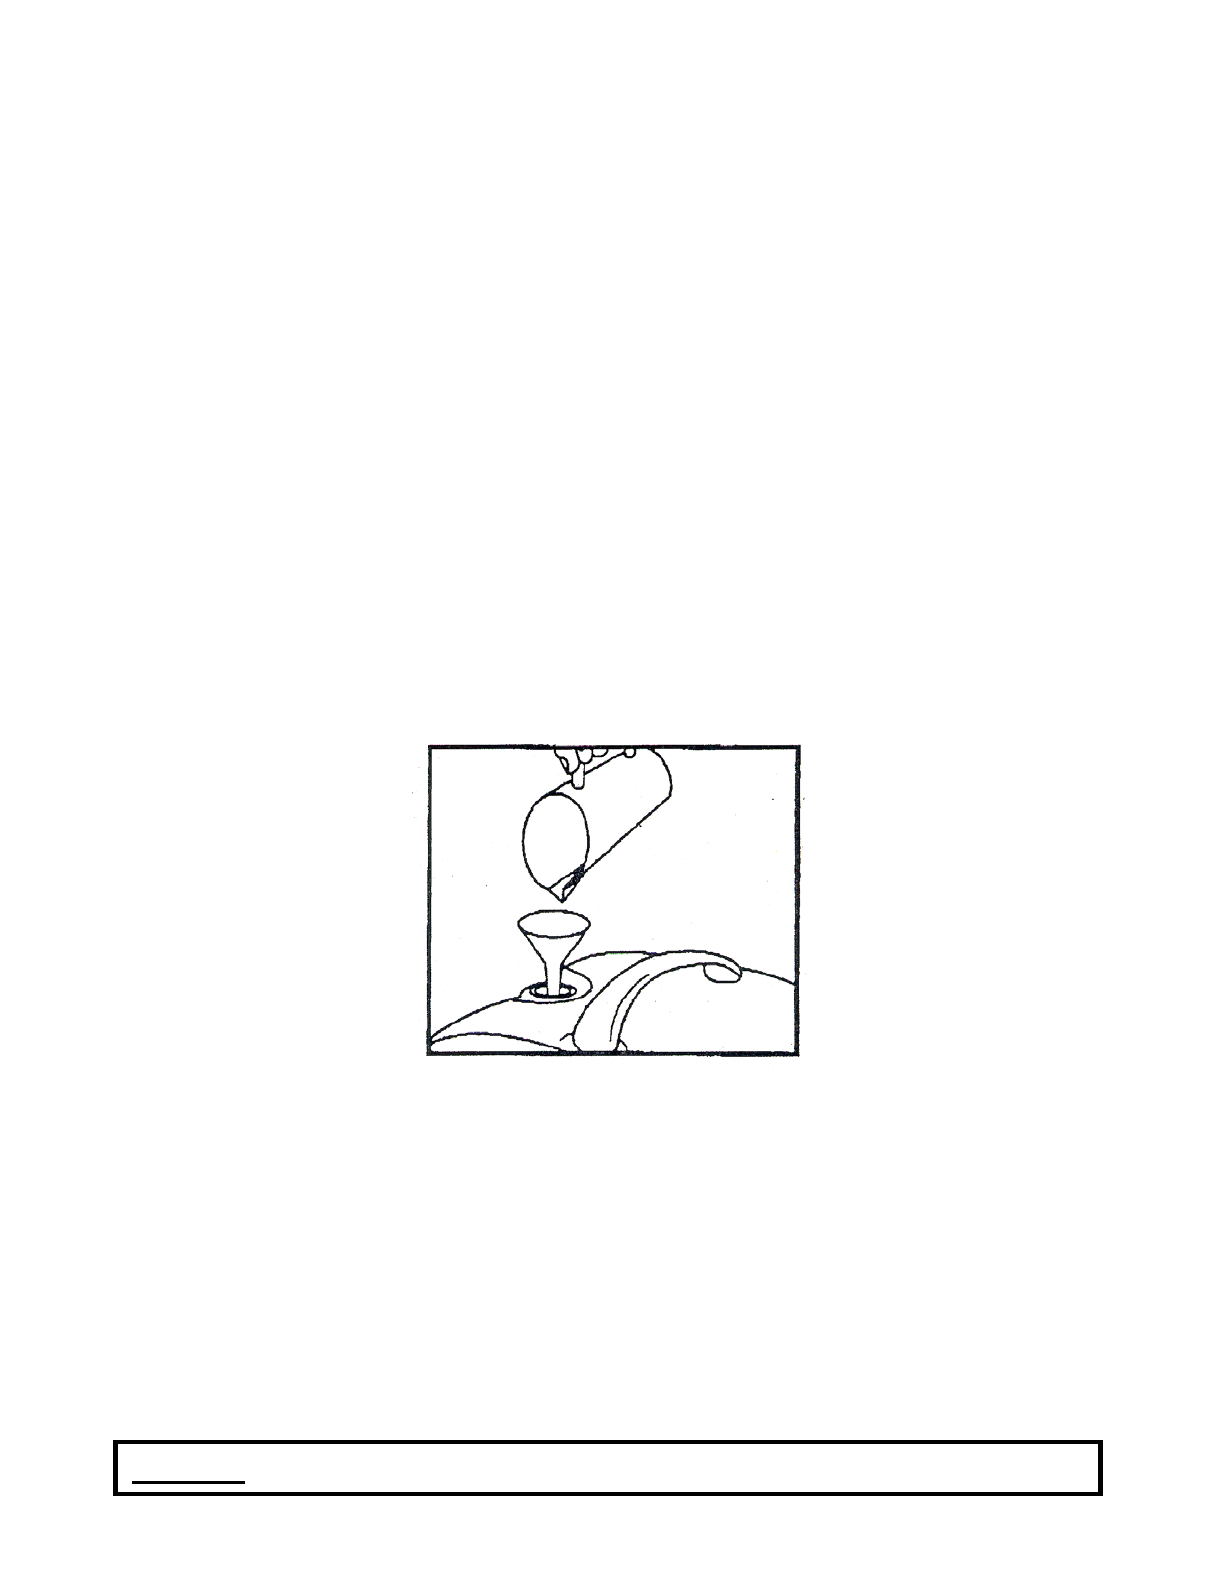
Step 11. Follow instructions to fill the Steam Generator as shown above in Step #1.
Caution: When refilling the machine while it is still hot, the first drops of water might bubble up.
6