


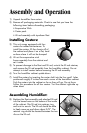

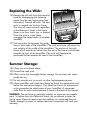


9) Replace the evaporative wick frame
assembly into the guides provided in the
bottom of the cabinet and the ribs along
the sides of the cabinet.
10) Place the chassis unit onto the cabinet
ensuring that the chassis seats correctly
into the front and back grooved
edges of the cabinet.
Filling the Humidifier:
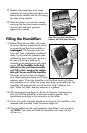
11) Before filling the humidifier with water,
be certain that the speed control switch
is turned off and that the humidifier is
unplugged. Fill the water reservoir
with cool, fresh, preferably unsoftened
water. If you have only softened water
available in your home, you can use it,
but you will notice a build up of
minerals on the evaporative wick much
sooner. Fill the humidifier to the level
indicated on the wick frame assembly
and “Fill to Here” decal on the cabinet
side wall. Do not overfill the humidifier.
The upper portion of the wick element
must remain exposed above the fill level
indicator mark. When the humidifier is full the float switch will allow
the humidifier to run. When the water level drops to the refill level, the
humidifier will automatically shut off and the “refill” indicator will
light. When first filled, reservoir capacity is 6 gallons.
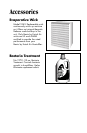
12) We recommend using Bemis by Essick Air Bacteria Treatment every
time you refill the humidifier to eliminate bacteria growth. Add
bacteriostat according to the instructions on the bottle.
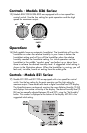
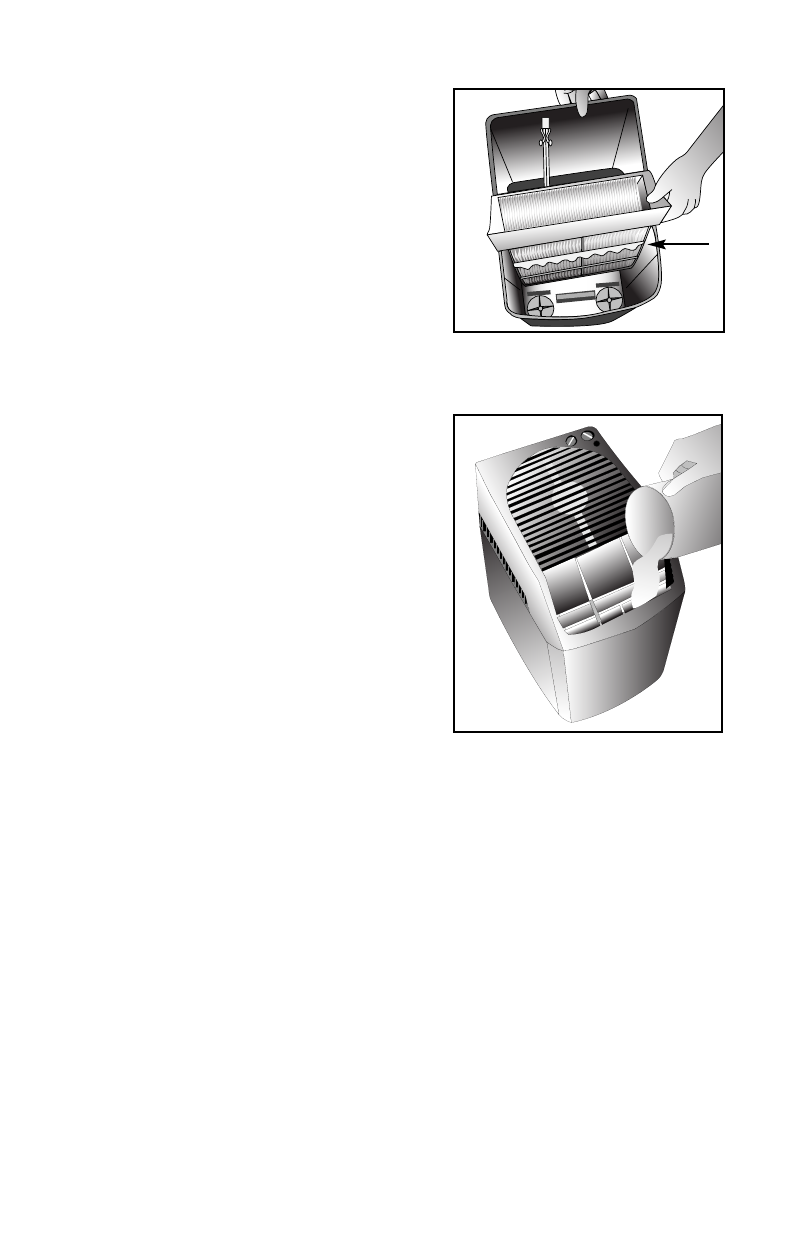
13) The air exit grille should be placed on the front of the humidifier in the
recessed area provided. Insert the bottom edge first.
14) Plug the cordset into the wall receptacle. Humidifier is now ready for
use. NOTE: If you have not filled the humidifier with water the unit
will not run.
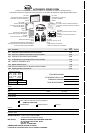
Note: This wavy line is the fill level
indicator. Do not fill above this mark.
wavy
line