10
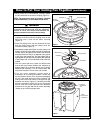
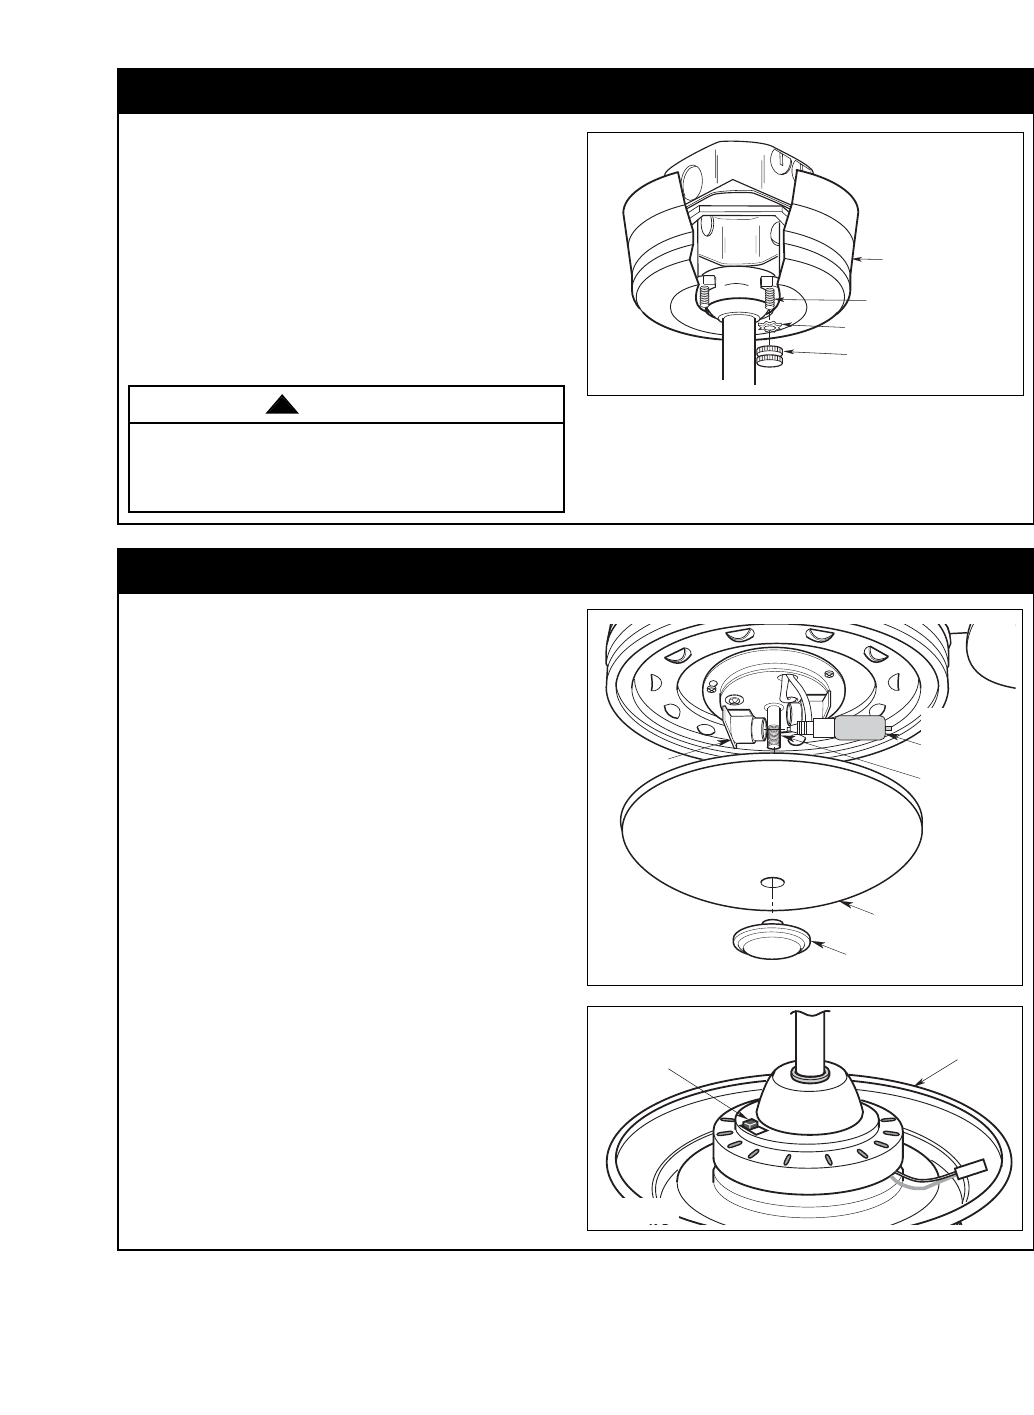
Installation of Lower Light Glass
FINIAL NUT
GLASS SHADE
THREADED
NIPPLE
LIGHT
SOCKET (2)
50-WATT
HALOGEN
LIGHT BULB (2)
Figure 18
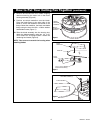
REVERSING
SWITCH
MOTOR
HOUSING
Figure 19
1. Screw two 50-watt (maximum) halogen mini
candelabra base bulbs into the light kit assembly
sockets (Figure 18).
2. Unscrew the finial nut from the light kit assembly
threaded nipple (Figure 18).
3. Position the glass shade over the threaded nipple
on the light kit assembly.
4. Reinstall the finial nut onto the threaded nipple.
NOTE: Periodically check that the glass bowl is
seated correctly in the light kit assembly and the
finial nut is securely fastened.
5. Assembly of the ceiling fan is now complete.
Restore electrical power to the branch circuit at the
fuse box or breaker panel.
Model No.: CF990
How to Wire Your Ceiling Fan (continued)
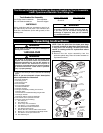
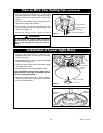
4. Push the wires and connectors up into the outlet
box while inserting the receiver fully into the hanger
bracket. Position the antenna wire on top of the
receiver.
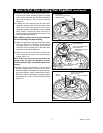
5. Screw the two threaded studs (supplied) into the
tapped holes in the hanger bracket.
6. Lift the ceiling cover up to the threaded studs and
turn until studs protrude through the holes in the
ceiling cover (Figure 17).
7. Secure the ceiling cover in place by sliding
KNURLED KNOBS (2)
LOCKWASHERS (2)
THREADED STUDS (2)
CEILING COVER
Figure 17
To avoid possible fire or shock, make sure that the
electrical wires are completely inside the outlet box
and not pinched between the ceiling cover and the
ceiling.
WARNING
!


