6
To avoid possible fire or shock, do not pinch wires
between the hanger ball/downrod assembly and
hanger bracket.
WARNING
!
Electrical Requirements
If your fan is to replace an existing ceiling light fixture,
turn electricity off at the main fuse box at this time and
remove the existing light fixture.
Your new ceiling fan will require a grounded electrical
supply line of 120 volts AC, 60 Hz, 15 amp circuit.
The outlet box must be securely anchored and
capable of withstanding a load of at least 50 pounds.
Turning off wall switch is not sufficient. To avoid
possible electrical shock, be sure electricity is
turned off at the main fuse box before wiring. All
wiring must be in accordance with National and
Local Codes and the ceiling fan must be properly
grounded as a precaution against possible
electrical shock.
WARNING
!
To reduce the risk of fire, electrical shock, or personal
injury, mount fan to outlet box marked “Acceptable for
Fan Support”, and use screws supplied with outlet box.
Most outlet boxes commonly used for support of light
fixtures are not acceptable for fan support and may
need to be replaced. Consult a qualified electrician if
in doubt.
WARNING
!
U.L. Model No.: CF701
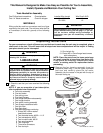
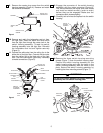
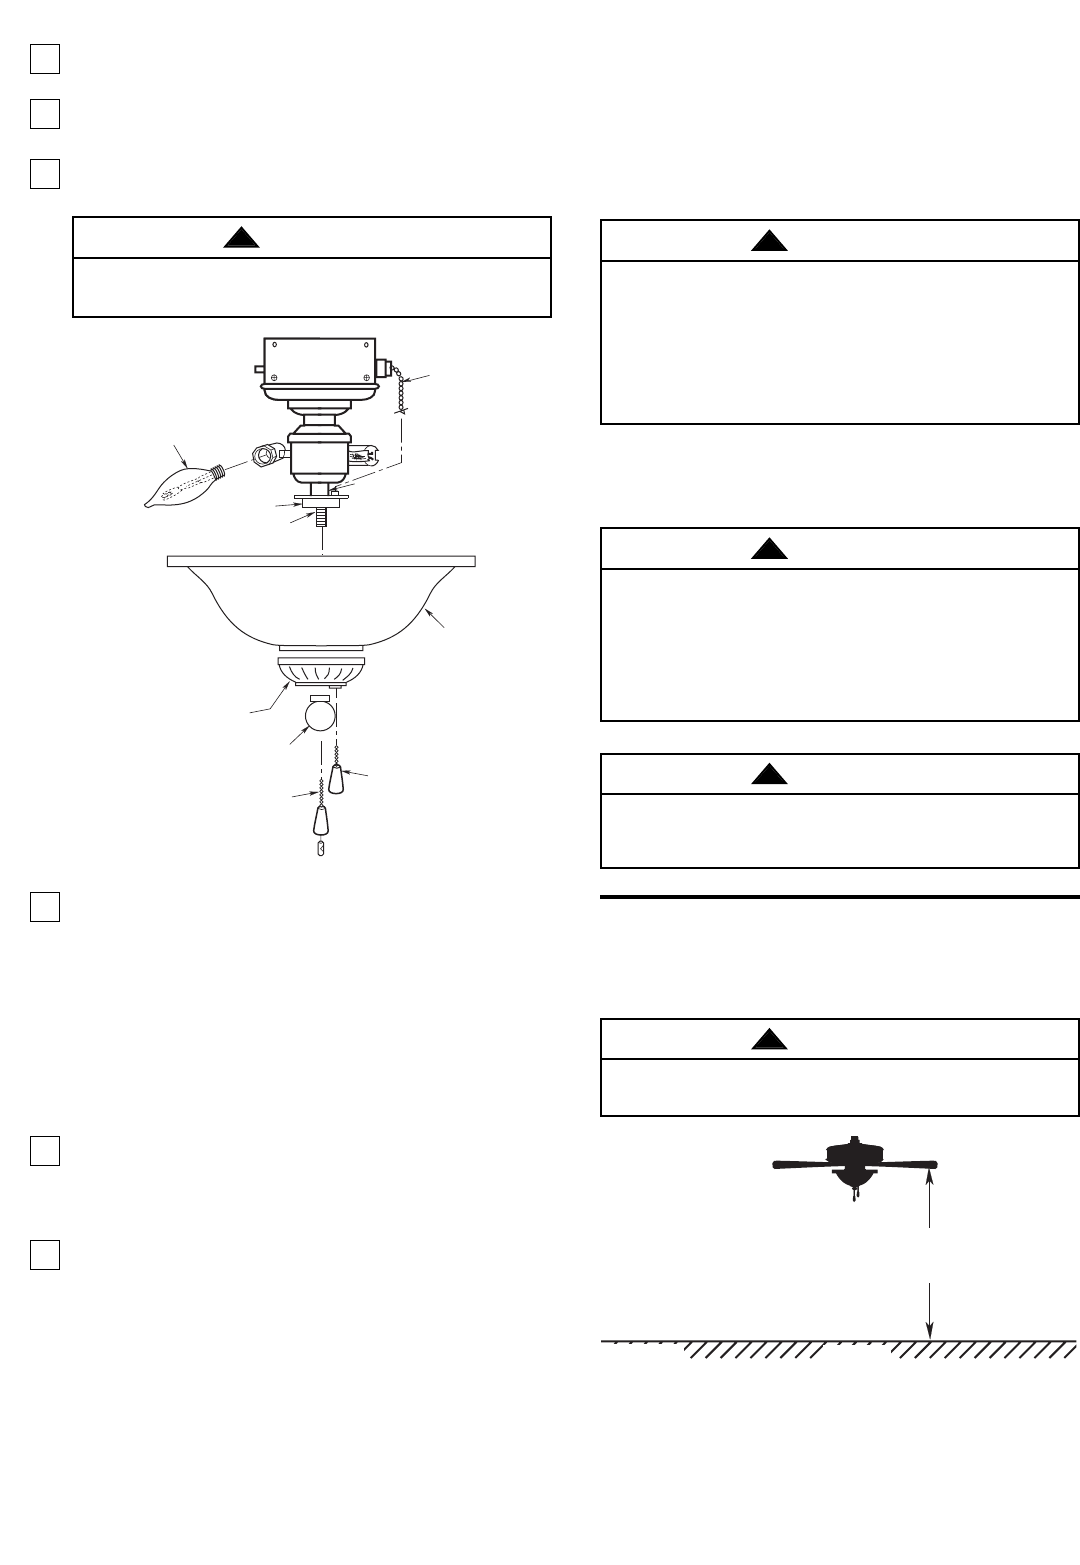
15. Install two 60-watt (maximum) candelabra base
light bulbs into the light fitter sockets (Figure 8).
16. Remove the finial nut and outer bowl cap from the
light fitter (Figure 8).
17. Pass the fan switch chain through the cut-slotted
hole in the bowl cap (Figure 8).
To avoid possible fire hazard, do not exceed wattage
indicated on the fitter.
WARNING
!
THREADED NIPPLE
BOWL CAP
LIGHT FITTER
OUTER BOWL
CAP
GLASS BOWL
60-WATT
CANDELABRA
BASE BULBS (2)
FINIAL NUT
FAN SWITCH
CHAIN
PENDANTS (2)
LIGHT SWITCH
CHAIN
Figure 8
18. Position the glass bowl over the threaded nipple
and seat bowl on bowl cap (Figure 16). Pass the
fan pull chain through the bushing in the outer
bowl cap and install the cap on the threaded
nipple. Install nut finial finger tight.
CAUTION
Be sure that the fan switch chain does not make
contact with the light bulbs. If necessary
reposition the light fitter to avoid the fan switch
chain from touching the light bulbs.
19. Install pendants onto light fixture chain and fan
switch chain using couplings provided.
NOTE: It is advisable to periodically check the
tightness of the finial.
20. You have now completed the assembly of your
new ceiling fan. You can now proceed with
hanging and wiring your fan.
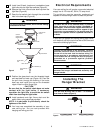
The fan must be hung with at least 7' of clearance
from floor to blades (Figure 9).
WARNING
!
FLOOR
7'
MIN.
Figure 9
Installing The
Hanger Bracket


