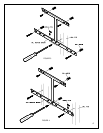
5. The wall-mounting bracket must be mounted to at least one wall stud (FIGURE 3) or
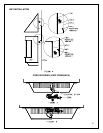
into two wall studs (FIGURE 4)
6. When installing into two studs the wall anchor must be installed into the center location
as indicated in FIGURE 3.
7. When installing into one stud, use one of the three center locations as indicated in
FIGURE 4. The wall anchors must be installed into the outer most locations as
indicated in FIGURE 4.
8. Hold the wall-mounting bracket on the wall and mark the location of ONE of the
mounting holes.
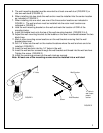
9. Install the bubble level onto the top of the wall-mounting bracket. (FIGURE 3 & 4).
10. Adjust the wall-mounting bracket so the bubble on the level is centered between the two
black lines.
11. Mark 4 other mounting screw locations on the wall bracket ensuring that the wall
bracket stays level.
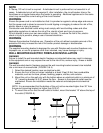
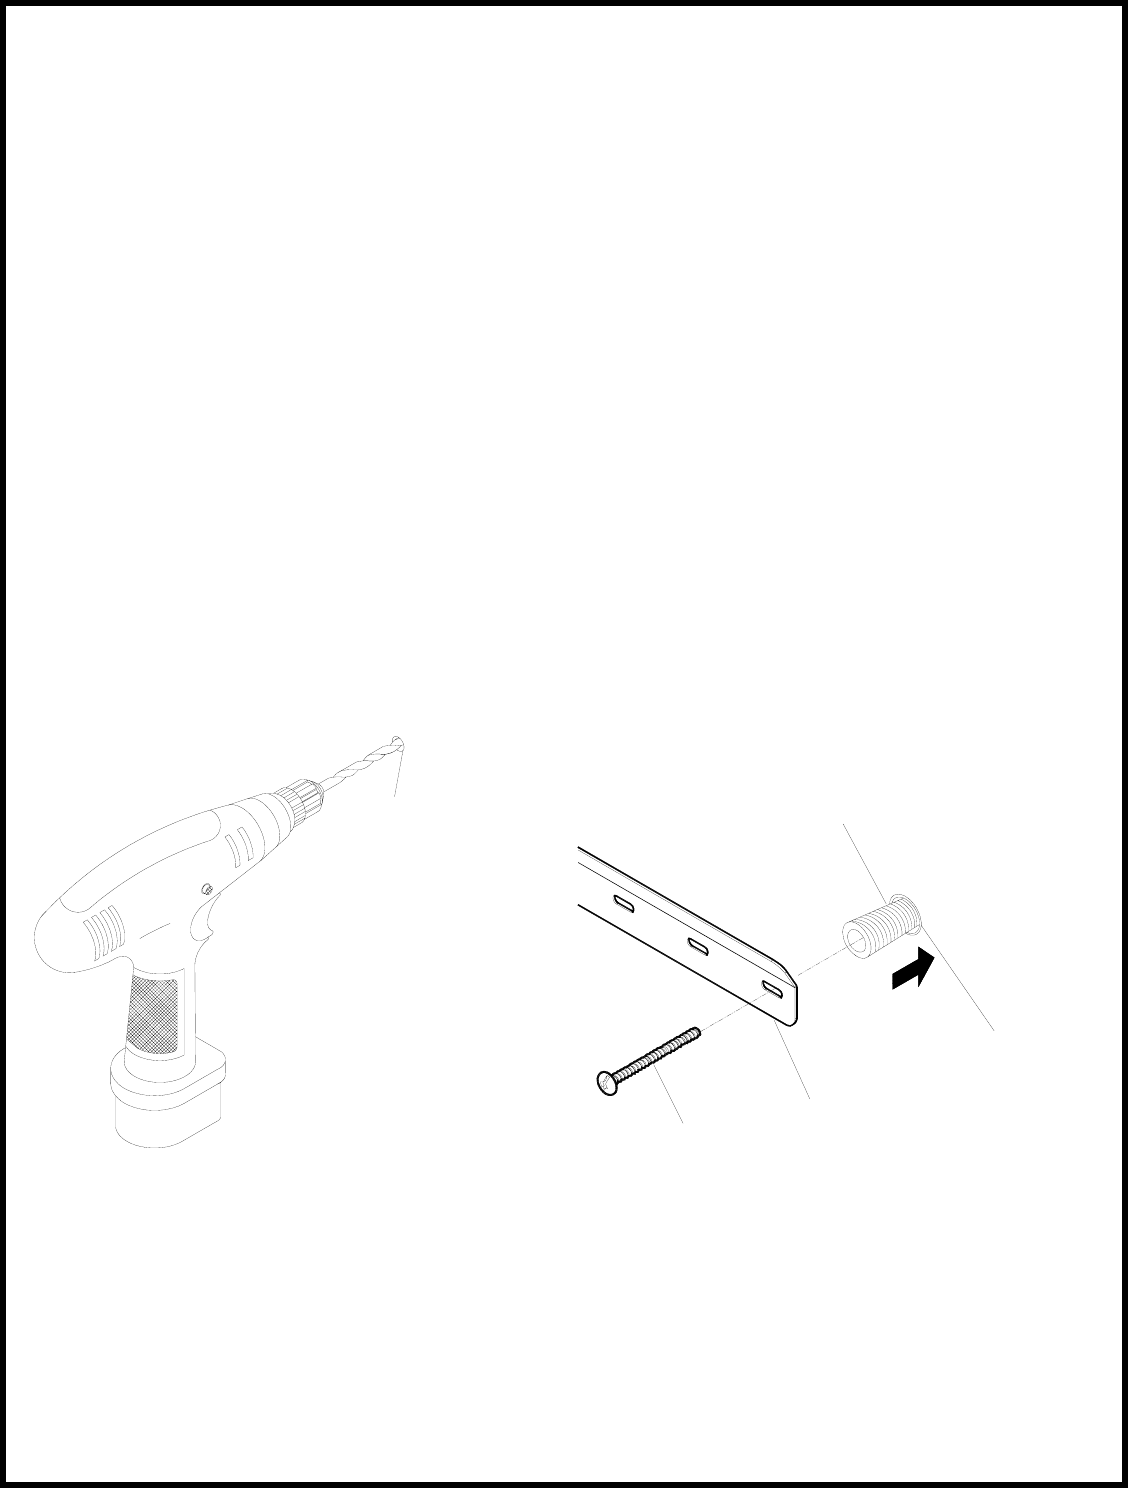
12. Drill 1/4” holes into the wall on the marked locations where the wall anchors are to be
installed. (FIGURE 1)
13. Insert the wall anchors into the 1/4” holes in the wall.
14. Insert the wall anchor screws through the wall bracket and thread into the wall anchors.
Tighten the screw. (FIGURE 2)
15. Install the remaining screws into the wall studs as required.
Note: At least one of the mounting screws must be installed into a wall stud.
3
¼” Hole
FIGURE 2
Wall Anchor
Wall Bracket
Screw
¼” Hole in
wall insert
plastic
anchor
FIGURE 1


