Digicom S.p.A.
VoiceGATE
Manual rev.2.0
Pag. 10
2.4 VoiceGATE Working Test
With simple operations you can test at once the working of VoiceGATE. We suggest to follow
the procedures described in this chapter so to avoid working problems of VoiceGATE due to
wrong configurations.
The factory settings of VoiceGATE are the following:
Ethernet:
IP address: 192.168.2.1
Subnet Mask: 255.255.255.0
Voice:
Mode: Address Book
Numbers: Line1->123 Line2 ->456
To test the working of any single VoiceGATE, proceed as follows:
- Power on your VoiceGATE
- Wait for the start-up phase (about 45 seconds)
- The led Line 1 and Line 2 of VoiceGATE will remain on (fixed red)
- Connect two analog phones in Tel 1 and Tel 2
- Take up the receiver of the phone connected in Tel 1
- Be sure you hear the dial tone and dial the number 456
- The phone connected in Tel 2 will ring
To test the working of a couple of VoiceGATE, go on as follows:
- Modify the IP address of one of the two VoiceGATEs entering the WEB configuration,
and following the indications in the paragraphs “Computer Configuration” and
“Access to configuration”.
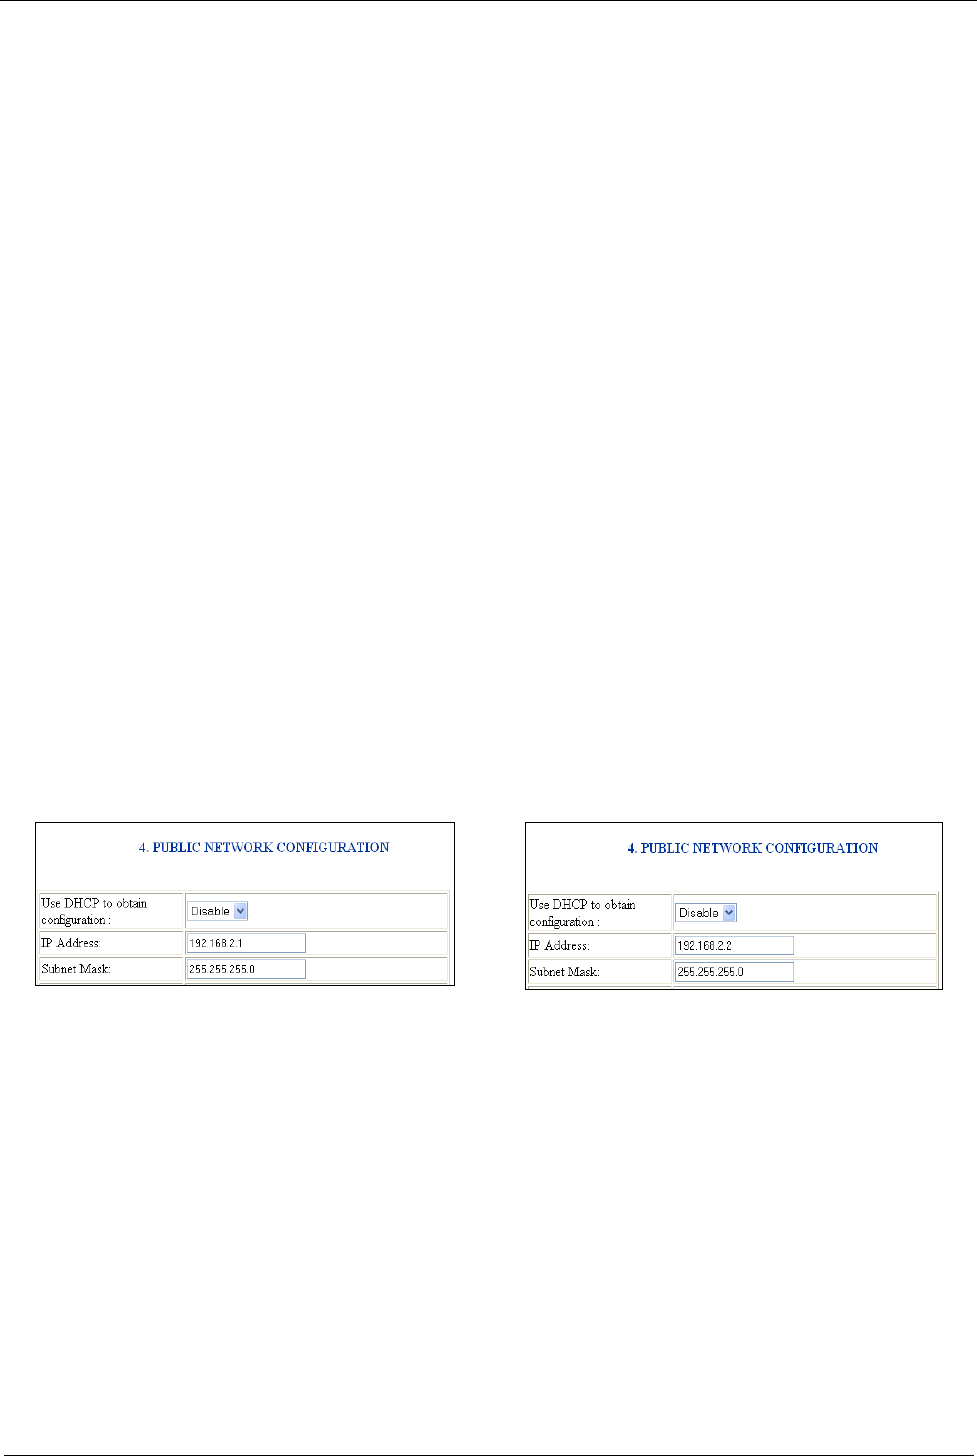
- Select the menu number 4. Public Network Configuration and modify the IP Address
from 192.168.2.1 to 192.168.2.2
Attention: If the IP address is not correctly inserted, there’s the risk VoiceGATE is
no more reachable.
- Click on the Submit button at the end of the WEB page
- Select the Save settings menu and press on Submit
- At the end of the reset procedure (about 45 seconds) only the leds Line 1 and Line 2 of
VoiceGATE will remain on (fixed red)
- The following telephone numbers will be associated to the VoiceGATE with IP address
192.168.2.2 : Line1-> 111 and Line2 ->222
- Connect the two VoiceGATEs directly, using an Ethernet cross cable, through the WAN
ports or use two Ethernet right cables, passing through an hub or a switch
- Connect an analog phone to the Tel1 port of the VoiceGATE with IP address
192.168.2.1 and the other phone to the Tel1 port of the VoiceGATE with IP address
192.168.2.2
- Take up the receiver of the first phone
- Be sure ou hear the dial tone and dial the number
- The phone connected to the second VoiceGATE will ring


