104163-01H
5
5
For more information, visit www.desatech.com
For more information, visit www.desatech.com
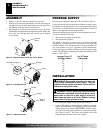
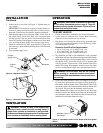
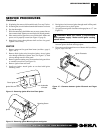
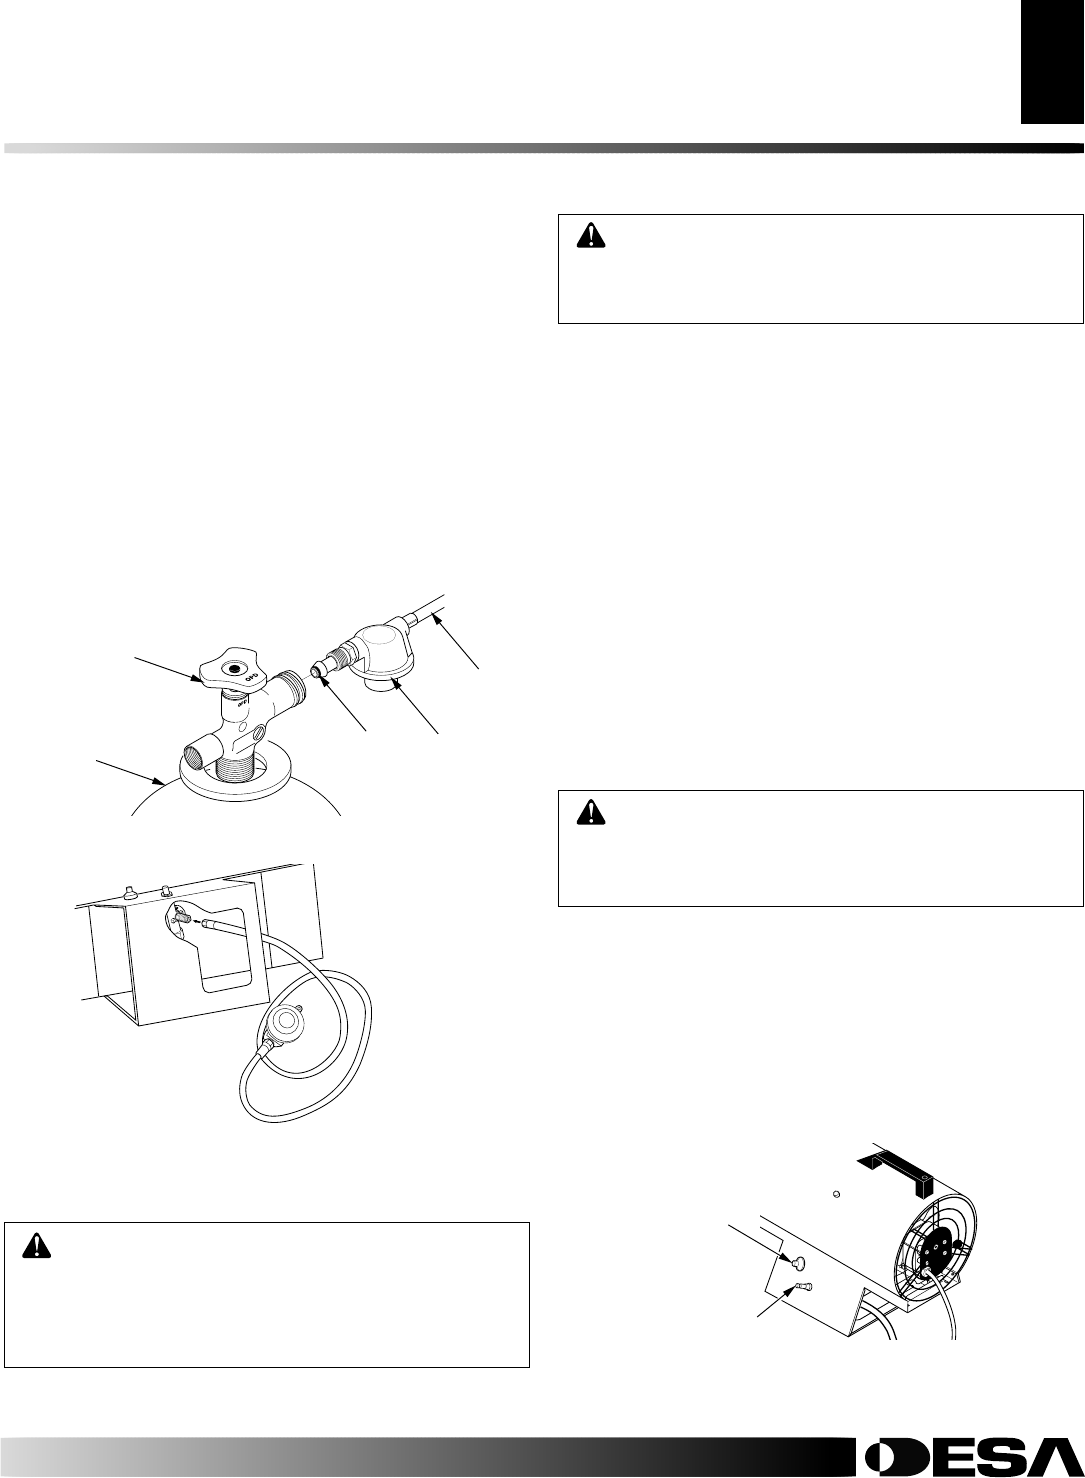
Figure 7 - Hose and Inlet Connector
Figure 6 - Regulator Position
3. Connect hose to valve inlet (see Figure 7). Tighten firmly us-
ing a wrench.
IMPORTANT:
Use extra hose or piping if needed. Install ex-
tra hose or piping between hose/regulator assembly and pro-
pane tank. You must use the regulator supplied with heater.
4. Open propane supply valve on propane tank(s) slowly. Note: If
not opened slowly, excess-flow check valve on propane tank
will stop gas flow. You may hear a click from the excess-flow
check valve closing. If this happens, reset the excess-flow check
valve by closing propane supply valve and open again slowly.
5. Check all connections for leaks. Apply mixture of liquid soap
and water to gas joints. Bubbles forming show a leak that must
be corrected.
6. Close propane supply valve.
INSTALLATION
Continued
Propane
Tank
Propane
Supply Valve
Regulator
Hose
POL
Fitting
VENTILATION
WARNING: Provide at least a one square foot
opening of fresh, outside air while running heater. If
proper fresh, outside air ventilation is not provided,
carbon monoxide poisoning can occur. Provide proper
fresh, outside air ventilation before running heater.
OPERATION
WARNING: Review and understand the warnings
in the
Safety Information
section, page 2. They are
needed to safely operate this heater. Follow all local
codes when using this heater.
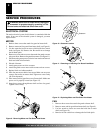
Figure 8 - Automatic Control Valve Button and Piezo Ignitor
Button
WARNING: Be sure motor and fan are running
before pushing in automatic control valve button.
Flames could flash outside heater if motor and fan are
not running.
6. Push in and hold automatic control valve button (see Figure
8). Push piezo ignitor button (see Figure 8). Keep pushing ig-
nitor button until the burner lights. When burner lights, keep
automatic control valve button pushed in. Release button after
30 seconds. This activates the automatic control system.
Note:
If heater fails to ignite, hose may have air in it. If so, keep
automatic control valve button pressed and wait 20 seconds. Re-
lease automatic control valve button and wait 20 seconds for un-
burned fuel to exit heater. Repeat this step.
Piezo Ignitor
Button
Automatic Control
Valve Button
TO START HEATER
1. Follow all installation, ventilation, and safety information.
2. Locate heater on stable and level surface. Make sure strong
drafts do not blow into front or rear of heater.
3. Plug power cord of heater into a three-prong, grounded exten-
sion cord. Extension cord must be at least six feet long. Exten-
sion cord must be UL listed.
Extension Cord Wire Size Requirements
• Up to 50 ft long, use 18 AWG rated cord.
• 51 to 100 ft long, use 16 AWG rated cord.
• 101 to 200 ft long, use 14 AWG rated cord.
4. Plug extension cord into a 120 volt/60 hertz, 3-hole, grounded
outlet. Motor will start. Fan will turn, forcing air out front of heater.
5. Open propane supply valve on propane tank(s) slowly. Note: If
not opened slowly, excess-flow check valve on propane tank
will stop gas flow. You may hear a click from the excess-flow
check valve closing. If this happens, reset the excess-flow check
valve by closing propane supply valve and open again slowly.
INSTALLATION
VENTILATION
OPERATION


