


11
103451
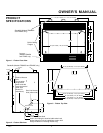
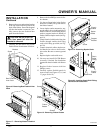
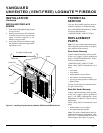
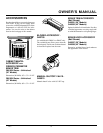
OWNER’S MANUAL
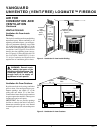
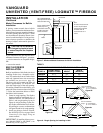
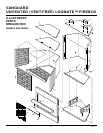
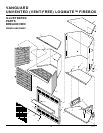
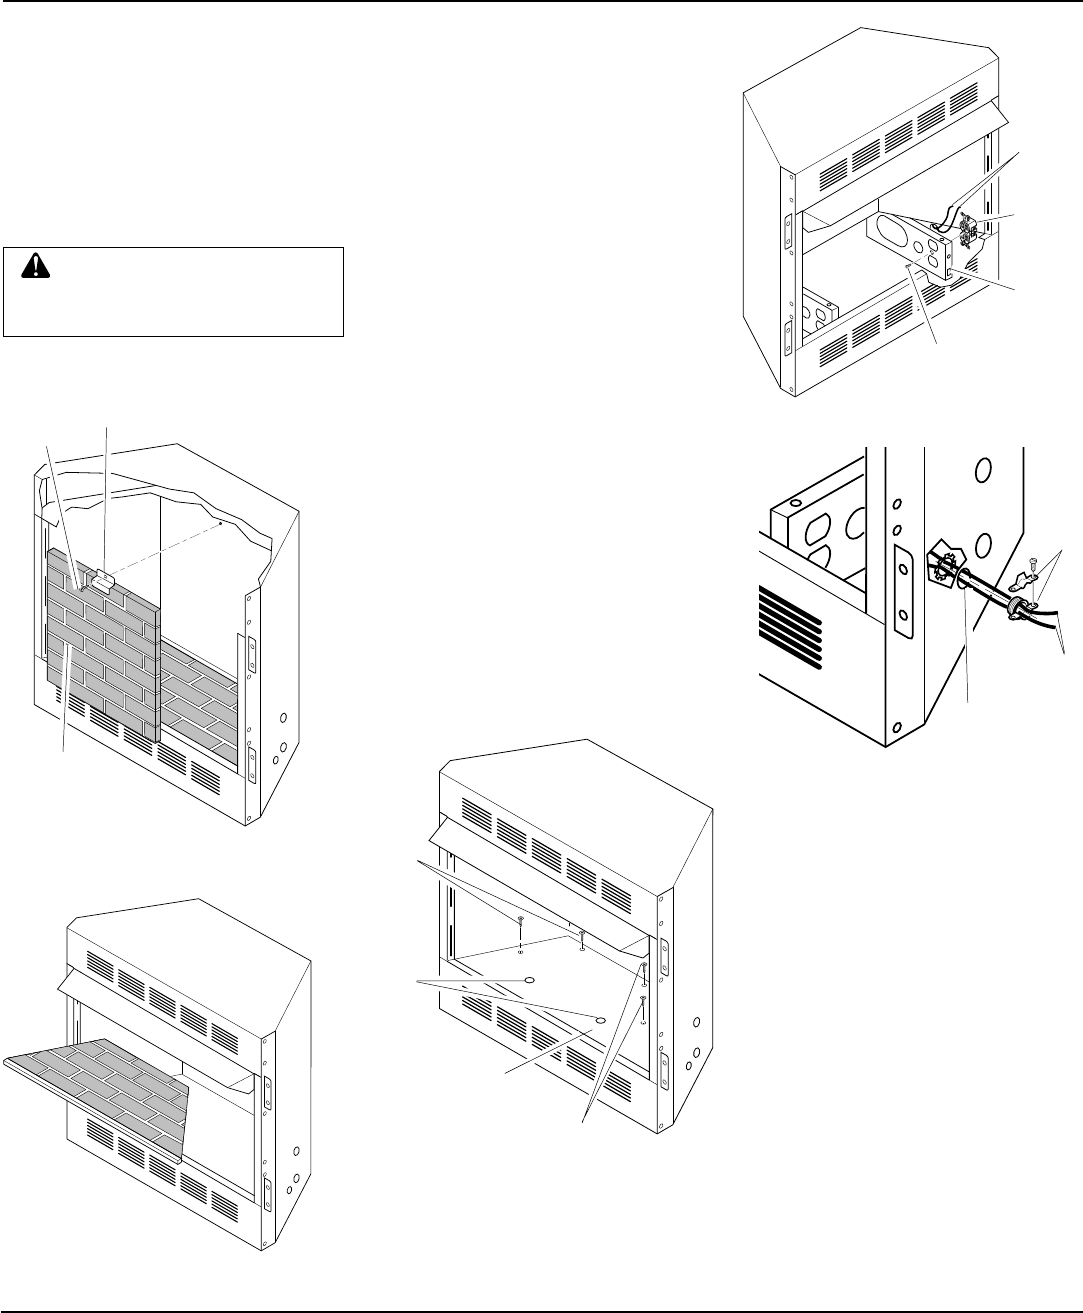
2. Remove the screw and retainer bracket
at the top of the brick liner panel in the
back of the firebox. Do not let the panel
fall after the bracket is removed. Care-
fully remove the rear firebrick liner
panel from the firebox.
INSTALLATION
Continued
Figure 16 - Removing Rear Firebrick Liner
Panel
CAUTION: Do not let the fire-
brick liner panel fall after the
bracket is removed.
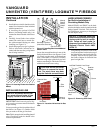
3. Carefully lift and remove the bottom
firebrick floor from bottom of firebox.
Figure 17 - Removing Bottom Firebrick
Floor
Screw
Rear Firebrick
Liner Panel
Bracket
4. Remove the four Phillips screws in fire-
box bottom.
5. Use the two finger holes in the firebox
bottom to carefully lift up and remove
the firebox bottom.
6. Locate duplex outlet mounted to sup-
port bracket in lower right hand side of
firebox. Remove screw holding duplex
outlet to support bracket in bottom of
firebox. Remove duplex outlet (see Fig-
ure 19).
7. Clamp electrical cable hard-wiring into
firebox through smallest hole using
strain relief fitting provided (see Fig-
ure 20).
8. Connect electrical cable to duplex out-
let. Match wire colors to those on du-
plex outlet. Be sure to connect ground
wire.
9. Replace duplex outlet with screw.
10. You may now install GA3700 Blower
Accessory if desired. See installation
instruction sheet included with blower
kit.
11. Replace firebox bottom with four
Phillips screws.
12. Carefully replace firebrick panels in
reverse order (see Figures 15, 16, and
17, pages 10 and 11).
Screws
Finger
Holes
Firebox
Bottom
Screws
Figure 18 - Removing Firebox Bottom
Screw
Duplex
Outlet
Support
Bracket
Electric
Cables
Figure 19 - Removing Duplex Outlet
Continued
Strain
Relief
Fitting
Small Hole
Electric
Cables
Figure 20 - Installing Strain Relief Fitting
into Electrical Access Hole