


-2-
595-5551-09
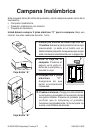
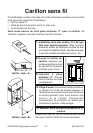
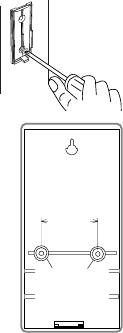
Case Style "A" Back
Keyhole
1
9
/
16
"
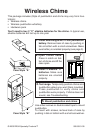
Attach back of case to door jamb or wall. Snap
front of pushbutton on.
When attaching pushbutton using double sided
tape, make sure the surface of the door jamb or
wall is clean.
Case Style "A": Chime can be mounted by us-
ing 2 holes in the back of case, or by using 1
screw with keyhole.
Case Style "B": Chime can be mounted by us-
ing 1 screw with keyhole (see illustration on
page 1).
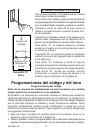
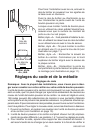
Case Style "A": Snap front of chime case on.
Start with top edge of case aligned with the top
of back plate.
Case Style "B": Snap battery access door firmly
in place before mounting (See illustration on
page 1).
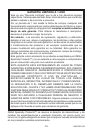
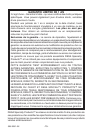
Code and Tune Settings
Code Settings
Note: Most installations will not require you to change any jumpers on
your chime and pushbutton.
The pushbutton and chime communicate by using a code that can be changed
by removing and/or adding jumpers on both the pushbutton and chime. The
code is factory set; however, there are 128 selectable codes that allow you
to expand your system and prevent outside interference. Other wireless prod-
ucts may cause interference and the system may not function properly. Fol-
low the instructions below for setting a new code.
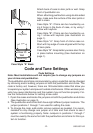
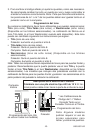
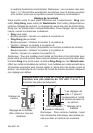
1. Open the cases and locate the jumpers on both the pushbutton and chime
(See illustration on page 3).
2. The pushbutton and chime both have eight different jumper locations. The
jumper positions 1 through 7 are used for setting the code.
3. To change the code, add and/or remove jumpers as needed. It is recom-
mended to only change one jumper at a time and then check to see if
system is functioning properly. Note: Jumpers in positions 1 through 7
must be exactly the same for both the pushbutton and chime for this sys-
tem to function.
Holes for
Wall
Mounting