


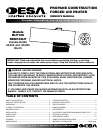


102370-01K
8
For more information, visit www.desatech.com
For more information, visit www.desatech.com
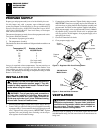
FAN
1 Remove motor, motor mount, and fan (see Motor, steps 1
through 8, page 7).
2. Clean fan using soft cloth moistened with kerosene or solvent.
3. Dry fan thoroughly.
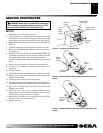
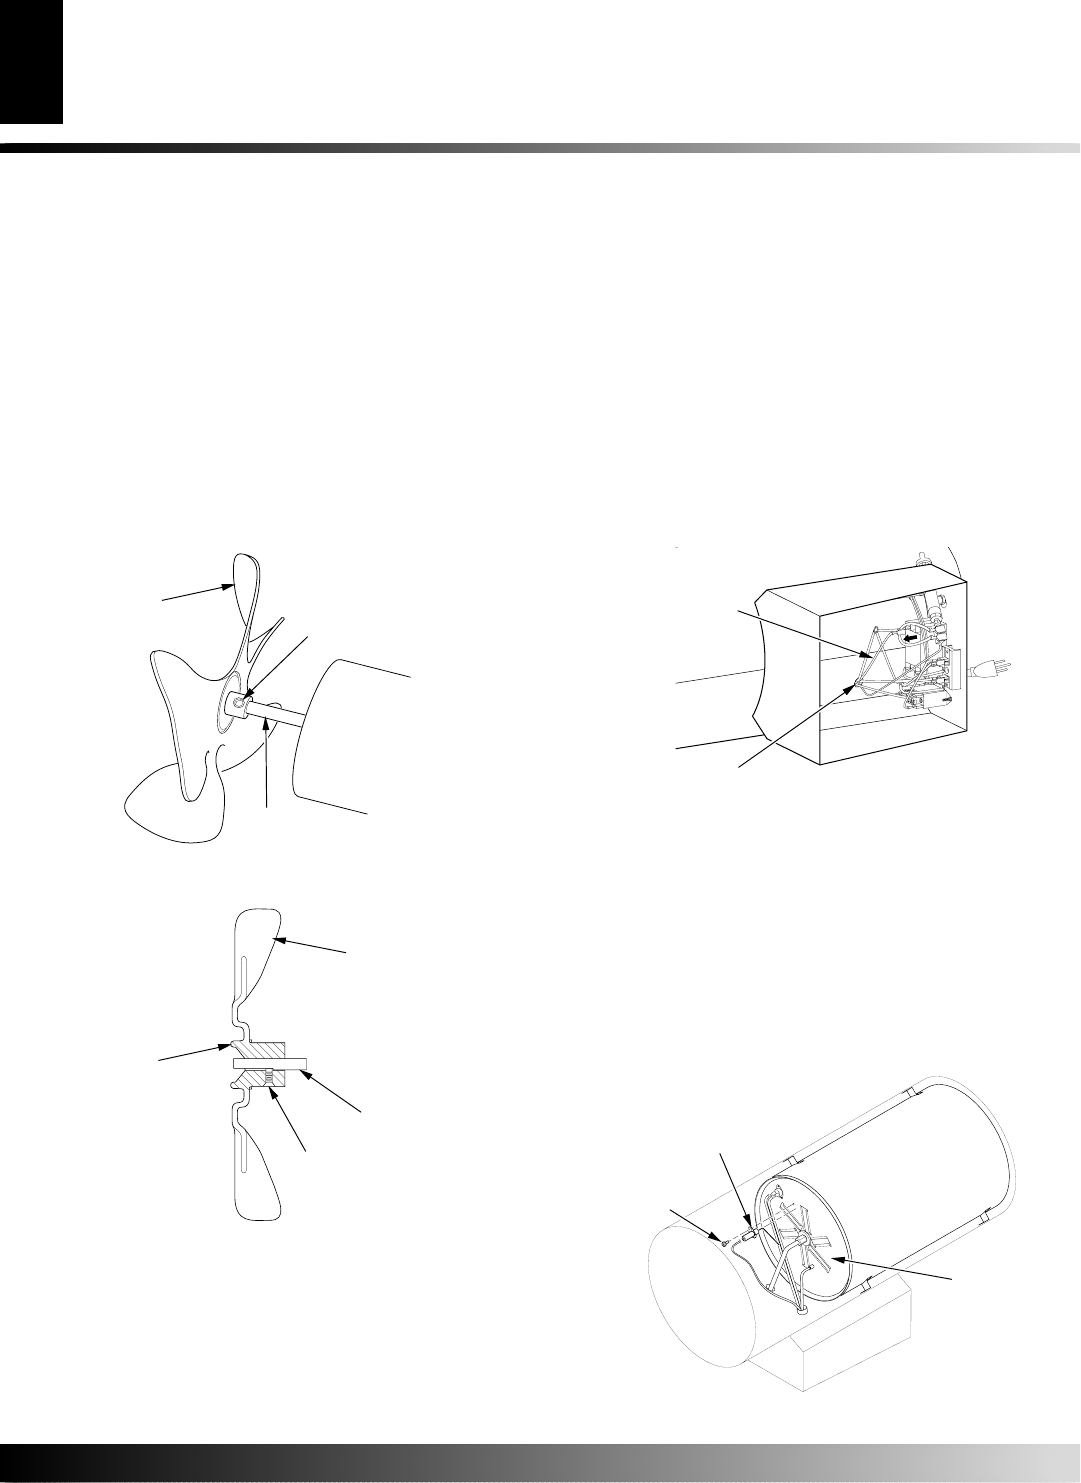
4. Replace fan on motor shaft. Make sure setscrew is touching
back of flat surface on motor shaft (see Figure 8).
5. Place setscrew on flat of shaft. Tighten setscrew firmly (40-50
inch-pounds).
6. Place motor, motor mount, and fan guard into rear of heater
shell (see Motor, steps 14 through 18, page 7).
Motor Shaft
Fan
Setscrew
Figure 8 - Fan, Motor Shaft, and Setscrew Location
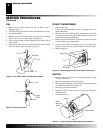
Figure 9 - Fan Cross Section
Fan
Hub
Setscrew
Motor
Shaft
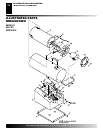
SERVICE PROCEDURES
Continued
SERVICE PROCEDURES
SPARK TRANSFORMER
1. Remove base tray.
2. Locate and disconnect white, black, and orange wires from
spark transformer.
3. Remove two screws holding spark transformer to base. Re-
move sheet metal nuts on transformer and install on new trans-
former. Discard spark transformer.
4. Install new spark transformer. Position new spark transformer
in same manner as old transformer.
5. Connect white, black, and orange wires to new spark trans-
former. Connect wires to correct terminals as noted in step 2.
6. Replace base tray.
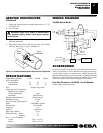
Figure 10 - Removing Ignitor Wire from Spark Transformer
Bushing
Ignitor Wire
IGNITOR
1. Remove motor, motor mount, and fan guard (see Motor, page
7, steps 1 through 6) .
2. Remove orange ignitor wire from ignitor.
3. Remove ignitor mounting screw from rear head using nut-driver
or standard screwdriver (see Figure 11).
4. Remove ignitor from rear head.
5. Install new ignitor. Attach ignitor to rear head with ignitor
mounting screw.
6. Attach ignitor wire.
Figure 11 - Removing Ignitor Mounting Screw and Ignitor
Rear Head
Ignitor
Ignitor
Mounting
Screw