


other connection voids warranty.
• Fixture should be mounted to a grounded junction box marked for use in
wet locations.
• Do not allow sensor head to touch light housing – maintain at least 1” space
between fixture and sensor.
• Keep away from flammable objects. Do not mount body of fixture
within one inch of any combustible material.
• The bulb and fixture get extremely hot during use.
• Use only with a 300 watt or smaller bulb. Installing a bulb of a higher wattage
could create a fire hazard. Use of a higher wattage bulb will void the warranty.
• Never touch the bulb with your bare hands. Handle the bulb with gloves or a soft
cloth. Oil from your skin can cause premature bulb failure.
• For maximum bulb life, position fixture so the quartz halogen bulb remains
within 4 degrees of horizontal.
• If lens is replaced, use only tempered safety glass of equal thickness.
• Fixture should be installed by persons with experience in household wiring or by a
qualified electrician. The electrical system, and the method of electrically connect-
ing the fixture to it, must be in accordance with the National Electrical Code and
local building codes.
• For supply connections use wire rated at least 75 degrees C.
• For proper operation and protection against damage, the motion sensor head
adjustment knobs must be facing the ground.
• Disassembly of your fixture will void the warranty.
• Your fixture is prewired and preassembled for easy installation.
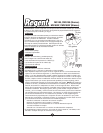
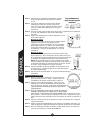
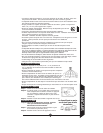
For best results
• Install your fixture 8-12 feet above ground (motion detector
is less sensitive above 12 feet).
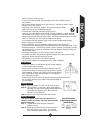
• Locate fixture so motion moves across detection zone (F).
• Locate fixture away from heat producing sources to prevent
false triggering. Also be very careful not to include objects
such as windows, white walls and water in the detection
zone whenever possible.
• Locate fixture away from moving objects such as trees and street traffic.
• Do not install more than one motion activated floodlight on
one wall switch.
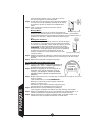
Installing the bulb
Step 1: Remove screws from the front of the lens frame.
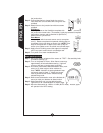
Step 2: Using gloves or a soft cloth, gently insert bulb by
pressing one end into the spring loaded socket and
repeat with the opposite end. Bulb should fit
securely into contacts (G).
Step 3: Secure lens frame onto fixture with screws.
Mounting your fixture
Turn off the power at the main fuse/breaker box.
Check to make sure power has been disconnected
before continuing.
Step 1: Thread fixture wires through coverplate
gasket (H and I).
Step 2: Attach ground wire from the fixture to ground
wire coming from your house. If no ground
wire is available, attach fixture ground wire to
ENGLISH
3
F
G
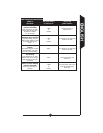
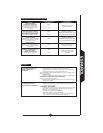
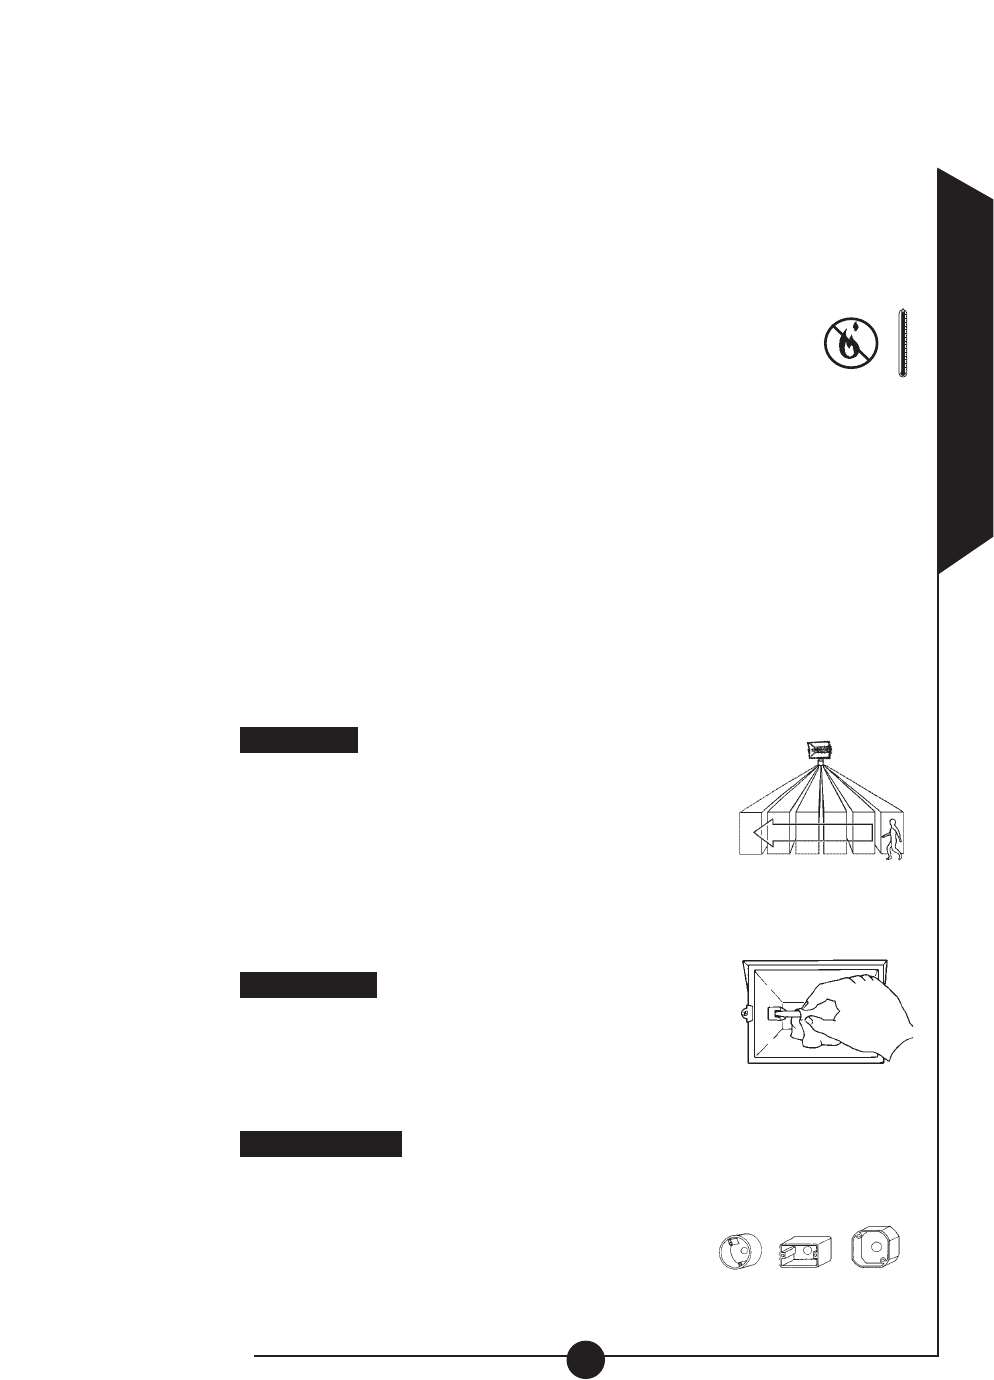
Your fixture mounts
to the following standard
junction boxes:
Round OctagonalRectangular
(horizontal)