


7
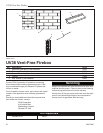
UV36 Vent-Free Firebox
20007446
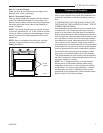
Step 3: Level the Firebox
Check the level of the firebox on the top edge of the
fireplace face. Shim if necessary.
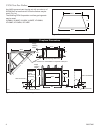
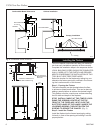
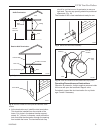
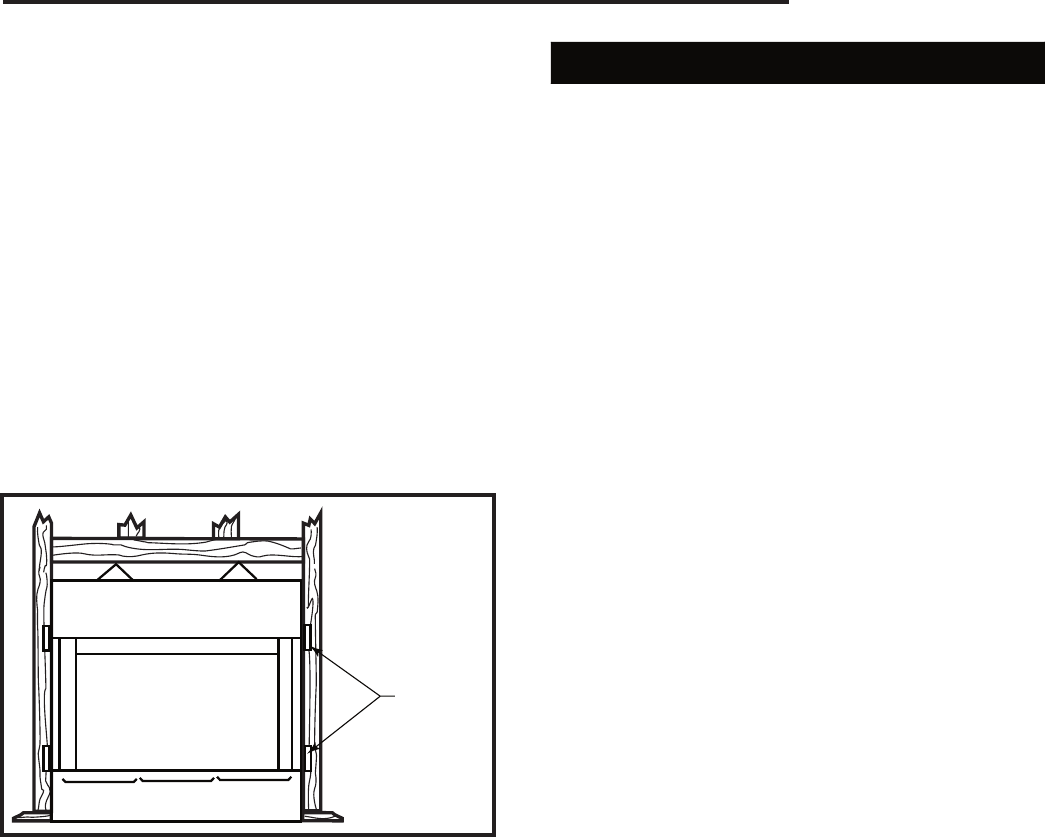
Step 4: Secure the Firebox
Four (4) nailing flanges are supplied with the fireplace
(found on the fireplace hearth). To level the box and
secure it firmly in place, remove the nailing flange from
the hearth and install at the sides of the fireplace as
shown in Figure 5.
NOTE: The nailing flanges have two (2) sets of holes
to allow for adjustment for 1/2” or 5/8” offset of the face
of the unit. When installing the nailing flanges, choose
the set of holes on the nailing flange that fit with your
application.
NOTE: Refer to installation instructions for vent free
gas logs for gas connection, sizing, testing and all
safety information.
FP1532
Vent free
nailing flanges
10/04
Nailing
Flanges
FP1532
Fig. 5 Secure firebox.
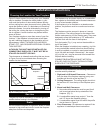
Finishing the Fireplace
There are a wide variety of finishing materials avail-
able for your fireplace from formal wall treatments with
marble and mantels to rustic wood paneling, stone or
brick.
IT IS IMPORTANT THAT THE BLACK FACE OF THE
FIREPLACE NOT BE COVERED WITH ANY TYPE OF
COMBUSTIBLE MATERIAL.
Noncombustible facing materials such as marble, brick
or ceramic tile may overlap the black face of the fire-
place up to the opening on either side of the fireplace.
Seal all joints between the black fireplace face and the
wall covering with a heat-resistant material such as rock
wool insulation or mortar. Be sure to use high tempera-
ture adhesive or mortar when anchoring brick, stone or
tile to the face of the fireplace. Check to see whether
man-made brick and stone are made of noncombustible
materials before using them on the face of the fireplace.
Some of these products contain combustible materials.
Combustible wall coverings such as paneling or wall-
board may not overlap the black face of the fireplace.
The space between the wall covering and the fireplace
should be sealed with a heat-resistant material such as
rock wool insulation or mortar.
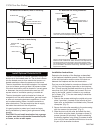
NOTE: An “L” shaped steel lintel must be installed
across the top of the firebox opening where facing
materials such as brick or stone are used on the face
of the firebox. It acts as a support/firestop. It should
be attached to the face of the fireplace with screws
and sealed to the fireplace with a heat-resistant sealer.
Refer to Figure 6 for finishing options.