14
105983
DIRECT-VENT FIREPLACE (NATURAL/PROPANE/LP)
CHDV34NA, PA
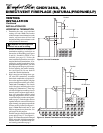
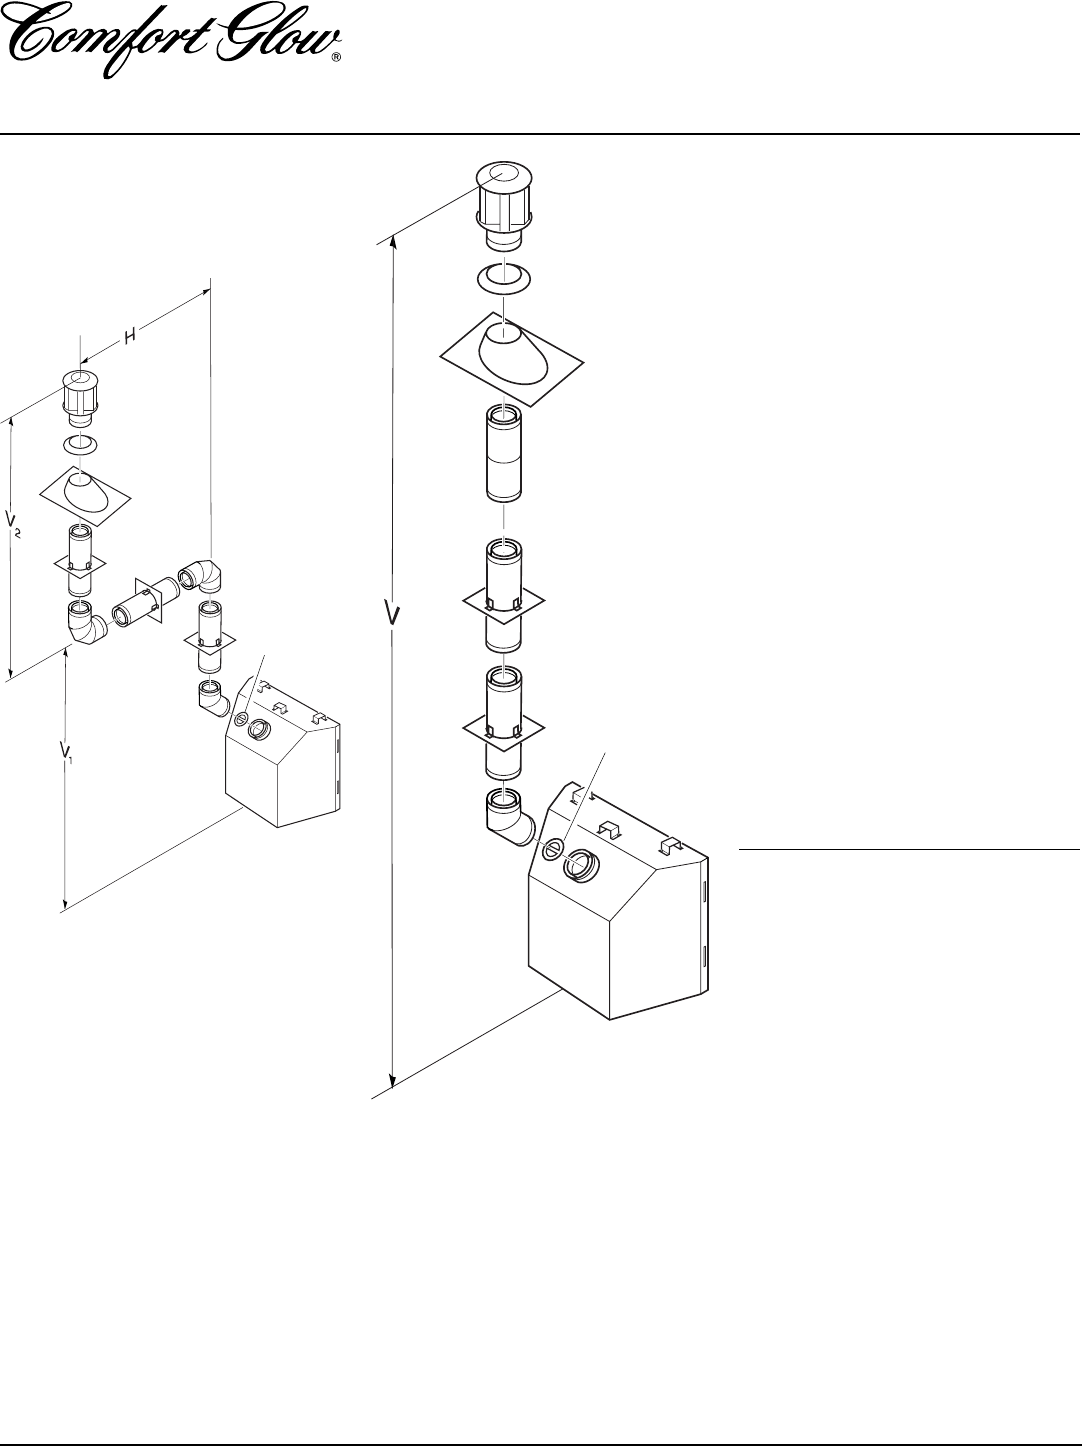
Vertical Venting
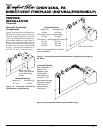
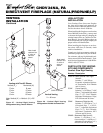
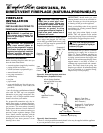
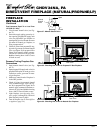
V = 40' max.
Figure 28 - Vertical Rigid Venting
Configuration With No Horizontal Run
VENTING
INSTALLATION
Continued
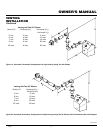
Venting with Two 90° Elbows
Vertical (V
1
) Horizontal (H)
5' min. 6' max.
6' min. 12' max.
7' min. 18' max.
8' min. 20' max.
Note:
Vertical (V
1
) + Vertical (V
2
) = 20'
max.
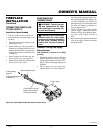
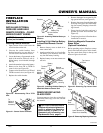
Figure 27 - Vertical Rigid Venting
Configuration Using Two 90
°
Elbows
CRVF Kit Shown
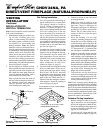
HIGH ALTITUDE
INSTALLATION
Your Comfort Glow direct-vent fireplace
has been AGA tested and approved for
elevations from 0-2000 feet and CGA certi-
fied for elevations from 0-4500 feet.
When installing this fireplace at an elevation
above 2000 feet (in the USA), you may need
to decrease the input rating by changing the
existing burner orifice to a smaller size. Re-
duce input 4% for each 1000 feet above sea
level. Check with your local gas company for
proper orifice size identification.
When installing this fireplace at an eleva-
tion above 4500 feet (in Canada), check
with local authorities.
Consult your local gas company to help de-
termine the proper orifice for your location.
For assistance with any high altitude instal-
lation contact DESA International’s Tech-
nical Services Department at 1-800-DESA-
LOG (1-800-337-2564).
PARTS LISTS FOR VENTING
KITS AND COMPONENTS
Comfort Glow Rigid Venting
Number Description
CBGFVK Basic Ground Floor Rigid
Vent Kit
Includes: 7" x 60° Elbow,
Extended Adjustable Horizon-
tal Termination, Wall Thimble
and 14 Screws
CCVK Corner Vent Kit
Includes: 7" x 30° Elbow, 7" x 90°
Elbow, 7" Adjustable Galvanized
Pipe (7"-12"), Wall Thimble,
Horizontal Termination, 6" Pipe,
RTV Silicone and 20 Screws
CBVK Basement Rigid Vent Kit
Includes: 7" x 30° Elbow, 7" x 4'
Galvanized Pipe, 7" x 90° El-
bow, 7" Adjustable Galvanized
Pipe (7-12"), Wall Thimble,
Horizontal Termination, RTV
Silicone and 20 Screws
CBVKA Basement Rigid Vent Kit
Includes: 7" x 30° Elbow, 7" x 4'
Galvanized Pipe, 7" x 90° Elbow, 7"
Adjustable Galvanized Pipe (7-12"),
RTV Silicone and 20 Screws
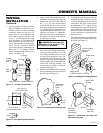
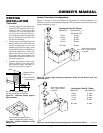
Note:
Install
restrictor into
4" collar of
stove as
shown.
Note:
Install
restrictor into
4" collar of
stove as
shown.


