


Page -16- Clarke
®
Operator's Manual -Encore S30/L30
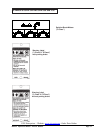
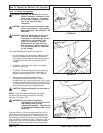
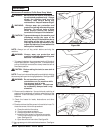
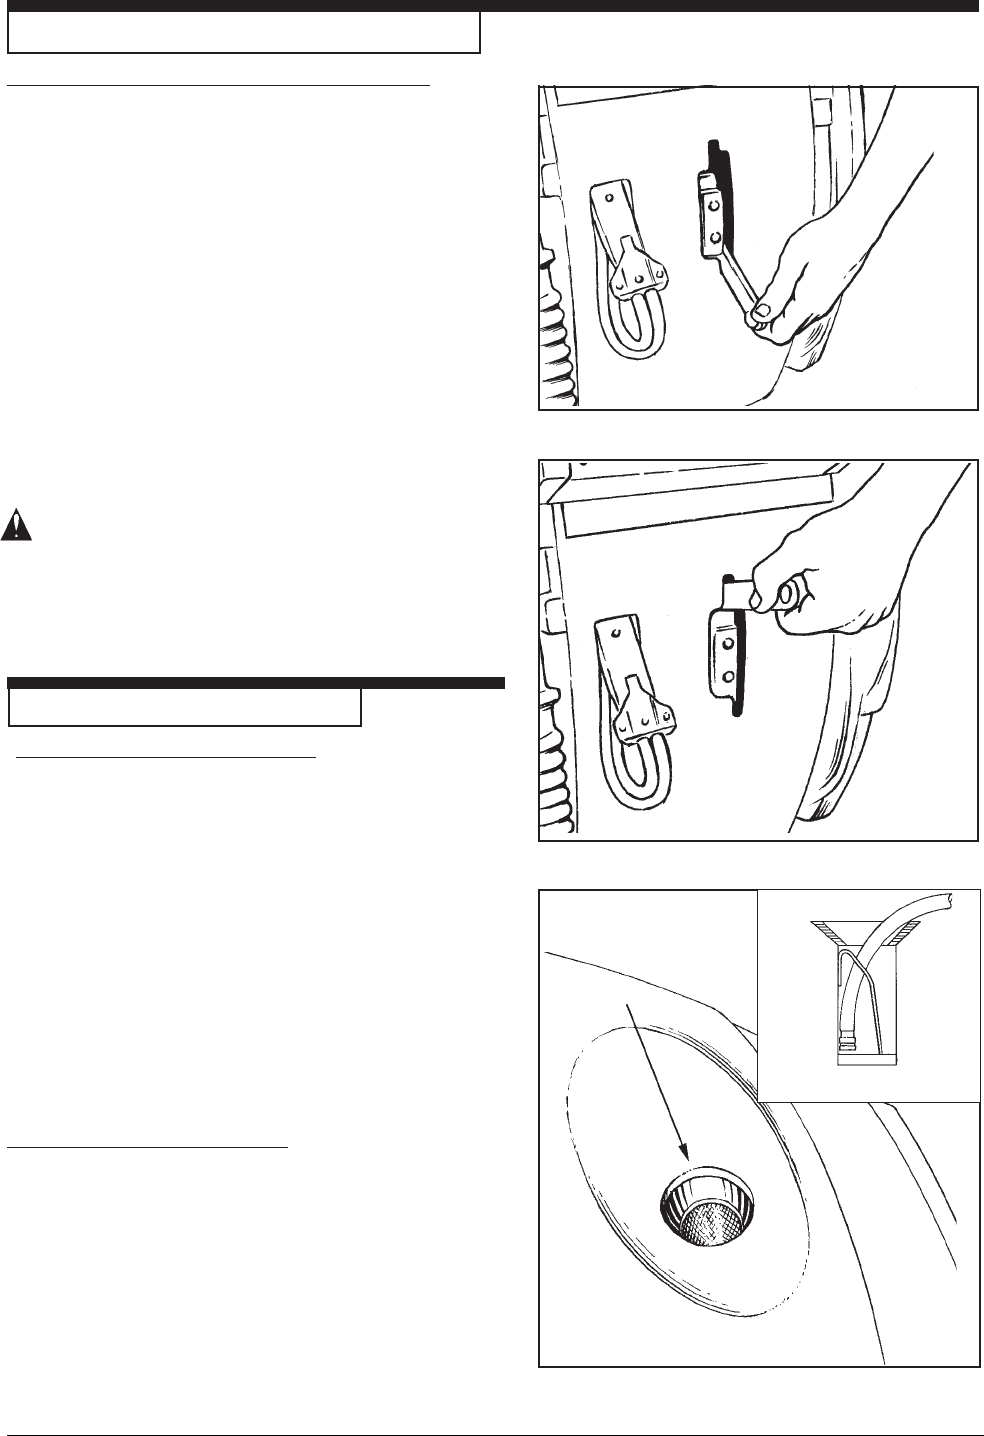
How To Operate The Squeegee
The squeegee wipes the floor while the vacuum motor
removes the dirty solution from the floor. Use your hand
to lower or raise the squeegee handle. To operate the
squeegee, follow this procedure:
1. To lower the squeegee and start the vacuum motor,
move the squeegee lever to the right and down. See
figure 18.
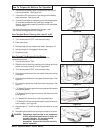
2. To raise the squeegee, lift the squeegee lever up.
See figure 19.
NOTE: The center position lets the vacuum motor
continue to run with the squeegee off the floor to avoid
drips and also allows you to back up the machine.
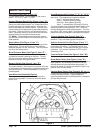
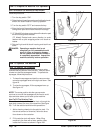
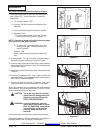
How To Fill The Solution Tank
The solution tank can be filled in the front or through the
clear drain hose at the rear of the machine (See figure
20). To fill the solution tank follow this procedure:
1. Add a cleaning chemical to the solution tank. For
the correct amount of chemical, follow the direc-
tions shown on the container.
2. Fill the solution tank with water. When filling
machine in the front with a hose, position hose
inside the fill screen as shown in figure 20A.
How To Operate The Machine
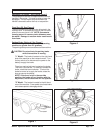
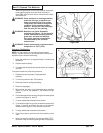
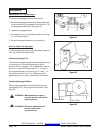
How To Remove The Brushes Or Pad Drivers
To remove the brushes or pad drivers from the machine,
follow this procedure:
1. Turn the key switch "ON".
2. Raise the brush head by pressing and holding the brush
switch until brush head is in its full up position.
3. Turn the key switch "OFF" and remove the key.
4. Go to the front of the machine and unlatch front cover.
Swing cover open and unlatch the brush housings.
5. ("L" Model) Push down on two sides of the brush or pad
driver until the gimbals release.
("S" Model) Rotate brush same direction to scrub
rotation with a quick snapping action until brush re-
leases.
6. Reinstall right and left brush housing and latch front
cover.
DANGER: Operating a machine that is not
completely or fully assembled could
result in injury or property damage.
Do not operate this machine unless it
is completely assembled. Inspect the
machine carefully before operation.
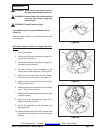
How To Prepare the Machine For Operation
Figure 18
Figure 19
Figure 20
Figure 20A
C