The free inset method of installation
may be used instead of infilling.
Details are available on request.
THERMOSTAT
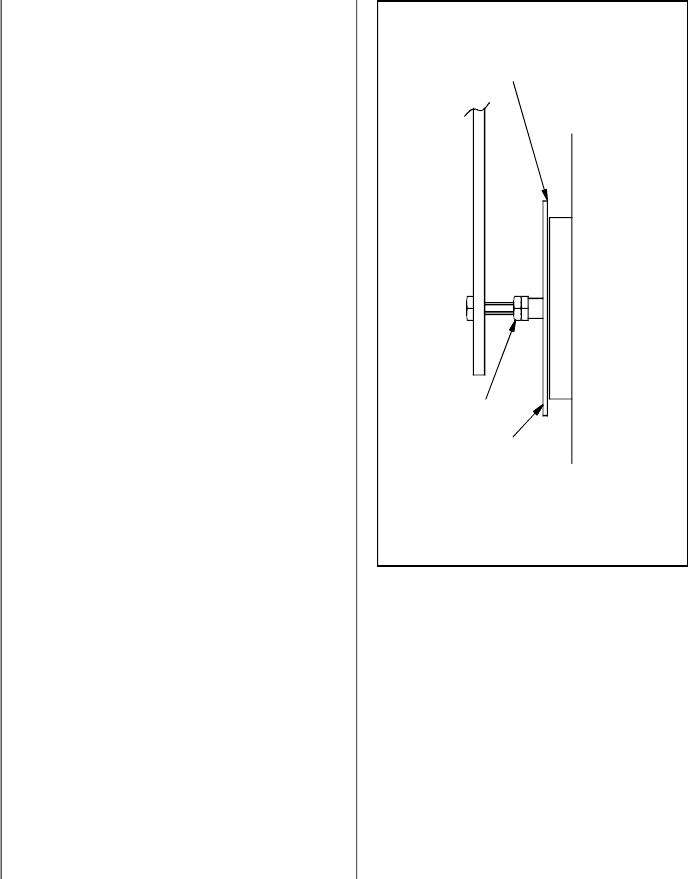
Before lighting the fire check the
cold setting distance of the
thermostat.
With the control knob at the
minimum setting the flap should be
just closed as shown in Fig. 8. To
adjust the distance slacken the
locking nut and adjust as necessary.
When set correctly re-tighten the
locking nut. Ensure that the flap
opens and closes freely as the knob is
turned.
ASSEMBLY
Fit the side panels and hood onto the
appliance. Instructions for this are
enclosed with the panel pack.
Replace any internal parts previously
removed.
PRE LIGHTING
CHECK
Before initial lighting check the
following points:
1. The bottom grate bars must all be
fitted and should move freely and
easily when the riddling mechanism
is operated.
2. The plates round the sides and
back of the grate must be in position
and sitting correctly.
3. The throat plate must be fitted in
the roof of the appliance.
COMMISSIONING
On completion of the installation and
after allowing a suitable period of
time for the fire cement and mortar to
dry out, the fire should be lit and
checked to ensure that smoke and
fumes are taken from the appliance
up the chimney and emitted safely.
Also check all joints and seals.
On completion of the installation and
commissioning please leave the
operating instructions with the
customer and advise on the use of the
appliance.
Thermostat Flap
Locking Nut
FlapJust Closed With
Knob Set To Minimum
Fig. 8. Thermostat Setting
Page 10
HV 7/96


