


20
20
Radiance Natural Vent Gas Heater
20004409
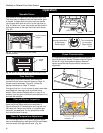
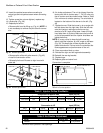
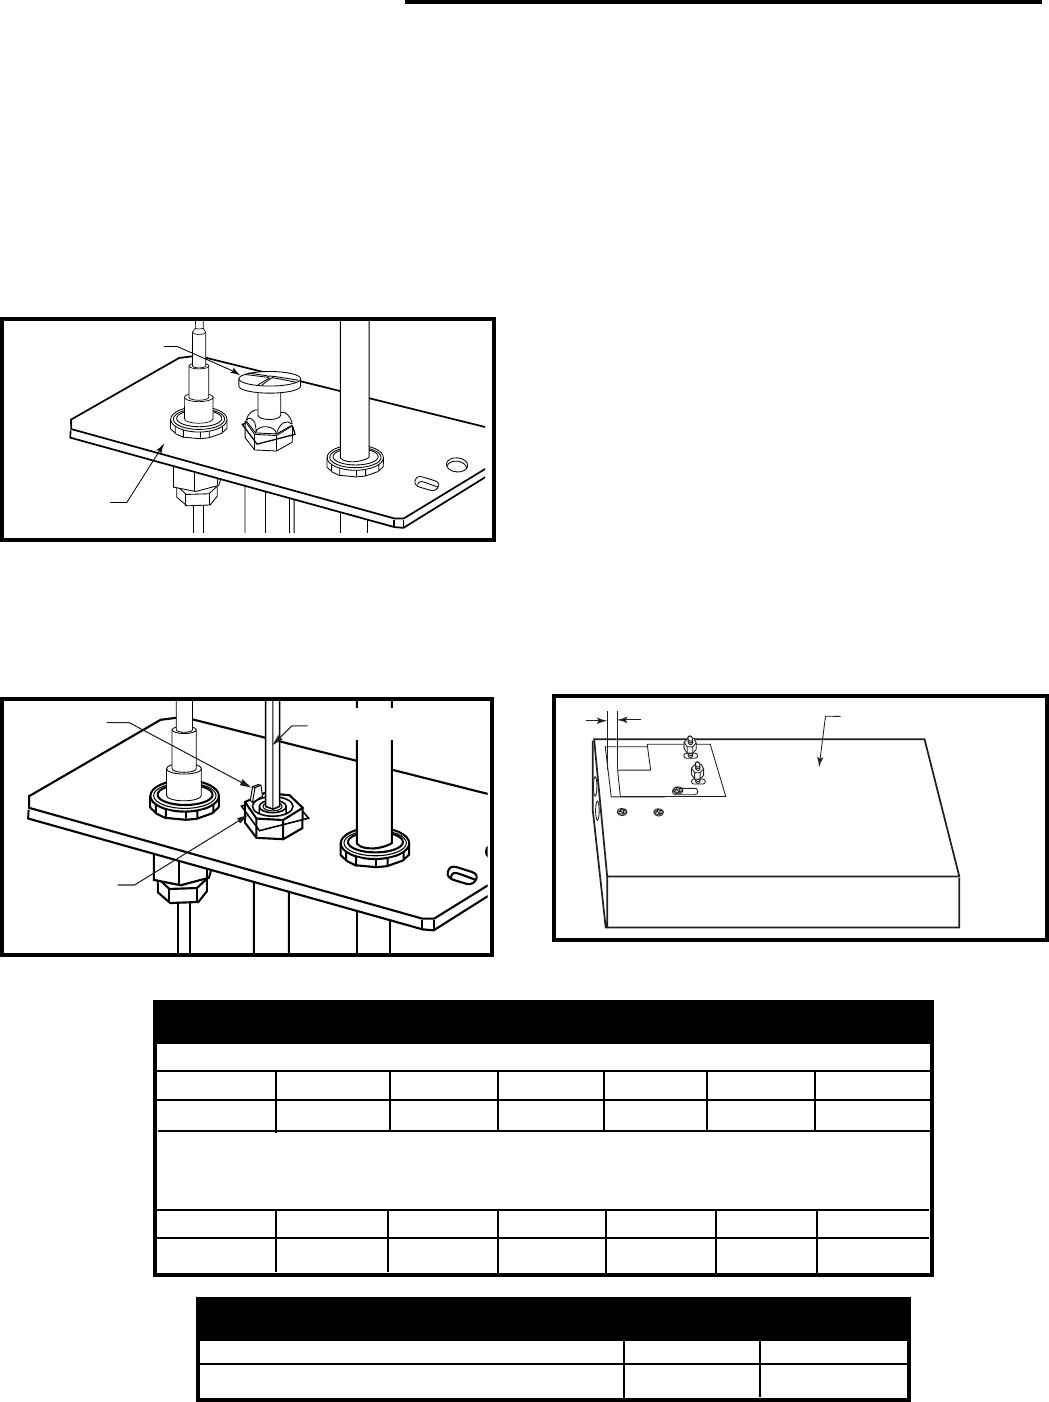
Conversion to Natural Gas Input (BTU/h)
Kit # Front Part # Rear Part # Minimum Maximum
000-5009 #51 30000449 #40 20004263 25,000 35,000
Conversion to LP Input (BTU/h)
Kit # Front Part # Rear Part # Minimum Maximum
000-5010 #57 20004587 #54 20000130 27,500 35,000
Table 2. Injector Orifice Size Matrix
Model Natural Gas LP
RNVOD 1¹⁄₂” Fully Closed
Table 3. Air Shutter Adjustment
Minimum rear injector air inlet openings.
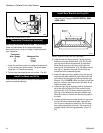
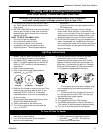
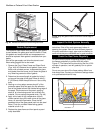
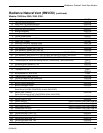
Index Tab
Snap Ring
Allen Wrench
CO106a
Fig. 42 Remove pilot orifice.
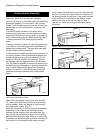
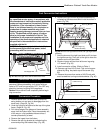
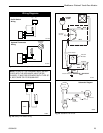
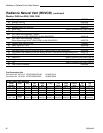
16. Air shutter adjustment. The unit is shipped from the
factory with the air shutter open 1”. For LP units only,
the air shutter could be closed further. Refer to Table
3 for minimum air shutter opening. The air shutter is
located on the bottom of the burner to the left. (Fig.
43)
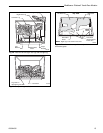
17. Replace burner. Slide the burner in at an angle with
left side lower than the right side. Slide the left side
onto the injectors, making sure the burner leg
remains at a 90° angle to the base. Lower the right
hand side down in to place. Make sure the burner is
as far left as possible and the injector shoulders are
inside the burner.
NOTE: It is very critical to keep the left burner leg,
which holds the injectors, at a 90° angle to the base.
(Fig. 39) This keeps the orifices aligned with the
tubes inside burner. Failure to do so could affect the
flame appearance and performance of the unit.
18. Place conversion label on valve.
19. Reinstall the right and left log bracket assembly.
20.Reinstall the rear log bracket.
21. Replace logs.
22.Replace glass and stove front.
Conversion is complete.
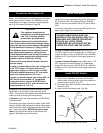
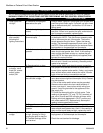
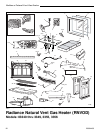
Pilot Hood
Pilot
Bracket
CO105a
Fig. 41 Remove pilot hood.
12. Insert blue painted screw when converting to
natural gas and red painted screw when converting
to LP.
13. Tighten screw (do not over tighten), replace cap.
14. Locate pilot. (Fig. 38)
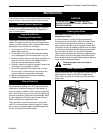
15. Replace pilot orifice.
• Remove pilot hood by lifting up. (Fig. 41) NOTE: It
is not necessary to remove the pilot tube for conver-
sion.
• Remove pilot orifice with allen wrench. (Fig. 42)
• Install the conversion orifice.
• Reinstall pilot hood. Be sure to align hood with
index tab.
ST667
Fig. 43 Adjust air shutter on bottom of heater, Refer to
Table 2 for correct position.
Bottom of Burner Pan
Refer to Table 2