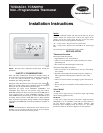
TCSNAC01, TCSNHP 01
Non-- Programma ble Thermostat
Homeowner ’s Guide
A08147
CONGRATULATIONS
INTELLIGENT, EASY TO USE
Congratulations on your purchase of a new Carrier thermostat.
Your new thermostat combines computer like intelligence with
extremely simple operation in an elegant package. Designed to
maximize performance, your Carrier thermostat provides reliable,
accurate tem perature control while blending into any home’s decor.
As you read on, you’ll quickly see how easy it is to set up and
operate your new thermostat and enjoy the comfort of your home.
COMFORT AT YOUR COMMAND
Carrier has met the needs of homeowners nationwide with their
non--programmable thermostat. Controlling your heating and
cooling system at the touch of a button, this powerful device helps
deliver comfort year round.
MAKING LIFE EASIER
Take a few minutes to review the features and functions listed at
the right. Carrier gives you control over your comfort with simple
instructions, responsive push buttons and an easy-- to--read backlit
display. Once set, this thermostat reliably monitors indoor
temperature and responsively meets your comfort demands.
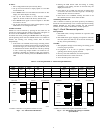
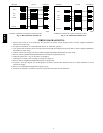
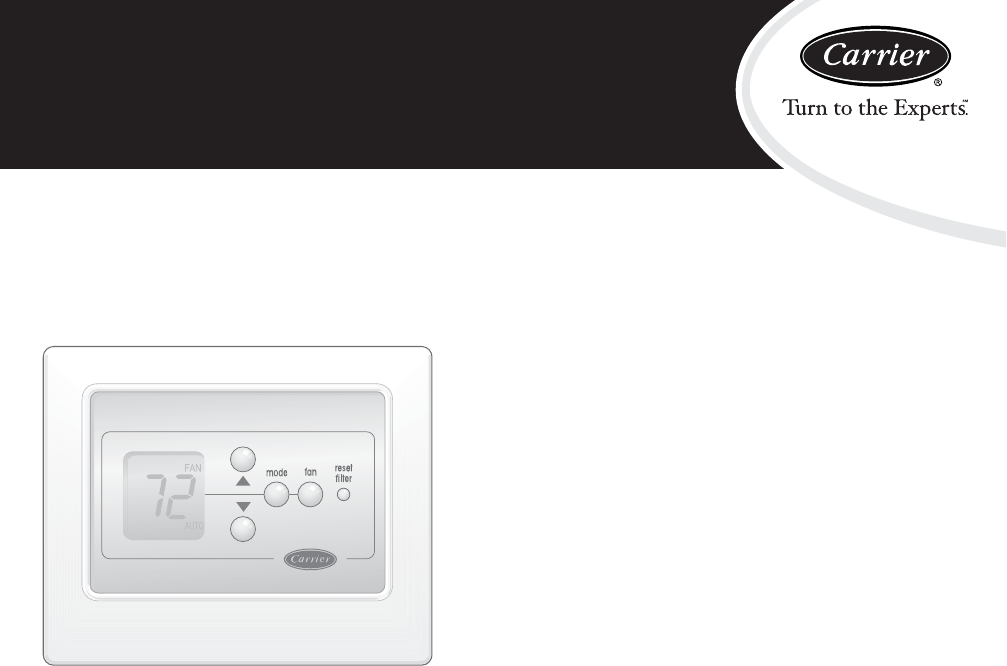
Up and Down Buttons
increase or decrease the desired temperature setting.
FAN Button
chooses between CONTINUOUS FAN and AUTO FAN operation.
MODE Button
selects between OFF, HEAT, COOL, AUTO, and OFF operation.
Heat pump thermostat models also include an EMERGENCY
HEAT mode.
LOW BATTERY Indicator
will light when batteries (if installed) need to be replaced.
SERVICE FILTER Indicator
lets you know it is time to clean or replace your system’s air filter.
Room Temperature Display
shows current room temperature.
COOL ON Indicator
is displayed when the cooling equipment is operating.
HEAT ON Indicator
is displayed when the heating equipment is operating.
RESET FILTER Button
restarts the timer that calculates the next air filter change or
cleaning.
AUXILIARY HEAT Indicator
is displayed when a heat pump system is operating with auxiliary
heat air f ilter.
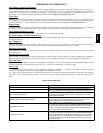
SETTING & OPERATING THE THERMOSTAT
Setting your indoor temperature set points
1. Press the UP or DOWN button.
The LCD readout will be illuminated and the heating or
cooling temperature set point will be displayed, but will not
change. Next to the temperature display, HEAT or COOL
indicates which temperature set point is being displayed.
2. Continue to press the UP or DOWN buttons until your
desired heating or cooling temperature set point is
displayed.
3. Press the MODE button to select the second temperature
setting (either HEAT or COOL).
4. Press the UP or DOWN buttons until your second desired
temperature set point is displayed.
NOTE: Your COOL setting must be at least 2_ higher than your
HEAT setting. Your thermostat will automatically change your
previously set t emperature to maintain that 2_ difference.
Setting fan operation
1. Press the FAN button to switch between ON and AUTO fan
se ttings.
FAN on indicator will be displayed on LCD. When the ON
mode is selected, the fan runs continuously for improved air
circulation.
When the AUTO mode is selected, the fan runs only as
needed to maintain your desired indoor temperature. FAN
on indicator is not displayed on LCD.
Setting mode operation
1. Press the MODE button.
2. On the LCD readout, the words OFF, HEAT, COOL, and
AUTO will rotate as the MODE button is pressed.
If you have a heat pump, the LCD readout will show OFF,
HEAT, COOL, AUTO, and EMERGENCY HEAT
(EHEAT).
NOTE: In AUTO mode, your system will heat OR cool as needed
to reach your desired temperature. AUTO mode may be disabled.


