


C A U T I O N:
• Be careful not to drop the unit or disturb
electronic parts.
• Leave the door closed while the body is
being removed from the base.
9. Route the wires through the open areas in the
base plate above the terminals. Hold the base
against the wall, with the wires coming through.
Position the base for the best appearance (to
hide any marks from an old thermostat). Attach
the base to the wall with the two screws
provided.
N O T E: If you are mounting the base to a
soft material like plasterboard or if you are
using the old mounting holes, the screws may
not hold. Drill a 3/16-in. (4.8mm) hole at
each screw location, and insert the plastic
anchors provided. Then mount the base as
described below.
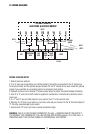
4.5 WIRING
• Using the terminal descriptions below, wiring
diagram on page 14, and your labels, determine
the appropriate wiring for your system.
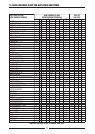
• Also Refer to the Heat Pump Cross-reference
Chart on page 15.
• If you are unsure or need assistance, call the
LUX Technical Assistance Dept. (see
TECHNICAL
ASSISTANCE
.)
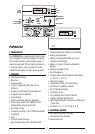
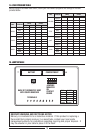
4.5.1 TERMINAL DESCRIPTIONS
• See drawing on page 16 showing layout of
terminals.
G: The fan terminal is live at any time the
thermostat attempts to turn the system fan or
blower on.
O: Live at any time the unit is in Cool mode.
B: Live at any time unit is in Heat Mode.
W: Active while the thermostat is calling for
auxiliary 3rd stage of heat.
Y2:Active while calling for a 2nd stage of
heating/cooling.
R: Transformer, Provides Power
Y1:Active while calling for a 1st Stage of
heating/cooling.
C: Use of this terminal allows the unit to be
system powered rather than battery powered.
E: This terminal is active when the thermostat is
calling for Emergency Heat.
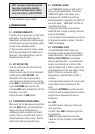
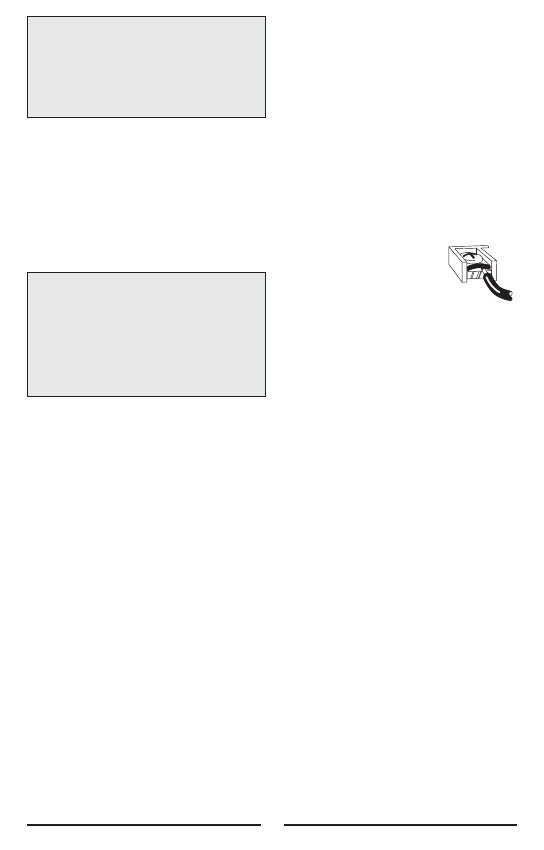
4.5.2 CONNECTING THE WIRES
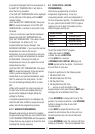
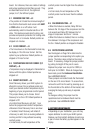
10. Loosen wire clamp screws
just enough to slide wire under
the black top part of the clamp.
11. Connect stripped wire ends,
by trapping it between its black clamp and brass
terminal. Then tighten its terminal screw.
12. Tape the ends of any unused wires.
4.5.3 COMPLETING YOUR INSTALLATION
13. Install two new Energizer
®
or DURACELL
®
"AA" size alkaline batteries at this time. For
instructions, refer to BATTERIES/MAINTENANCE.
14. Configure your thermostat at this time. Refer
to SETUP OPTIONS.
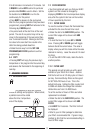
15. Install your thermostat on its base. To do
this, hang the top of the unit by the tabs on the
base, then snap the bottom of the unit into place.
Do not use unnecessary force. If the body does
not snap into place easily, remove the body, re-
hang it from tabs and try again.
16. Turn the power back on to your heating
and/or air conditioning system.
17. Verify that the system and its fan are
operating properly. When set to a high
temperature, the heating system should provide
warm air after a short time. Likewise, a cooling
system should provide cool air after a short time.
Usually sound from the furnace and air
conditioning units can be heard while they are
running. The rush of moving air should be heard
within a short time after either has been started.
4