USING ATTACHMENTS AND APPLICATIONS
—
—————————————————————————————————————————
—
42
Note
● When sewing with the walking foot, sew at
medium to low speeds.
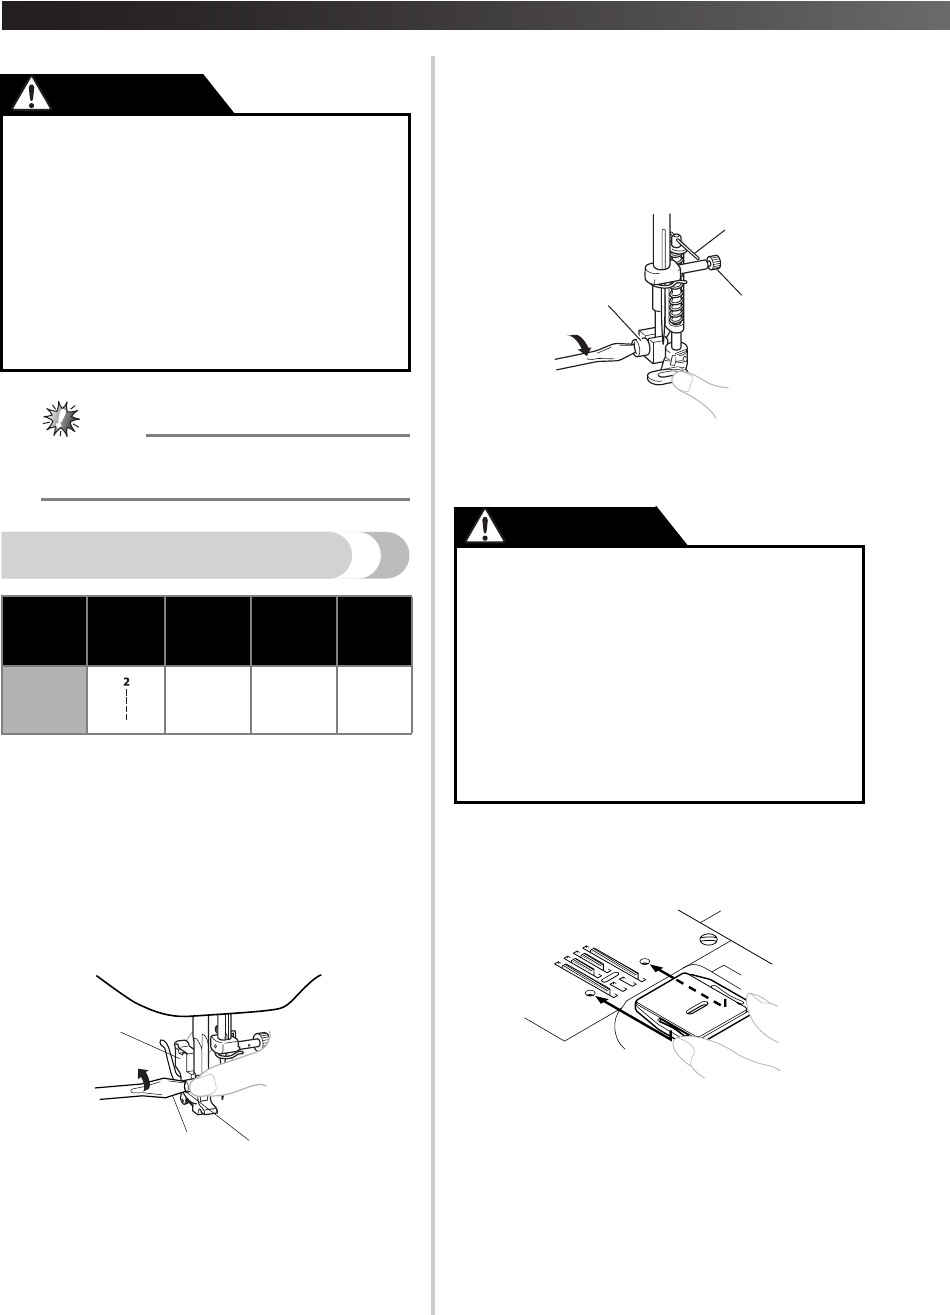
Using the Quilting Foot
The Quilting Foot is useful for darning and
free-motion machine quilting.
1
Remove the power supply plug from the
outlet.
2
Raise the needle and the presser foot.
3
Loosen the presser foot screw to remove the
presser foot holder.
1 Screwdriver
2 Presser foot holder
3 Presser foot screw
4
Attach the quilting foot, making sure that part
A shown in the illustration is above the
needle clamp screw. Then lower the presser
foot lever and tighten the presser foot screw.
• Make sure that the needle clamp screw is
firmly tightened.
1 Presser foot screw
2 Needle clamp screw
5
Put the darning plate on the needle plate.
Connect the power supply plug to the wall
outlet.
6
Set the pattern selection dial to the Straight
Stitch.
• Before starting to sew, draw the quilting
design on the fabric.
●
Use a screwdriver to tighten the screw
securely. If the screw is loose, the needle
may hit the presser foot and you may be
injured.
● Before you start sewing, make sure you
turn the handwheel toward you
(counterclockwise) to check that the
needle does not hit the presser foot.
● Be careful not to touch the needle,
otherwise you may be injured.
Stitch
Name
Pattern
Stitch
Length
[mm (inch)]
Stitch
Width
[mm (inch)]
Other
Straight
Stitch
Any
2.5
(3/32)
Darning
Plate
CAUTION
1
3
2
● Be careful not to touch the needle,
otherwise you may be injured.
● Use a screwdriver to tighten the presser
foot holder screw securely. If the screw is
loose, the needle may hit the presser foot
and you may be injured.
● Before you start sewing, make sure you
turn the handwheel toward you
(counterclockwise) to check that the
needle does not hit the presser foot.
A
1
2
CAUTION
XL2600.book Page 42 Thursday, November 4, 2004 9:46 PM


