KNOWING YOUR SEWING MACHINE —————————————————————————————————————————————
—
8
Main Power and Sewing
Light Switch
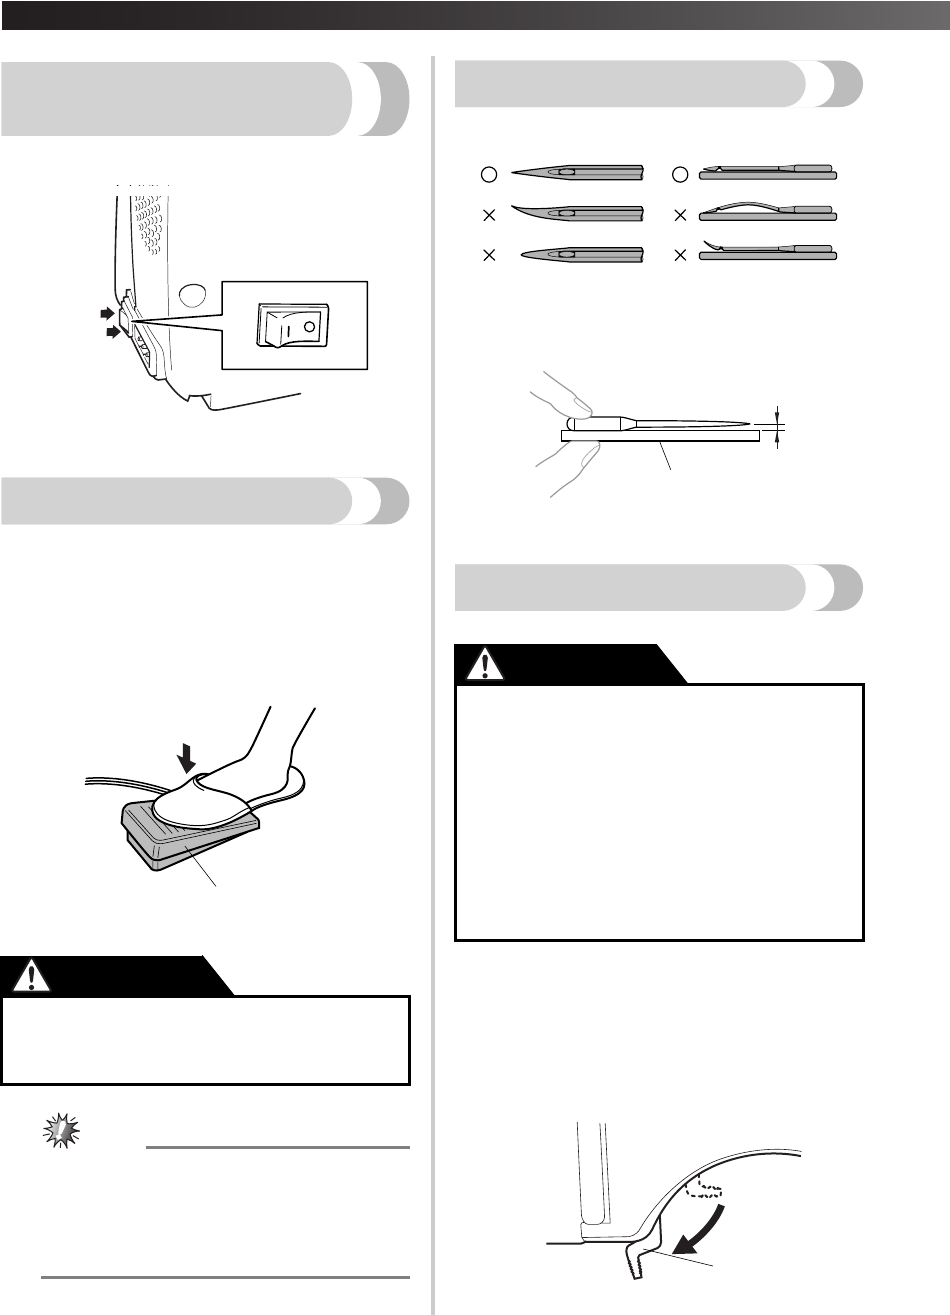
This switch turns the main power and sewing light
on or off.
1 Turn on (toward the ‘I’ mark)
2 Turn off (toward the ‘O’ mark)
Foot Controller
When you press the foot controller down lightly, the
machine will run at a low speed. When you press
harder, the machine’s speed will increase. When you
take your foot off the foot controller, the machine
will stop. You should make sure that nothing is
placed on the foot controller when the machine is
not in use.
1 Foot controller
Note
(For U.S.A. only)
● Foot Controller: Model KD-1902
This foot controller can be used for Model
XL-3500, XL-2600, XL-3510, XL-2610,
XL-3520, XL-2620.
Checking the Needle
The sewing needle must always be straight and sharp
for smooth sewing.
■ Checking the Needle Correctly
Put the flat side of the needle on a flat surface.
Check the needle from the top and the sides.
Dispose of any bent needles safely.
1 Parallel space
2 Level surface (bobbin cover, glass, etc.)
Replacing the Needle
1
Remove the power supply plug from the outlet.
2
Raise the needle to its highest position by turning
the handwheel toward you (counterclockwise) so
that the mark on the handwheel points directly up.
3
Lower the presser foot lever.
1 Presser foot lever
● Do not allow pieces of cloth and dust to
build up on the foot controller. Doing so
could cause a fire or an electric shock.
2
1
1
CAUTION
● Turn the main power switch off before
you change the needle. If you leave the
main power on and step on the foot
controller, the machine will start and you
may be injured.
● Only use sewing machine needles for
home use. Other needles may bend or
break and cause injury.
● Never sew with a bent needle. A bent
needle will easily break and cause injury.
1
2
CAUTION
1
XL2600.book Page 8 Thursday, November 4, 2004 9:46 PM


