


UTILITY STITCHES ——————————————————————————————————————————————————————
—
54
GETTING READYCONTENTS SEWING BASICS UTILITY STITCHES APPENDIX INDEX
Selecting Stitching
You can select any of the various types of stitching available.
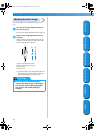
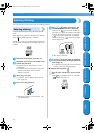
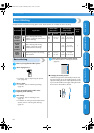
Selecting stitching
Using the operation panel keys, select the desired
stitch.
When the sewing machine is turned on, the straight
stitch ( left needle position) is selected.
A letter (A, G, J, M, N or R) indicating the presser foot
that should be used appears to the right of the stitch
number.
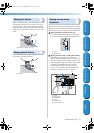
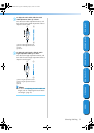
1
Determine the stitch that you wish to use.
2
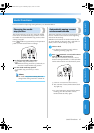
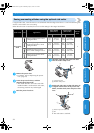
Determine which presser foot should be used
with the selected stitch.
The presser feet are stored in the accessory
compartment.
• For details on the stitches that can be sewn
with the twin needle, refer to “Stitch
Settings” (page 92).
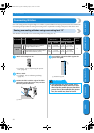
3
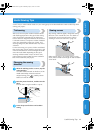
Attach the presser foot.
• For details, refer to “Replacing the presser
foot” (page 29).
4
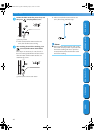
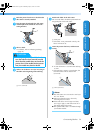
Turn on the sewing machine.
X When the machine is first turned on, “00”
will be displayed.
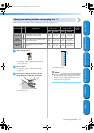
5
Press (stitch selection key). The
number of the selected stitch is displayed.
Each press of increases the number by
one. After “9” (“4” for the number on the left) is
reached, the number returns to “0”. Pressing
on the right changes the second digit
(ones) and pressing on the left changes
the first digit (tens).
X The stitch is selected.
6
If necessary, specify the setting for automatic
reverse/reinforcement stitching and adjust the
stitch length, etc.
• For details on sewing with each of the utility
stitches, refer to the following pages.
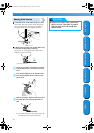
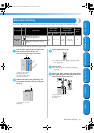
■ [Example] Selecting stitch .
1
Press the stitch selection keys to select stitch
04.
With on the right, select “4”, and with
on the left, select “0”.
F0_brotherE.book Page 54 Wednesday, May 21, 2003 11:38 AM