


8
HOW TO INSTALL THIS ALARM
IMPORTANT!
This combination smoke/CO alarm was
designed to be mounted on the ceiling or
wall. It is not a tabletop device.
You must
install this device on the ceiling or wall as
outlined below. Read “Where To Install This
Alarm” before starting. Tools you will need:
pencil, drill with 3/16” or 5mm drill bit, flathead
screwdriver, hammer.
Before you start installation,
find the pair of
self-adhesive labels included with this alarm. On
each label write in the phone number of your
emergency responder (like 911) and a qualified
appliance technician. Place one label near the
Alarm, and the other label in the “fresh air” location
you plan to go if the alarm sounds.
N
OTE:
A qualified appliance technician is defined as “a
person, firm, corporation, or company that either
in person or through a representative, is engaged
in and responsible for the installation, testing,
servicing, or replacement of heating, ventilation
and air conditioning (HVAC) equipment,
combustion appliances and equipment, and/or
gas fireplaces or other decorative combustion
equipment.”
CAUTION!
Do not connect this unit to any other alarm
or auxiliary device. It is a single-station unit
that cannot be linked to other devices.
Connecting anything else to this unit may
prevent it from working properly.
CAUTION!
Do not install this unit over an electrical
junction box. Air currents around junction
boxes can prevent smoke from reaching the
sensing chamber and prevent the unit from
alarming. Only AC powered units are
intended for installation over junction boxes.
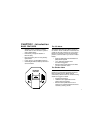
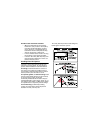
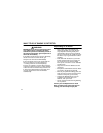
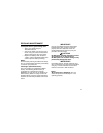
1. Hold base firmly and twist the mounting
bracket counterclockwise (left) to separate it
from the unit.
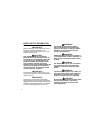
2. Hold the mounting
bracket against the
ceiling (or wall) and
use a pencil to mark
the center of each
mounting slot.
3. Put the unit where it won’t get covered with
dust when you drill the mounting holes.
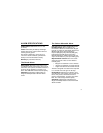
4. Using a 3/16-inch (5 mm) drill bit, drill a hole
through each pencil mark.
5. Insert the plastic screw anchors into the
holes. Tap the screw anchors gently with a
hammer, if necessary, until they are flush
with the ceiling or wall.