


Bosch Security Systems | Version 1.1
DVR4C Remote Viewer | Operation Manual | Live Viewer EN | 8
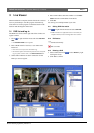
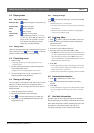
3.6 Instant Recording
To quickly record a live image to a local or network disk,
place the mouse cursor on the image and right click. Click
Rec Start for instant recording. REC 00:03 appears in the
upper right of the image. To stop recording, click REC Stop.
If you do not stop recording manually, it stops automatically
after ten minutes. The recording is stored on the disk and in
the directory set in the options menu.
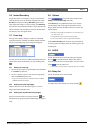
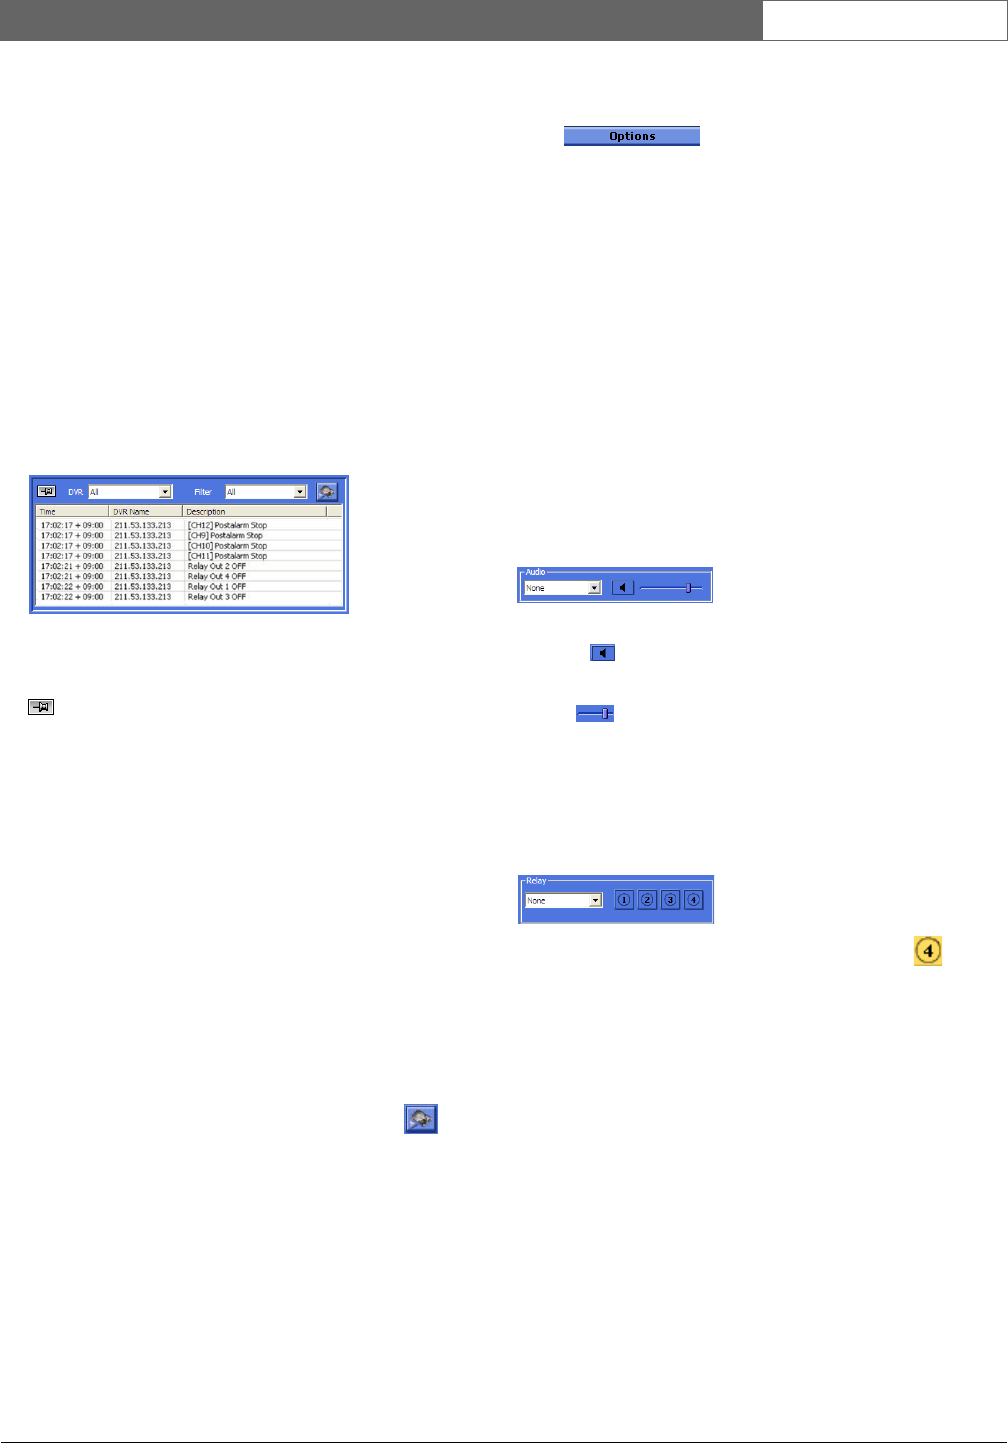
3.7 Event Log
The log screen displays changes in status for each DVR
registered in the list of DVRs. If a DVR is deleted from the
list, the corresponding log will no longer be displayed.
If a new event is received, it is added at the bottom of the list
which scrolls down automatically. To stop scrolling, click
.
3.7.1 Viewing an event log
1. To view an event log for a specific DVR, select the DVR
in the
DVR drop-down list.
2. To view a specific type of event, select the appropriate
filter in the
Filter drop-down list.
> Logs can be viewed as ALL, MOTION, INPUT ALARM,
ERROR, STATUS and TEXT.
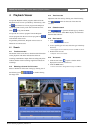
3.7.2 Viewing live event log images
Double-click an event on the event log list to view live
images associated with that event.
3.7.3 Viewing the recorded event log images
Select an event from the event log list and click . The
Playback Viewer program opens and the images are played
back.
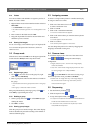
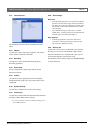
3.8 Options
Click to open the option window with
Display and Instant Recording menu tabs.
In the Display tab, set whether DirectX is to be used for
viewing images and set the caption information for the
images. Select the time and date format to be used for the
caption display.
> DirectX must already be installed on your PC before you
can select it for use.
> Using DirectX improves performance by 30%.
> If the screen flickers when using DirectX, disable it.
In the Instant Recording tab, select the drive and directory
for storing quick recordings. Select the format type for the
recording file.
3.9 AUDIO
Use the drop-down list to select the audio input channel.
The icon is normally blue but flashes when audio is
received. Click the icon to mute the audio. Use the volume
control to set the audio level.
> Audio video synchronization is typically <0.5 second offset.
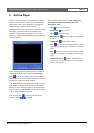
3.10 Relay Out
Use the drop-down list to select a DVR.
An output relay can be turned on or off by clicking .