9
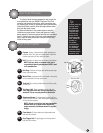
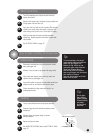
Turn off pump/spray and vacuum/suction switches.
Unplug from outlet.
Remove tank siphon tube, flip down carrying handle and
lift top power unit from tank unit.
Carry tank unit to a toilet or sink to empty. With carrying
handle in one hand, place other hand in gripping slot
under filling cavity on tank unit. Lift and pour to empty.
Make sure ball and ball cage are firmly seated on
raised area. Replace power unit and lock in place with
carry handle.
See PUTTING IT AWAY on page 12.
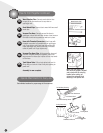
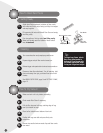
Disconnect wand solution tube and aluminum wands
from grip/trigger unit.
Moisten O-ring at base of cap valve with soapy water.
Align small area cleaning nozzle with cap valve and
vacuum tube on grip/trigger unit.
Press latch button on vacuum tube and slide small area
cleaning nozzle on until latch button locks in place.
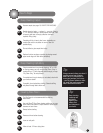
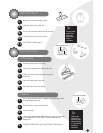
Check manufacturer’s tag and/or test fabric in an
inconspicuous place.
Turn on vacuum/suction and pump/spray switches.
Depress trigger and pull small area cleaning nozzle
toward you.
Release trigger and repeat action to extract
excess moisture.
Repeat until area is clean.
See WHEN YOU’RE DONE, above and PUTTING IT AWAY,
page 12.
1.
5.
1.
2.
3.
4.
When You’re Done
2.
3.
4.
How To Clean Upholstery And Small Areas
Getting Ready
5.
Cleaning
1.
2.
3.
4.
5.
Tip:
Check uphol-
stery stuffing
before cleaning.
Colored stuffing
may bleed
through fabric
when wet.
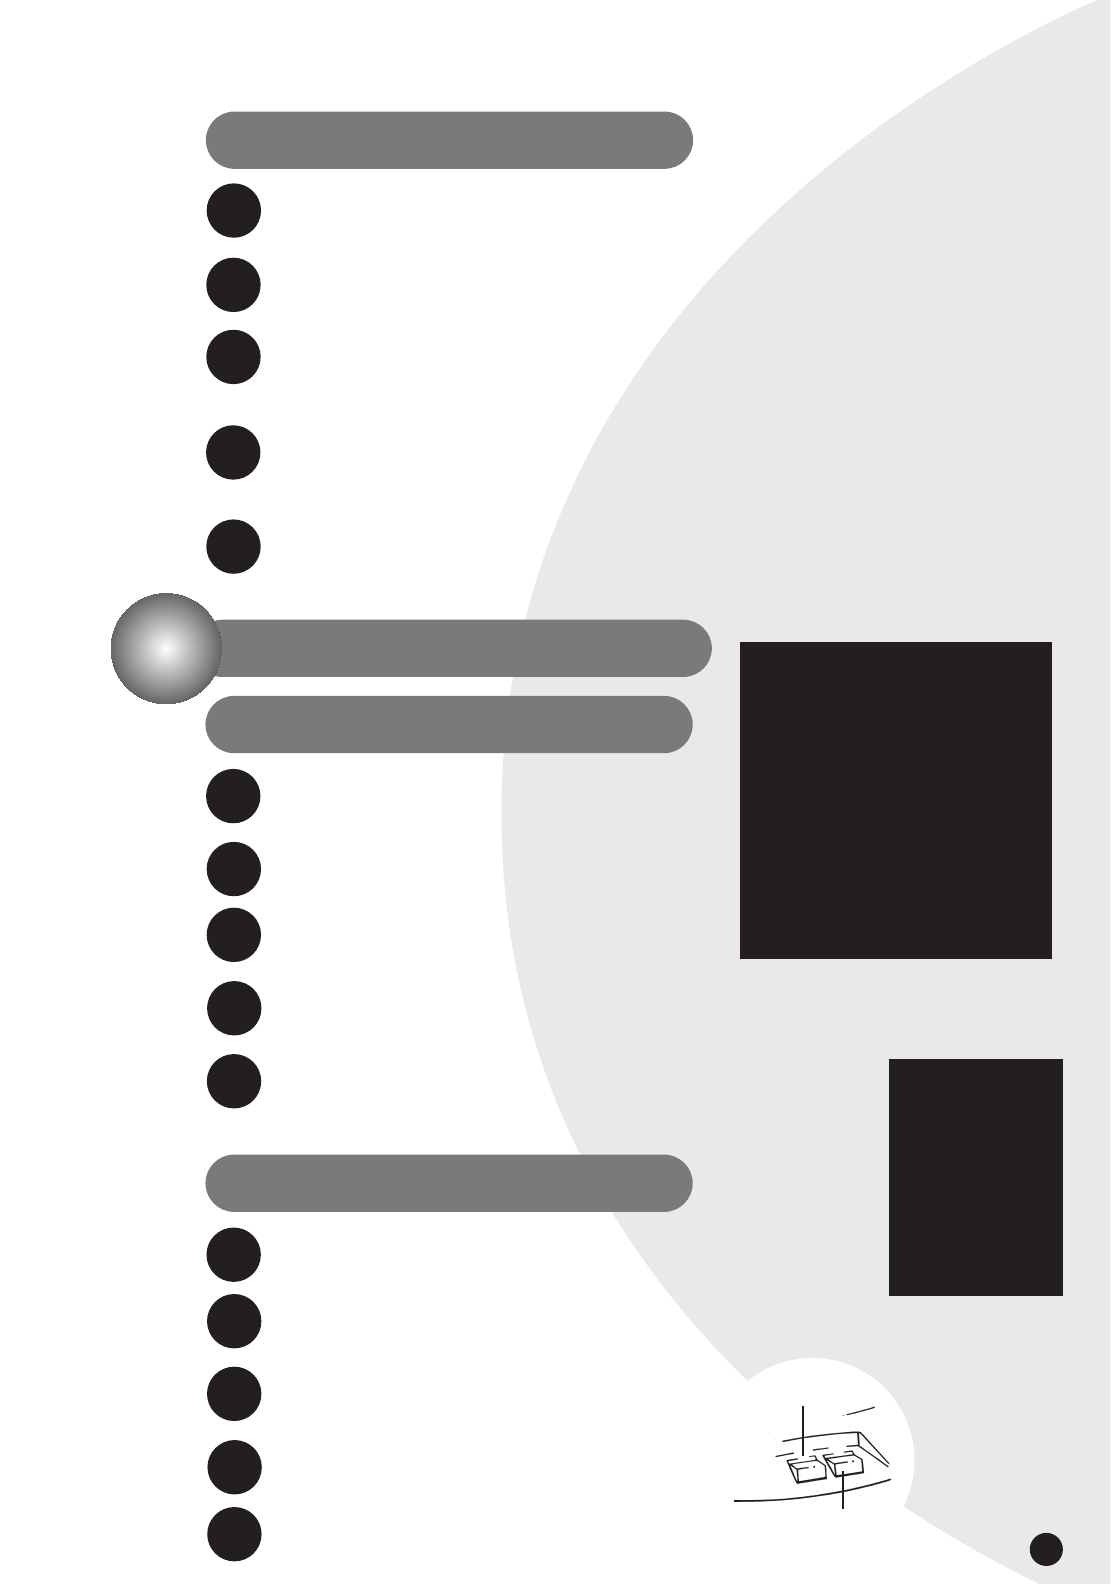
Pump/spray switch
Vacuum/suction switch
Tip:
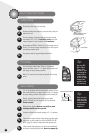
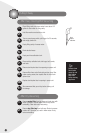
To clean upholstery, disconnect
wand solution tube and aluminum
wand from grip/trigger unit.
Moisten O-ring at base of cap
valve with soapy water. Align the
Small Area Cleaning Nozzle
with the cap valve and vacuum
tube on grip/trigger unit, then press
latch button on vacuum
tube and slide together until latch
button locks in place.


