


5
This User’s Guide has been designed to help you get the
most satisfaction from your BISSELL Big Green. You’ll find
assembly and operating instructions, safety precautions and
pre-cleaning tips, as well as maintenance and troubleshooting
instructions. Please read this Guide thoroughly before assem-
bling your Big Green cleaner.
Pay particular attention to the product diagram, assembly
instructions, and part names. Locate and organize all parts
before assembly. Familiarize yourself with the parts and where
they fit. Following this User’s Guide will greatly enhance your
ability to get the most performance from your BISSELL Big
Green for many years.
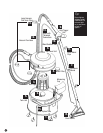
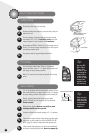
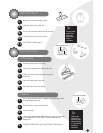
Casters. Locate 4 casters inside plastic packaging in
collection tank. Turn tank unit upside down. Insert four
casters and push until they snap into place.
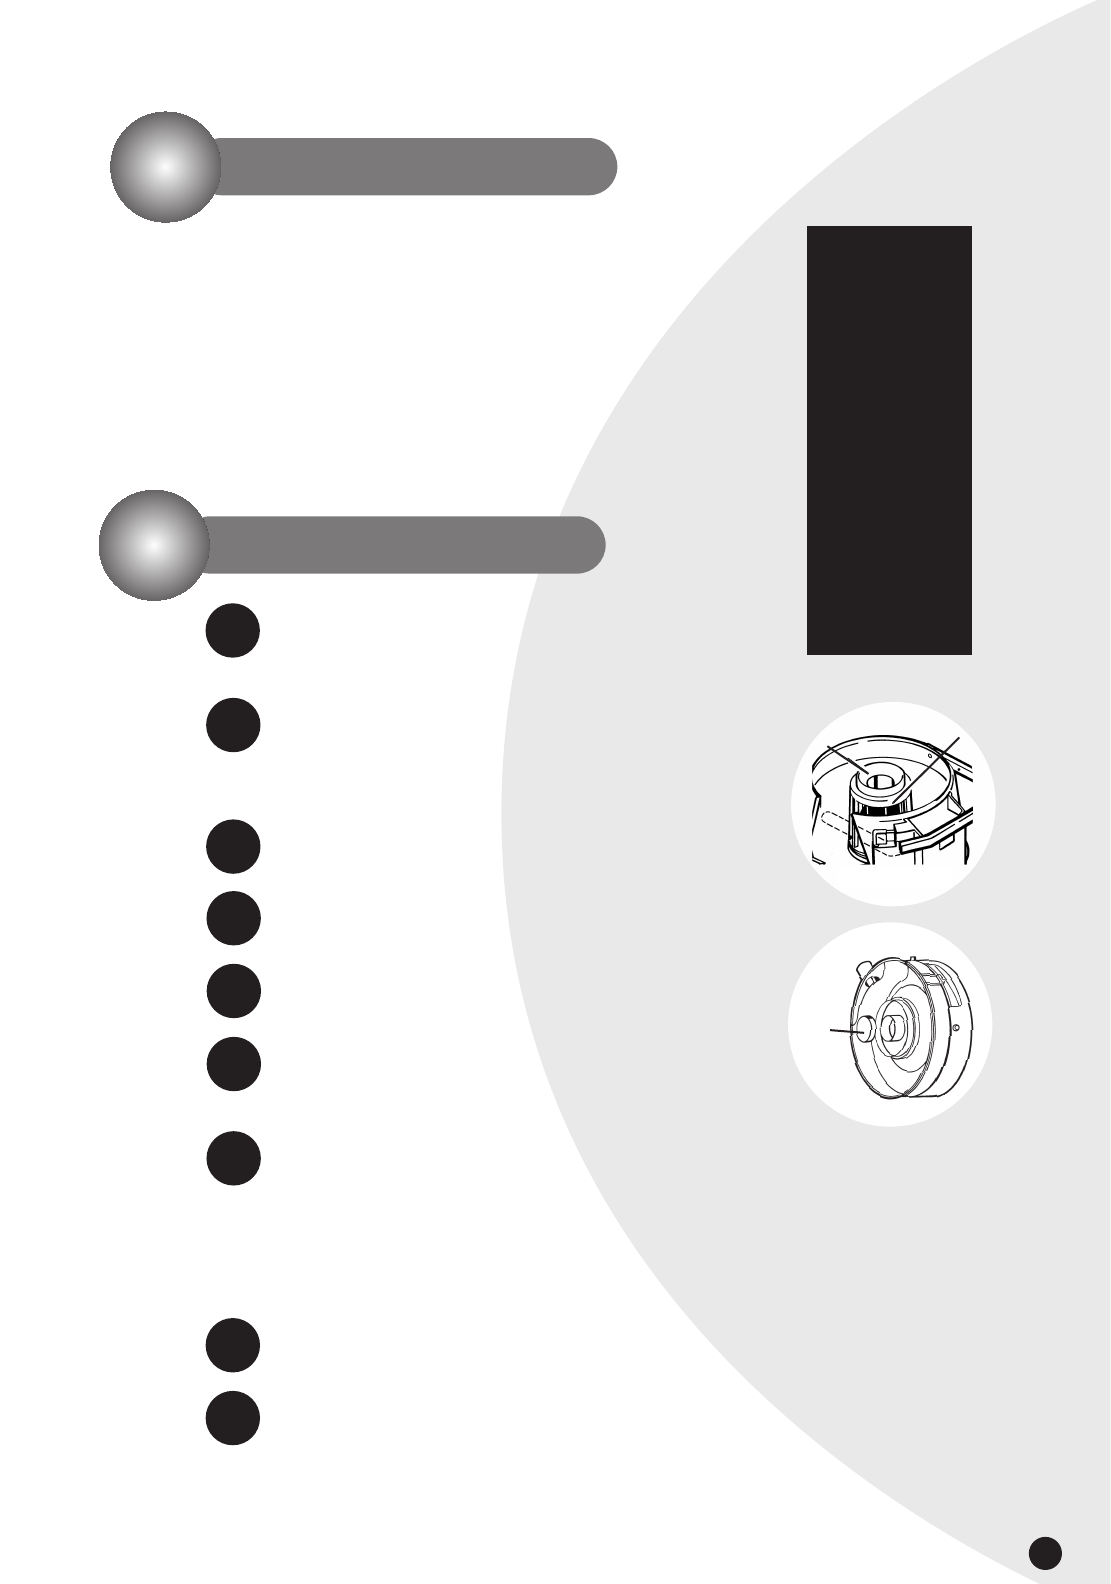
Ball. Place ball on raised area of recovery tank bottom.
NOTE: Ball may have an unusual color due to
recycled high density polyethylene (HDPE) used
in its manufacture.
Ball Cage. Position ball cage over ball and press cage
firmly onto raised area.
Motor Filter. Locate motor filter and insert it into cavity
on the underside of the top power unit.
Tank Unit. Flip carrying handle down over filling cavity
on tank unit.
Top Power Unit. Place top power unit on tank unit.
Twist top power unit until it drops into place on
tank unit. Flip up carrying handle to lock units.
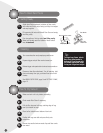
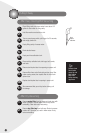
Aluminum Wands. Fit bottom wand section into top
aluminum wand section. Latch button pops through hole
to lock sections together.
NOTE: Wands are identical and interchangeable.
Buttons must be on upper end of wands for
proper assembly. Aluminum wands fit together
snugly.
Floor Nozzle. Fit floor nozzle over bottom wand and
lock with latch button.
Grip/Trigger Unit. Fit grip/trigger unit into top wand
lock with latch button.
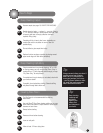
How To Use This Guide
How To Put It Together
1.
2.
3.
4.
5.
6.
7.
8.
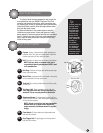
Tip:
Several parts are
packed inside
the collection
tank/tank unit.
Separate tank
unit from top
power unit to
find these parts.
Also, match the
number on
the written
instructions to
the number on
the assembly
picture to better
understand each
assembly step.
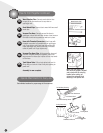
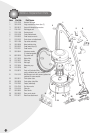
Ball Cage
Tank Unit
Top Power Unit
Motor
Filter
Ball
9.