


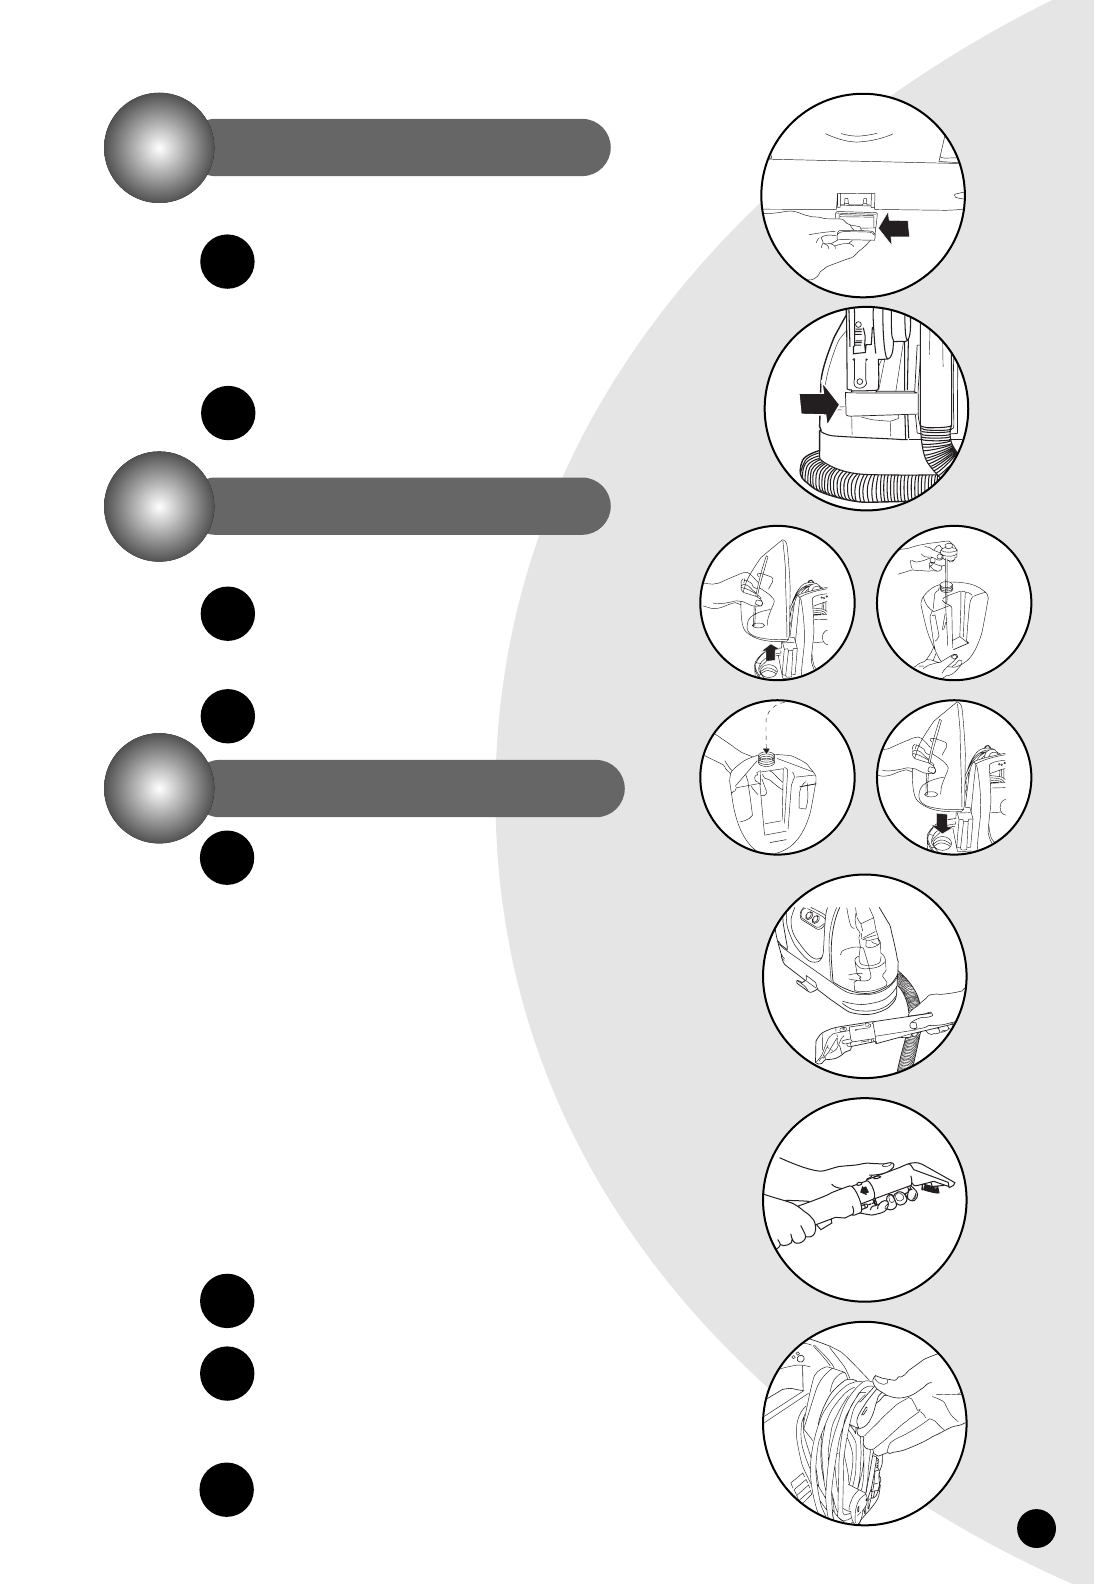
There is only one step required for assembly.
Take the Flex Hose Clip and slide the back plate into the
opening on the front of the unit. You will hear a “snap”
when it is locked in place.
* Optional on some models.
If your unit comes with a TurboBrush, you will
need to attach the TurboBrush Clip.
Slide the TurboBrush Clip into the guides on the vacuum
Flex Hose storage bracket, on the back of the unit.
Cleaning effectiveness will be enhanced if you pre-treat heavily
stained or highly-soiled areas. Here’s how to do it:
Hold the Cleaning Tool just above the surface of the
carpet or upholstery to be cleaned. Depress the trigger
to release a spray of cleaning solution directly onto the
soiled area.
Wait 3-5 minutes before cleaning.
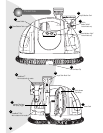
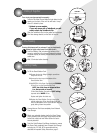
To Fill the Clean/Solution Tank.
A.Remove the tank by lifting it straight up and then
away from the unit.
B.Unscrew the black cap at the bottom of the
Clean/Solution Tank.
C.Add BISSELL Little Green Formula to the FORMULA
fill line (8 oz.) on the Clean/Solution Tank.
NOTE: Your Little Green is shipped with an
8 oz. Starter bottle of formula.
Fill the Clean/Solution Tank with hot (NOT boiling)
tap water to the WATER fill line.
Replace and tighten the black cap.
D.Replace the Clean/Solution Tank by lining up the
vertical guides (see #D) on the left side of the unit
with the indentations on the Clean/Solution Tank and
gently sliding it down into position.
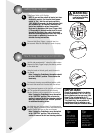
Unwrap Vacuum Flex Hose completely from Onboard
Hose Storage.
Attach your selected cleaning tool to the Spray Trigger
Unit by pressing tool onto Spray Trigger firmly until the
button lock snaps into hole. Make certain the tool is
securely attached.
Twist the Quick Release Cord Wrap clockwise to unwrap
the Power Cord completely from Onboard Cord Storage
and plug into 120 Volt, 60 Hz grounded outlet as
described in Important Safety Instructions, page 3.
Pre-Treating
1.
2.
Getting Ready
1.
2.
3.
4.
B
C
A
D
2
3
4
1
Putting It Together
2.
1.
1
2
7