


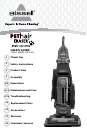
www.bissell.com
11
Maintenance and care
Replace drive belt continued
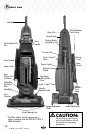
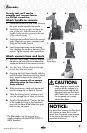
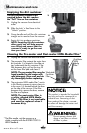
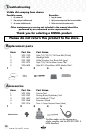
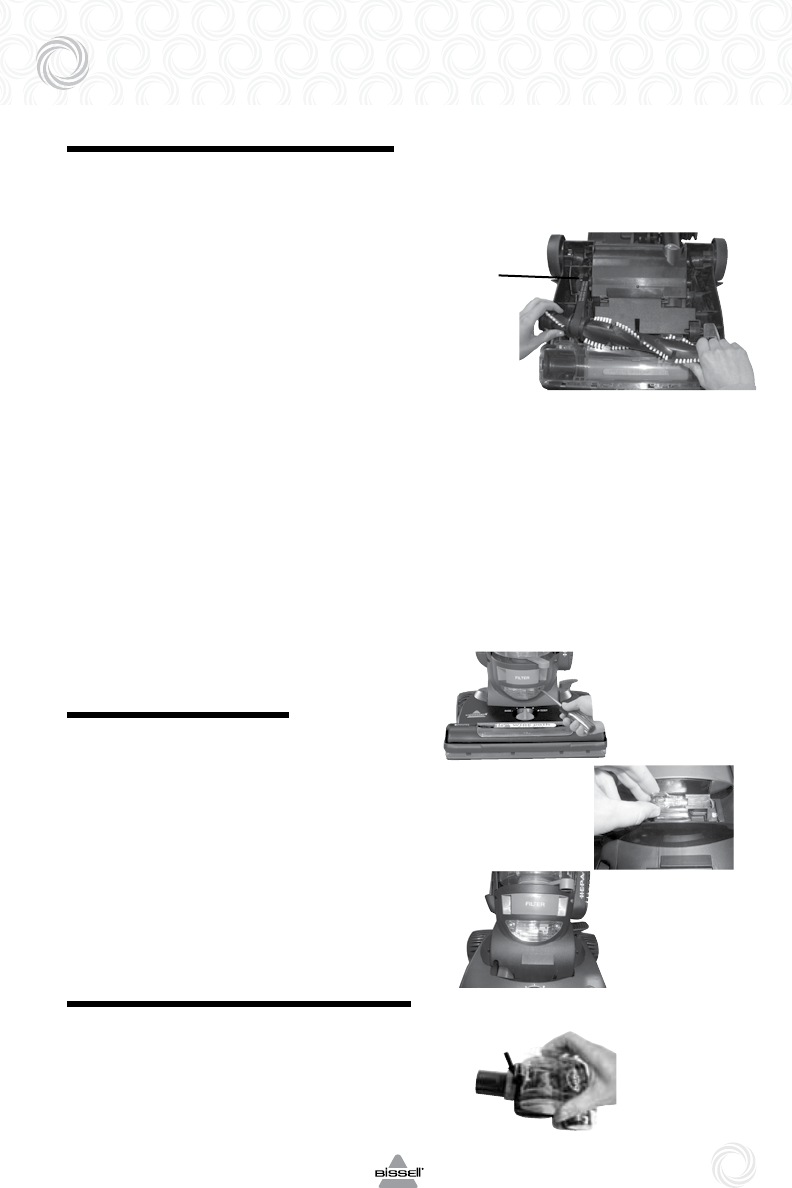
3. Place new drive belt over motor pulley
and loop other end over rotating floor
brush in the space between the bristles.
NOTE: It is important that you use
only genuine BISSELL replacement
belts. Generic belts may not meet
the exact specifications required
to keep your vacuum operating
at its peak performance. The use
of unbranded belts could lead to
early failure of the vacuum and
could void your warranty.
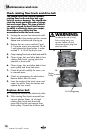
4. Pull the rotating floor brush firmly into
position, stretching the drive belt, and
place ends of rotating floor brush
down into the slots on sides as shown.
Alignment of brush ends in slots may be
necessary to fully insert the brush.
5. Turn rotating floor brush by hand several
times in the direction of motor pulley. If
properly installed, drive belt will center
itself on rotating brush crown.
6. Insert front edge of brush cover and
rotate into place. Snap the three latches
and replace the two screws.
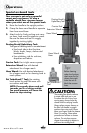
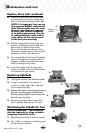
Replacing lightbulb
1. Unplug the vacuum from electrical outlet.
2. Using a screwdriver, first remove 2
screws on either side of lens and pull
out to remove the lens.
3. Remove the bulb from the socket by grasping
the bulb and pulling gently. Install the new
bulb by pushing it gently into the socket until
the bulb snaps into place.
4. Reposition the lens place cover back
over headlight and reinsert 2 screws.
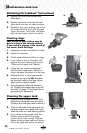
Maintaining Pet TurboBrush
™
Tool
The Pet TurboBrush™ Tool should be
checked regularly for clogs or debris
wrapping around the brush.
1. Remove tool from hose or front of vacuum.
2. Twist collar so opening is at the top and
lift top cover to remove.
3.
Motor
Pulley
2.
3.
4.
2.