Part No 790294 Form No F062906A
11
QL2300 Owner’s Manual
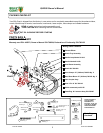
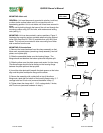
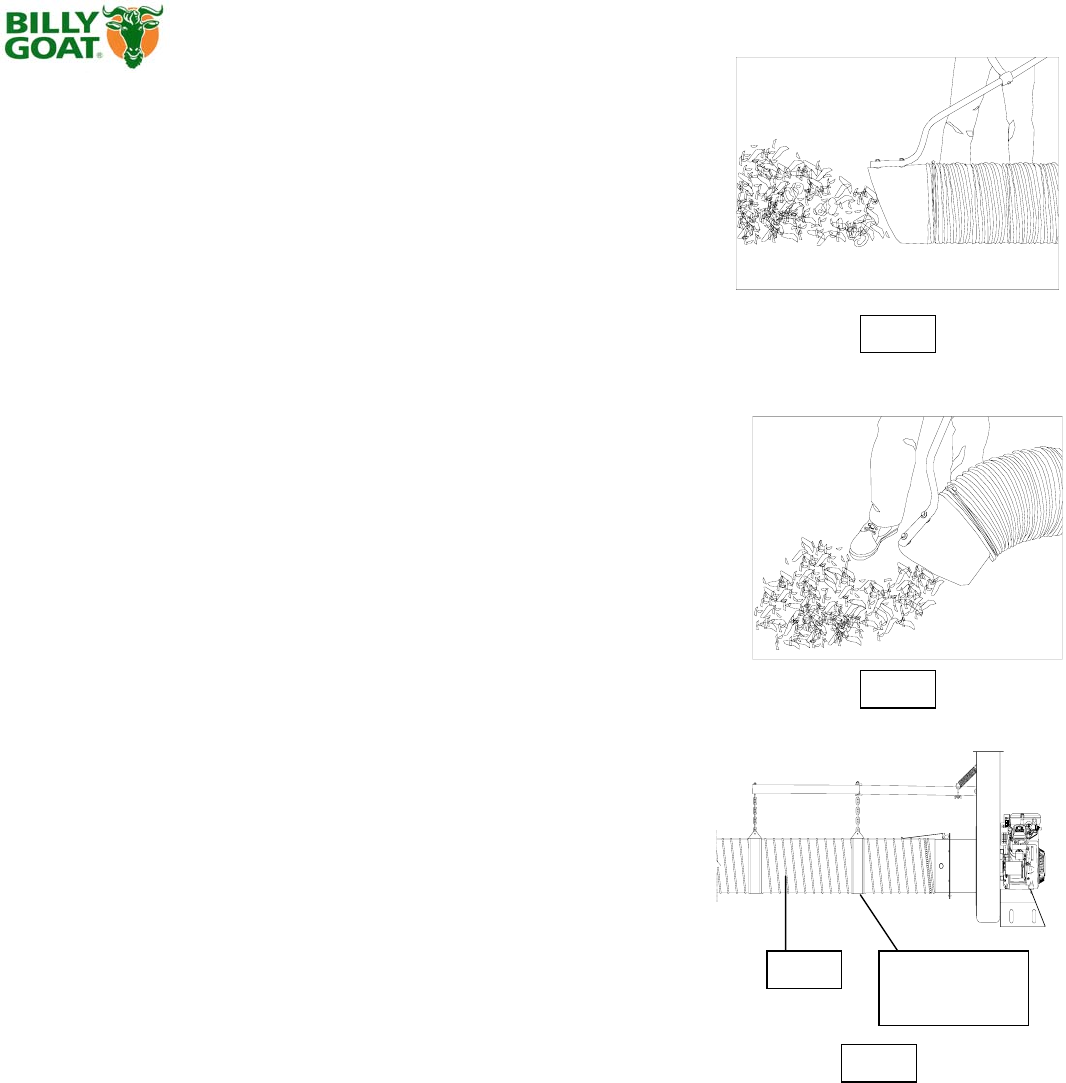
ADJUSTING HOSE BOOM
Properly adjusting the boom will prevent most hose clogs from occurring and will
maximize vacuum performance by keeping the hose straight and perpendicular
to the housin
g
(
see fi
g
. 5
)
.
VACUUMING OPERATION
EXHAUST DIRECTION & DISTANCE: Exhaust direction and distance are controlled by
the angle of the exhaust deflector and by rotation of the exhaust elbow. Adjust the angle
of the exhaust deflector to control the distance that debris is discharged. Typically debris
is aimed to discharge to the rear of the container. The direction of discharge is adjusted by
loosening the knobs on the exhaust elbow clamp and rotating the elbow to the desired
direction.
NOTE:
Elbow is heavy. Use caution when adjusting. Never stand directly under the
elbow while adjusting direction of exhaust.
Never adjust exhaust deflector angle or direction of discharge while unit is running.
Never direct exhaust into an area where bystanders may cross the path of the
debris.
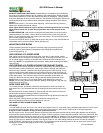
INTAKE OPERATION: With machine running and fully assembled, move the nozzle in
sweeping motions over debris. Always allow air to flow into the nozzle along with the
debris. Do not completely block the nozzle when vacuuming, it will reduce performance,
and increase clogging (See figure 3).
For removal of heavier debris, or debris that is stuck to the ground, rock nozzle forward to
concentrate suction power around the debris (See figure 4).
UNCLOGGING A CLOGGED HOSE
With engine running and unit secured to a trailer, truck bed, or other similar surface,
fully stretch hose in a straight line to dislodge the clog. If the clog will not clear, turn unit
off, and allow engine to come to a complete stop. Remove hose and manually clear
hose clog.
NOTE: The clogged debris may be sharp. Always wear durable gloves when
removing clog.
UNCLOGGING A CLOGGED HOUSING OR EXHAUST ELBOW
Turn engine off and wait for impeller to come to a complete stop. Disconnect spark plug
wires and battery cables. Remove the hose coupler from the housing and determine
where the clog is located. If possible clear the clog through the intake opening. It may
require removal of the intake adaptor (item 33) to allow access to clear the housing. If
clog is in the elbow, carefully remove the elbow. Remove elbow by removing the knobs
on the elbow clamp. Then remove 3 bolts so that the split plate can be taken out.
Finally, the elbow can be removed by sliding it past the remaining attached clamp.
NOTE: Elbow is very heavy. Do not stand directly under elbow during removal.
Danger, the clog may contain sharp materials. Wearing durable gloves, clear the clog.
Reconnect spark plug wire.
HOSE CARE AND TIPS
To increase hose life, periodically rotate hose and reposition nozzle and coupler on
front plate of unit. This increases hose life by keeping hose from wearing only on one
side.
Be sure the hose is correctly installed by checking that the arrow printed on the hose
indicating flow direction is pointing toward the vac housing.
Keep hose as straight as possible and avoid sharp bends during operation for best pick-
up and to avoid clogs.
Never drag hose. Always remove and store hose before transporting unit.
Store hose straight and flat to maintain flexibility for next use.
THE HOSE IS A REPLACEABLE WEAR ITEM.
STORAGE
Turn fuel supply off when unit is not in use. Never store engine indoors or in enclosed poorly ventilated areas with fuel in tank, where
fuel fumes may reach an open flame, spark or pilot light, as on a furnace, water heater, clothes dryer or other gas appliance.
If engine is to be unused for 30 days or more, prepare as follows:
Be sure engine is cool. Do not smoke. Remove all gasoline from carburetor and fuel tank to prevent gum deposits from forming on
these parts and causing possible malfunction of engine. Drain fuel outdoors, into an approved container, away from open flame. Run
engine until fuel tank is empty and engine runs out of gasoline.
NOTE: Fuel stabilizer (such as Sta-Bil) is an acceptable alternative in
minimizing the formation of fuel gum deposits during storage. Add stabilizer to gasoline in fuel tank or storage container. Always
follow mix ratio found on stabilizer container. Run engine at least 10 min. after adding stabilizer to allow it to reach the carburetor.
HOSE STORAGE: Storing hose in a covered area, out of sunlight and heat will prolong hose life. Do not store hose where it could
be ste
pp
ed on or where other ob
j
ects could crush or dama
g
e hose.
Fig. 3
Hose
Fig. 4
Hose Bands.
Stretch hose out
before clamping
Fig. 5


