


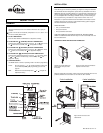
MODEL TH106
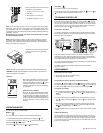
OPTIONS SELECTION
Inside the thermostat, there are 4 selection switches to set at your pre-
ferences.
Cycles of 15 minutes or 20 seconds, temperature in °C or °F, time in 12 or
24 hours and Early Start function.
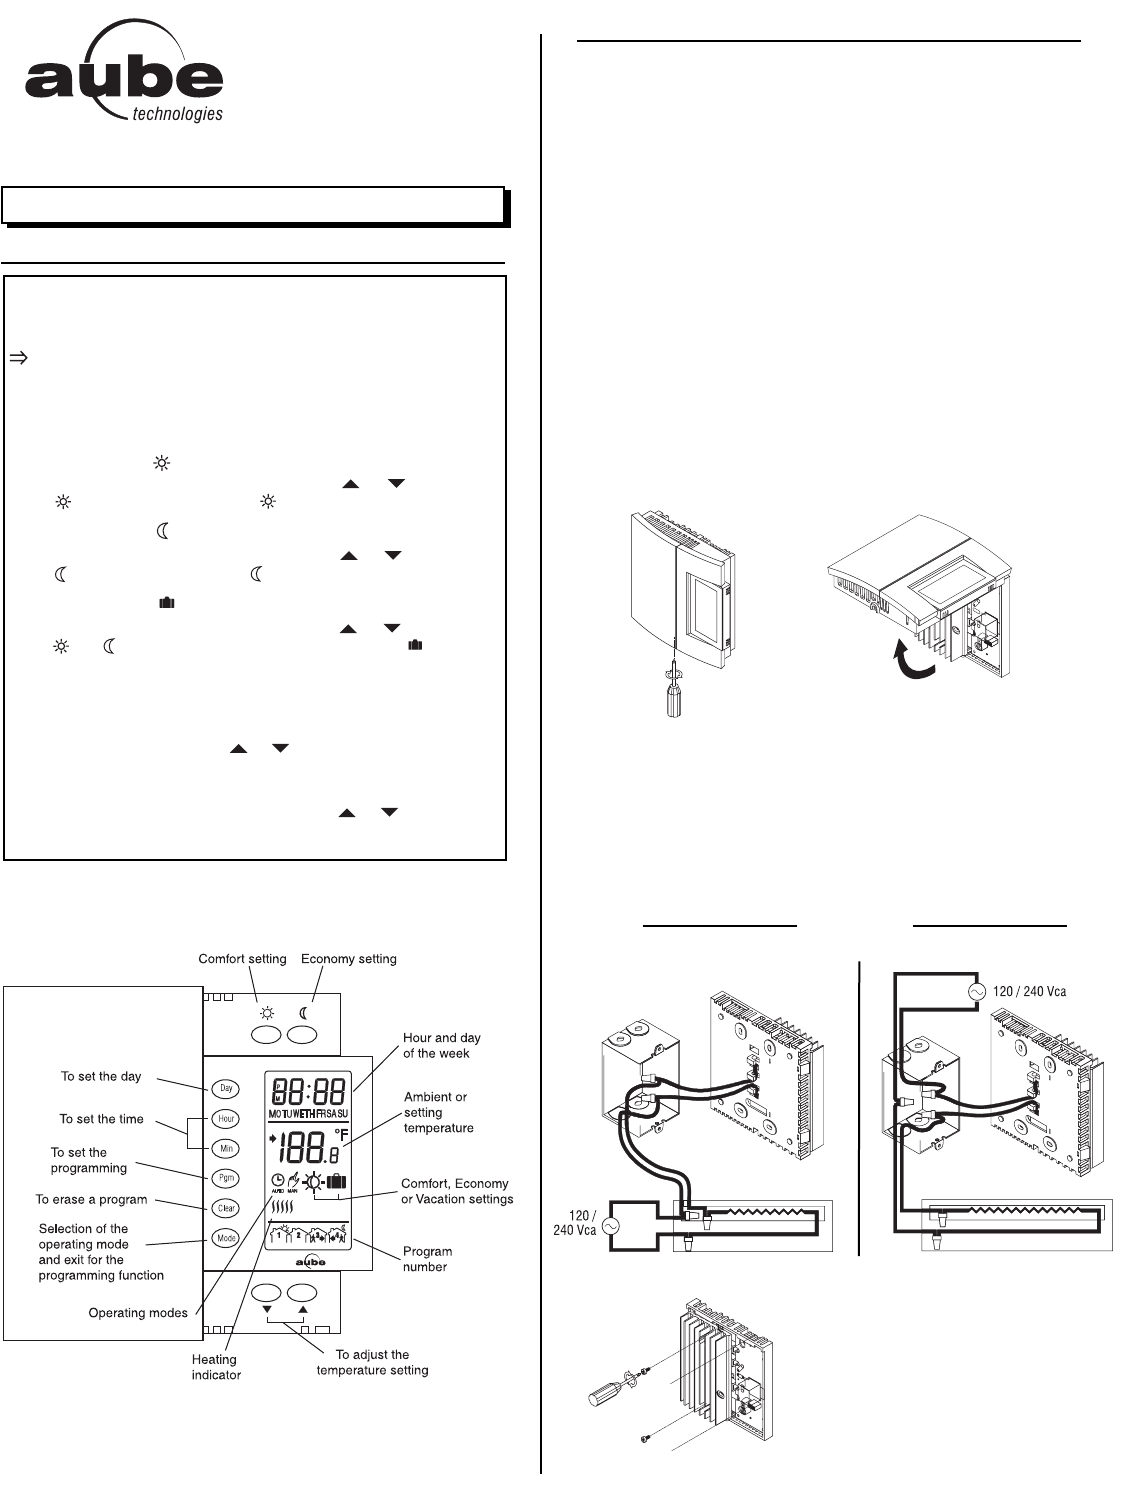
TO SET TIME AND DAY
Press on DAY, HOUR and MIN buttons to adjust time and day.
TO RECORD THE (COMFORT) SETPOINT TEMPERATURE
Select chosen setpoint temperature by using the or button. Press
on button (2 to 3 seconds) until icon appears on display.
TO RECORD THE (ECONOMY) SETPOINT TEMPERATURE
Select chosen setpoint temperature by using the or button. Press
on button (2 to 3 seconds) until icon appears on display.
TO RECORD THE (VACATION) SETPOINT TEMPERATURE
Select chosen setpoint temperature by using the or button. Press
on and buttons simultaneously (2 to 3 seconds) until icon
appears on display.
OPERATING MODES
Use MODE button to select an operating mode or to exit the programming.
AUTO : Runs the program. or shows temperature setting and
can override temporarily your programming up to the next
program.
MAN : Maintains the selected temperature. or changes the
temperature setting.
INSTALLATION
!
!
!
!
!
SUMMARY
!
NOTE : The “Problems and Solutions” section located at the end of this docu-
ment will help you to correct the problems you might have during the installation.
This thermostat has been designed to operate with any installation which has a
RESISTIVE load not exceeding 4000 W (16.7 A) @ 240 VAC or 2000 W @ 120
VAC as electric baseboards, radiant ceilings and floors, electric convectors, etc.
It is not compatible with a low voltage controller used by a central heating sys-
tem or systems using a contactor or a relay whose current is under 1.0 A.
Electricians or experienced technicians should install the thermostat. This ther-
mostat is designed to be used with a self-protected heating system equipped
with linear limit control and circuit breaker.
PARTS INCLUDED :
• One (1) TH106 thermostat
• Two (2) 6-32 screws
• Two (2) solderless connectors
TURN OFF POWER OF THE HEATING SYSTEM AT THE MAIN POWER
PANEL TO AVOID ELECTRIC SHOCK. Keep air vents of thermostat clean and
free from obstructions.
CONNECTING WIRES AND MOUNTING THERMOSTAT
Remove the screw holding the
base and the front part of the
thermostat.
Lift the front part of the thermostat to
separate it from the base.
Align and afix the base to the
electrical box.
2 wire installation 4 wire installation
Make the appropriate connections. Please note that the thermostat wires are not
polarized, therefore the connections can be made on either terminal.
920-106-001-00-1-B 1/4